Getting an Angular UI for your InterSystems IRIS application in 5 minutes
Hi Developers!
Suppose you have a persistent class with data and you want to have a simple Angular UI for it to view the data and make CRUD operations.
Recently @Alberto Fuentes described how to build Angular UI for your InterSystems IRIS application using RESTForms2.
In this article, I want to tell you how you can get a simple Angular UI to CRUD and view your InterSystems IRIS class data automatically in less than 5 minutes.
Let's go!
To make this happen you need:
- 1. InterSystems IRIS
- 2. ZPM
- 3. RESTForms2 and RESTForms2-UI modules.
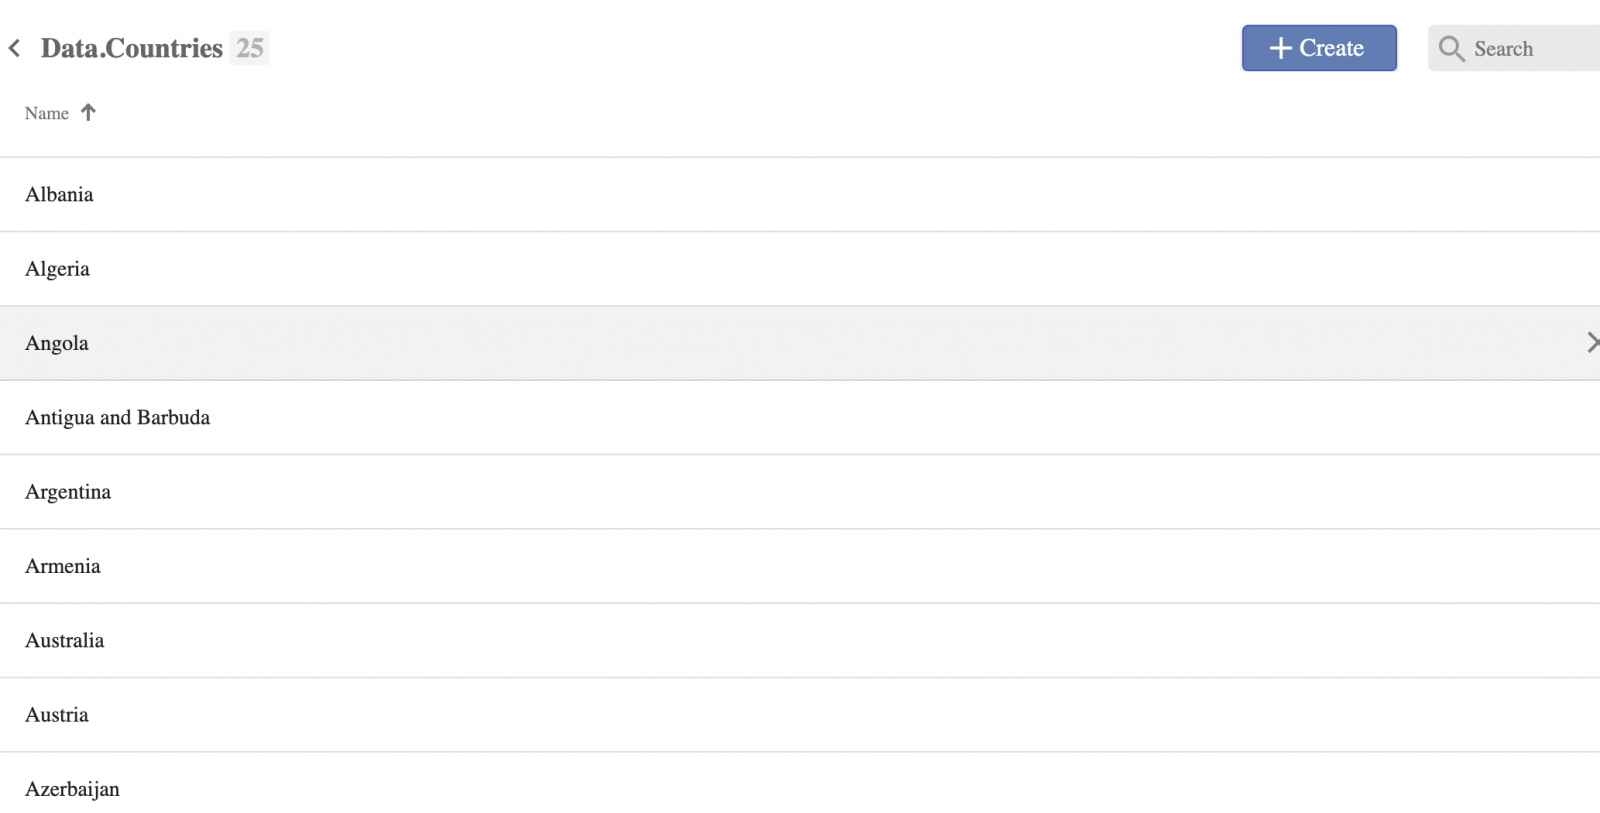
I'll take a Data.Countries class which I generated and imported via csvgen using this command:
d ##class(community.csvgen).GenerateFromURL("https://raw.githubusercontent.com/datasciencedojo/datasets/master/WorldDBTables/CountryTable.csv",",","Data.Countries"
To make an Angular UI we need to expose REST API for this class, which will service CRUD operations.
Let's use restforms2 module for this.
This command in dockerfile installs restforms2 into IRIS container:
zpm "install restforms2" \
To add a REST API we need to derive the class from Form.Adaptor:
Class Data.Countries Extends (%Library.Persistent, Form.Adaptor)Add restforms2 parameters to the persistent class to manage the general behavior: sorting parameter, display name, etc:
// Form name, not a global key so it can be anything
Parameter FORMNAME = "Countries";
/// Default permissions
/// Objects of this form can be Created, Read, Updated and Deleted
/// Redefine this parameter to change permissions for everyone
/// Redefine checkPermission method (see Form.Security) for this class
/// to add custom security based on user/roles/etc.
Parameter OBJPERMISSIONS As %String = "CRUD";
/// Property used for basic information about the object
/// By default getObjectDisplayName method gets its value from it
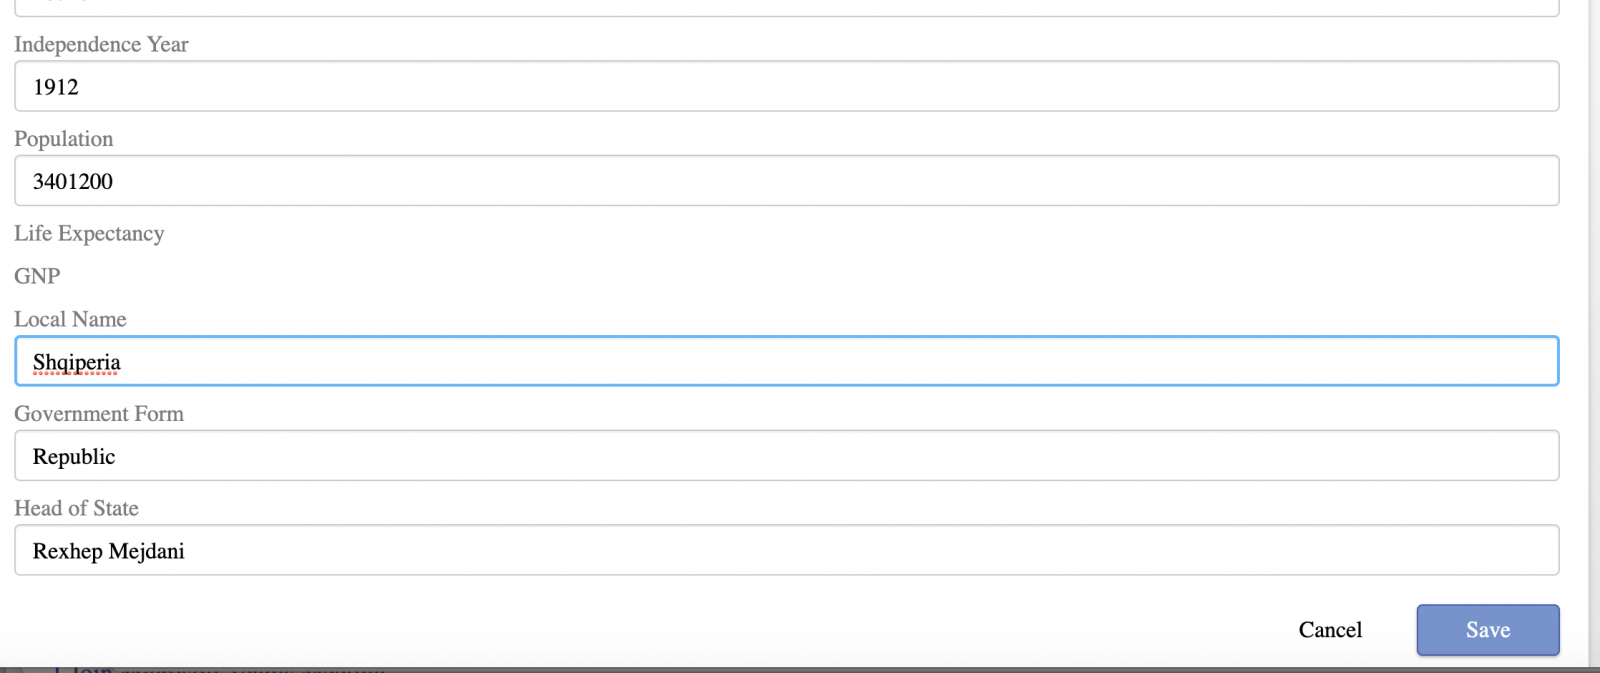
Parameter DISPLAYPROPERTY As %String = "name";Perfect. Next, we can use restforms2 syntax to let restforms2 know, what properties of the class we want to expose to the CRUD. You can make it adding "DISPLAYNAME =" attribute to the properties, you want to expose into restforms2-ui. Example:
Property code As %Library.String(MAXLEN = 250) [ SqlColumnNumber = 2 ];

Property name As %Library.String(DISPLAYNAME = "Name", MAXLEN = 250) [ SqlColumnNumber = 3 ];

Property continent As %Library.String(DISPLAYNAME = "Continent", MAXLEN = 250) [ SqlColumnNumber = 4 ];

Property region As %Library.String(DISPLAYNAME = "Region", MAXLEN = 250) [ SqlColumnNumber = 5 ];

Property surfacearea As %Library.Integer(DISPLAYNAME = "Surface Area", MAXVAL = 2147483647, MINVAL = -2147483648) [ SqlColumnNumber = 6, SqlFieldName = surface_area ];

Property independenceyear As %Library.Integer(DISPLAYNAME = "Independence Year", MAXVAL = 2147483647, MINVAL = -2147483648) [ SqlColumnNumber = 7, SqlFieldName = independence_year ];
Great! Now lets introduce the UI layer. This command in dockerfile installs restforms2-ui, which is Angular UI for Restform2:
zpm "install restforms2-ui" \
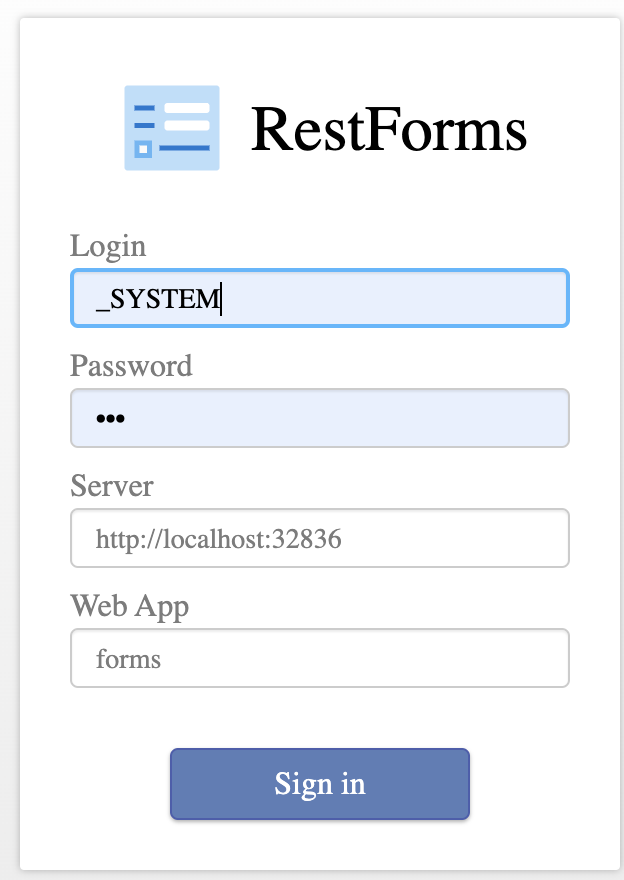
That's it! Let' examine the UI for your class, which you can find in the URL server:port/restforms2-ui:
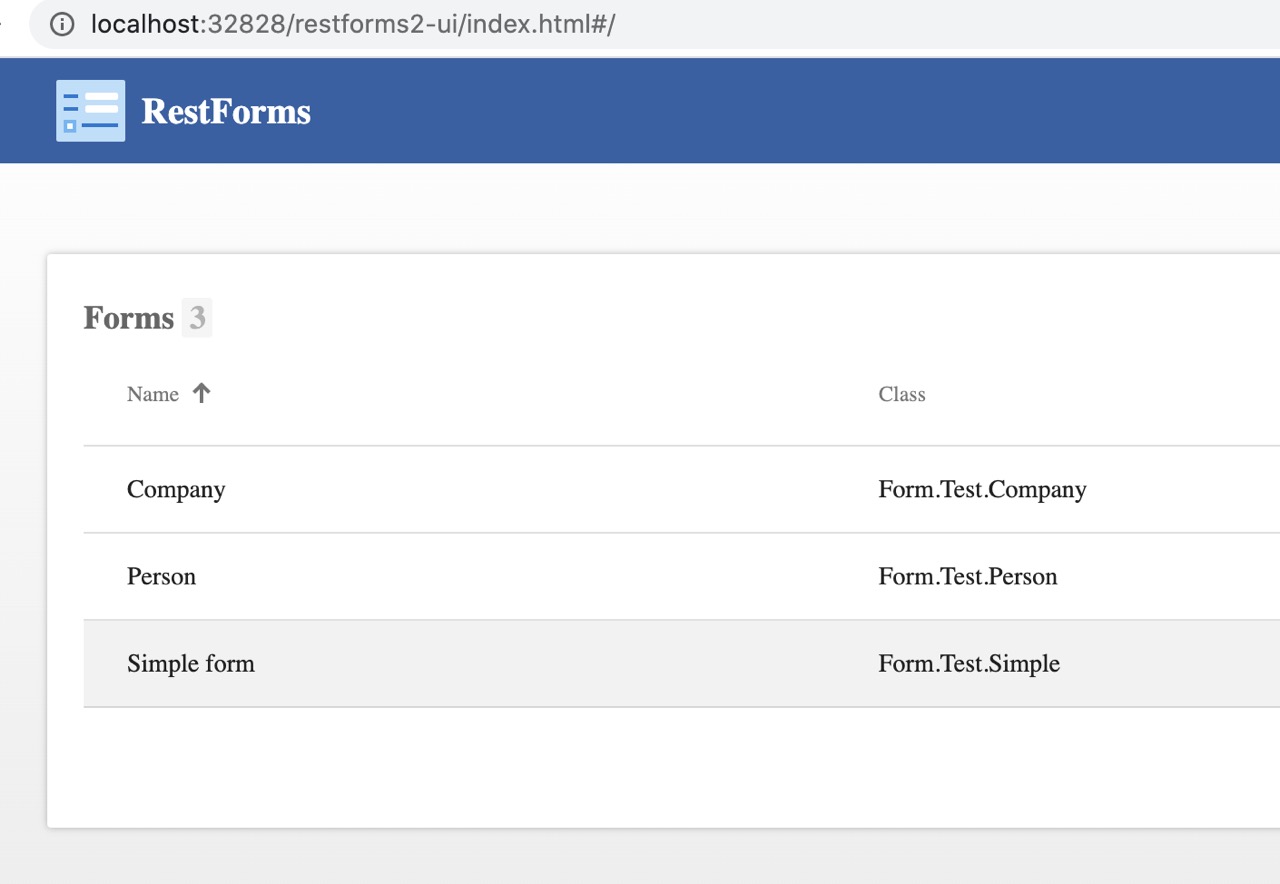
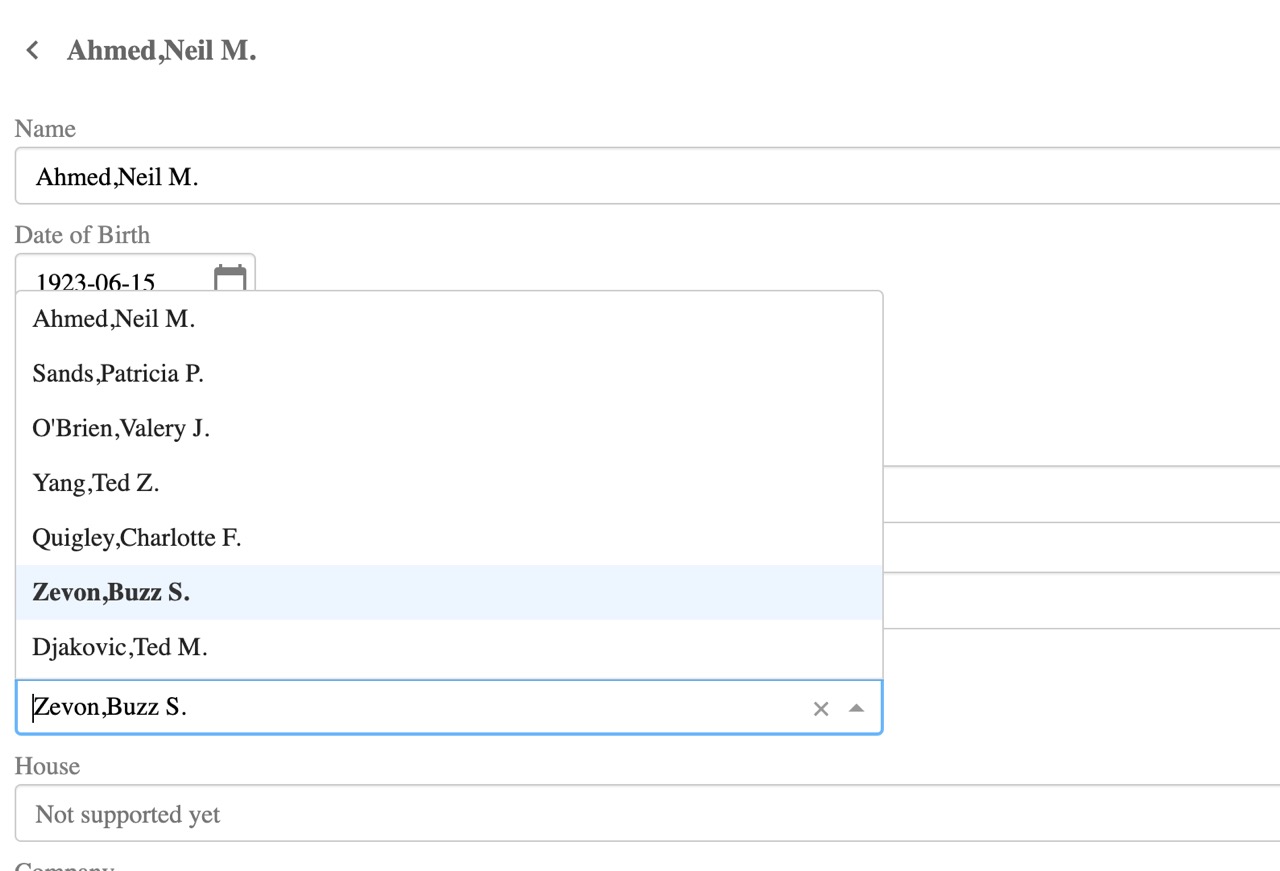
RESTForms goes with test classes Person and Company - and you can use it to examine the features of restformsUI. Currently It can edit string, number, boolean, date and look-up fields.
You can test all this on your laptop, if clone and build this repository:
docker-compose up -d --build
And then open the URL:
localhost:port/restforms2-ui/index.html
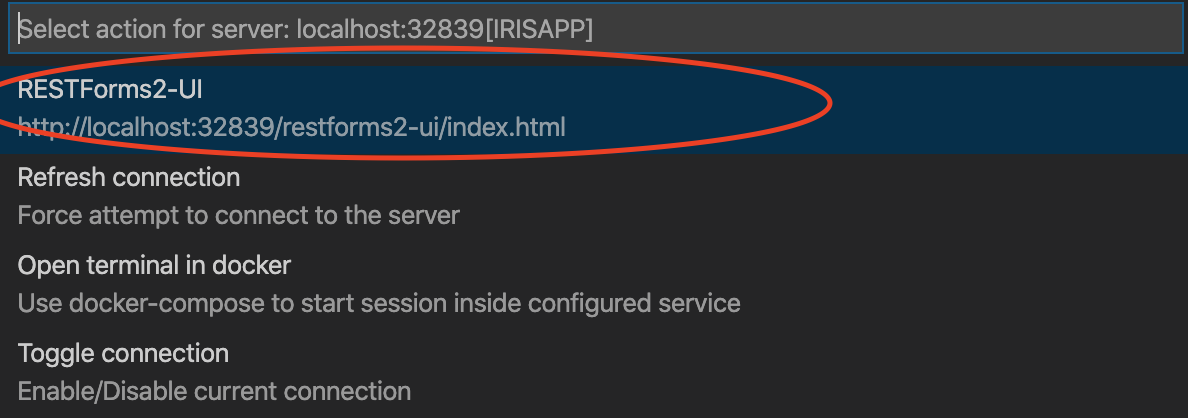
or if you use VSCode, select this menu item:
Happy coding and stay tuned!
Comments
It's great!
I tried the application, and I liked the interface and how easy it is to create a simple CRUD using RESTForms.
💡 This article is considered as InterSystems Data Platform Best Practice.
Love the accelerator concept for quick and easy CRUD :)