Using InterSystems API Management to Load Balance an API
InterSystems API Management (IAM) - a new feature of the InterSystems IRIS Data Platform, enables you to monitor, control and govern traffic to and from web-based APIs within your IT infrastructure. In case you missed it, here is the link to the announcement. And here's an article explaining how to start working with IAM.
In this article, we would use InterSystems API Management to Load Balance an API.
In our case, we have 2 InterSystems IRIS instances with /api/atelier REST API that we want to publish for our clients.
There are many different reasons why we might want to do that, such as:
- Load balancing to spread the workload across servers
- Blue-green deployment: we have two servers, one "prod", other "dev" and we might want to switch between them
- Canary deployment: we might publish the new version only on one server and move 1% of clients there
- High availability configuration
- etc.
Still, the steps we need to take are quite similar.
Prerequisites
- 2 InterSystems IRIS instances
- InterSystems API Management instance
Let's go
Here's what we need to do:
1. Create an upstream.
Upstream represents a virtual hostname and can be used to load balance incoming requests over multiple services (targets). For example, an upstream named service.v1.xyz would receive requests for a Service whose host is service.v1.xyz. Requests for this Service would be proxied to the targets defined within the upstream.
An upstream also includes a health checker, which can enable and disable targets based on their ability or inability to serve requests.
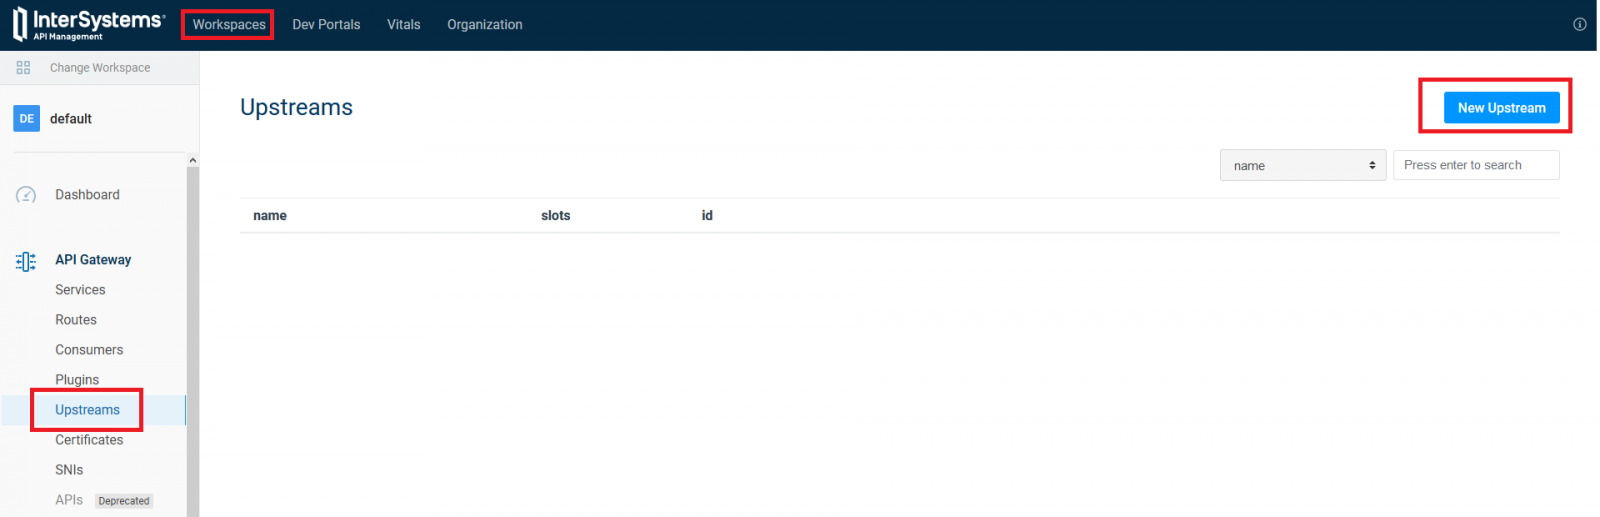
To start:
- Open IAM Administration Portal
- Go to Workspaces
- Choose your workspace
- Open Upstreams
- Click on "New Upstream" button
After clicking the "New Upstream" button you would see a form where you can enter some basic information about the upstream (there are a lot more properties):
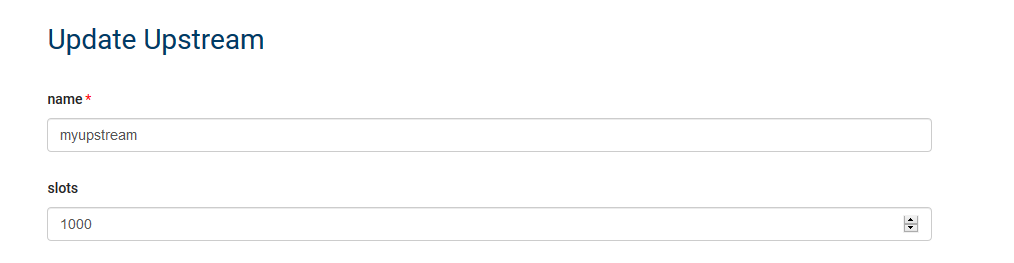
Enter name - it's a virtual hostname our services would use. It's unrelated to DNS records. I recommend setting it to a non-existing value to avoid confusion. If you want to read about the rest of the properties, check the documentation. On the screenshot, you can see how I imaginatively named the new upstream as myupstream.
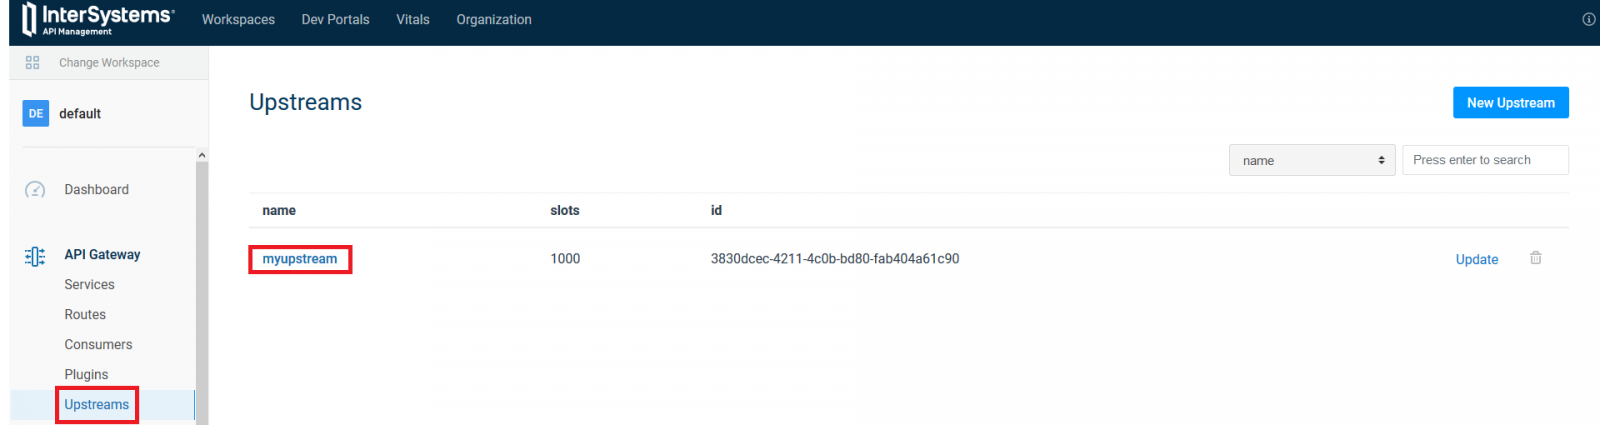
2. Create targets.
Targets are backend servers that would execute the requests and send results back to the client. Go to Upstreams and click on the upstream name you just created (and NOT on update button):
You would see all the existing targets (none so far) and the "New Target" button. Press it:
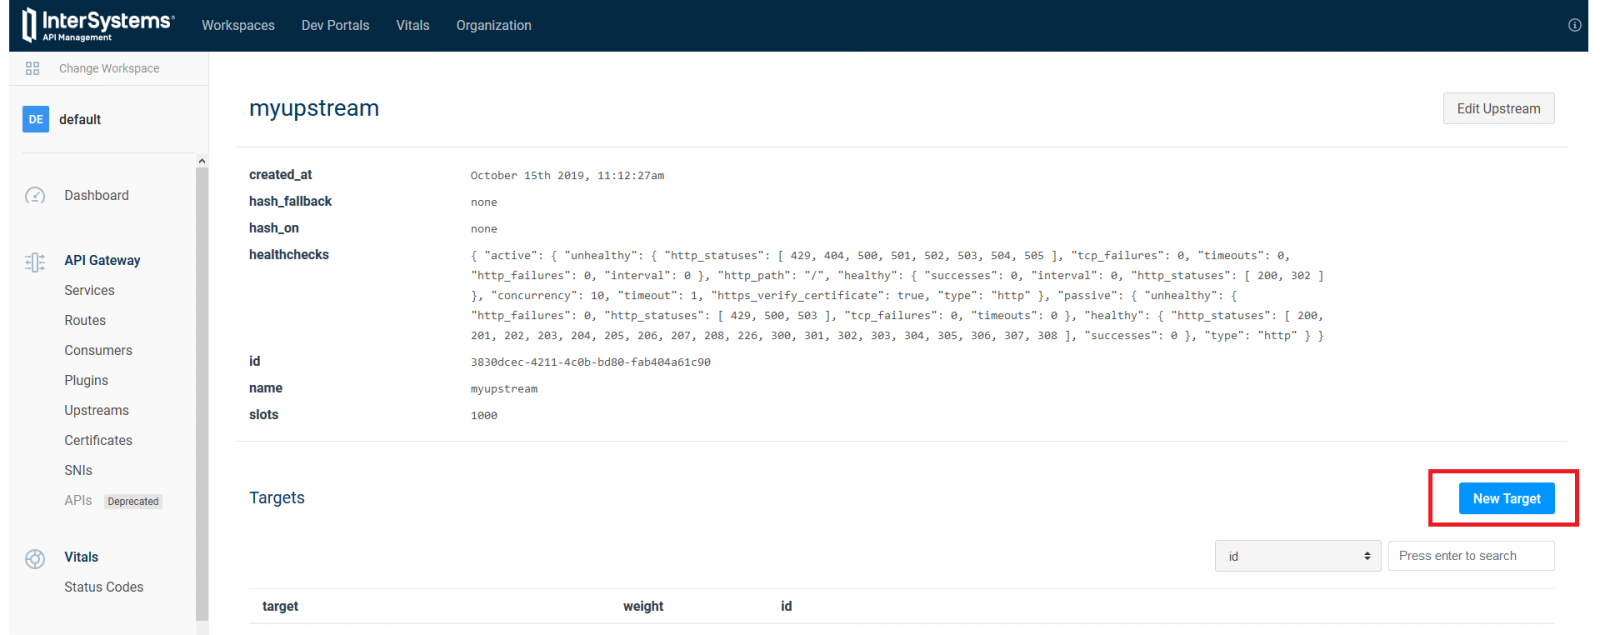
And in the new form define a target. Only two parameters are available:
- target - host and port of the backend server
- weight - relative priority given to this server (more weight - more requests are sent to this target)
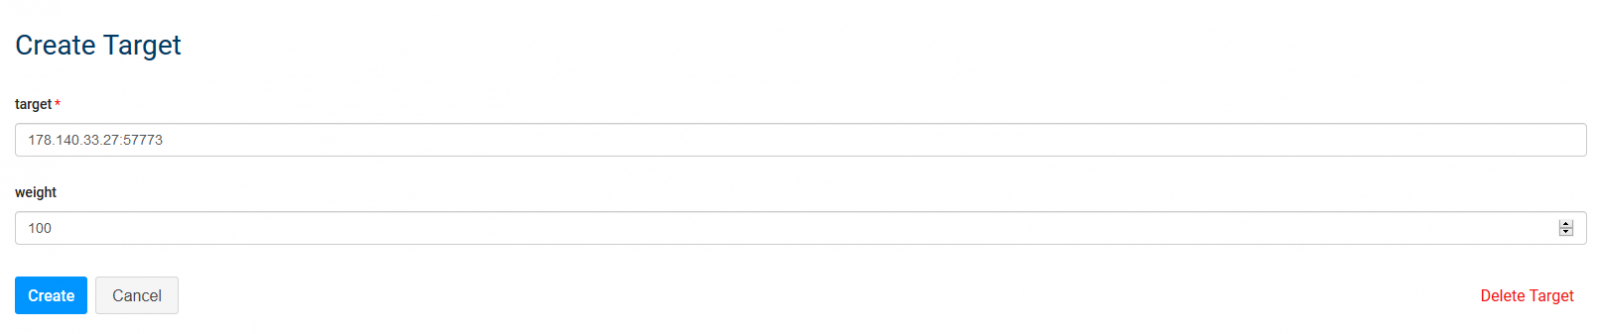
I have added two targets:

3. Create a service
Now that we have our upstream we need to send requests to it. We use Service for it.
Service entities, as the name implies, are abstractions of each of your upstream services. Examples of Services would be a data transformation
microservice, a billing API, etc.
Let's create a service targeting our IRIS instance, go to Services and press "New Service" button:

Set the following values:
| field | value | description |
|---|---|---|
| name | myservice | the logical name of this service |
| host | myupstream | upstream name |
| path | /api/atelier | root path we want to serve |
| protocol | http | the protocols we want to support |
Keep the default values for everything else (including port: 80).
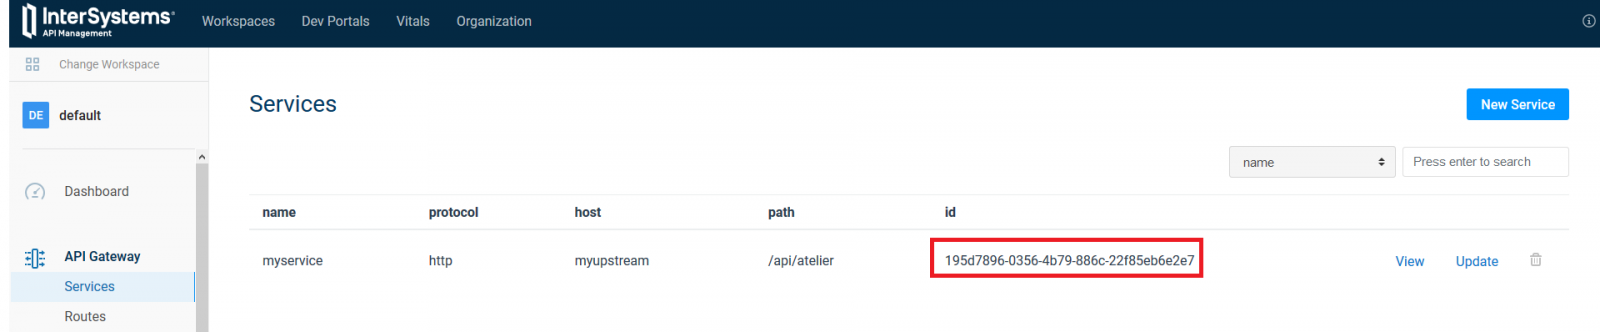
After creating the service you'll see it in a list of services. Copy service ID somewhere, we're going to need that later.
4. Create a route
Routes define rules to match client requests. Each Route is associated with a Service, and a Service may have multiple Routes associated with
it. Every request matching a given Route will be proxied to its associated Service.
The combination of Routes and Services (and the separation of concerns between them) offers a powerful routing mechanism with which it is possible to define fine-grained entry-points in IAM leading to different upstream services of your infrastructure.
Now let's create a route. Go to Routes and press the "New Route" button.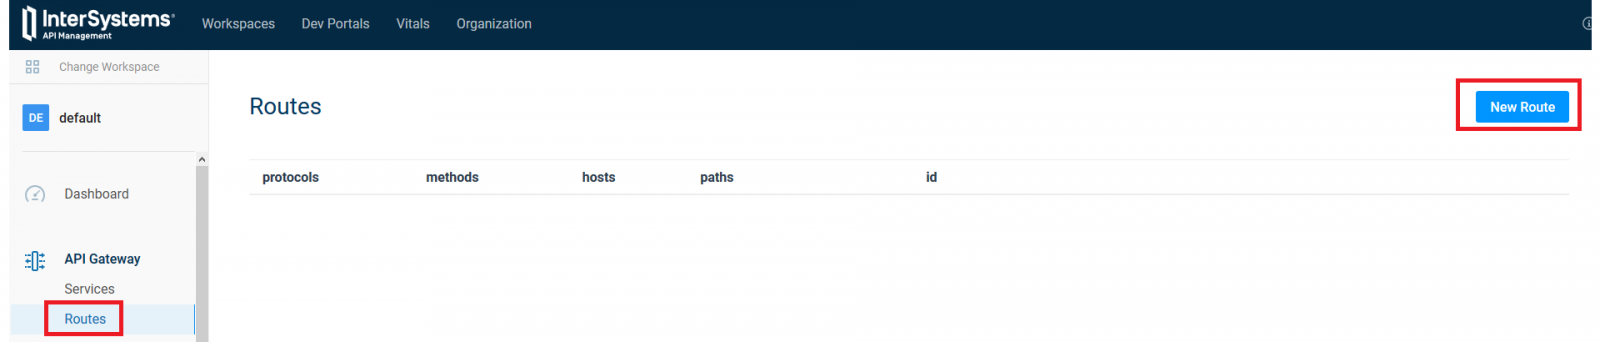
Set the values in the Route creation form:
| field | value | description |
|---|---|---|
| path | /api/atelier | root path we want to serve |
| protocol | http | the protocols we want to support |
| service.id | guid from 3 | service id value (guid from previous step) |
And we're done!
Send a request to http://localhost:8000/api/atelier/ (note the slash at the end) and it would be served by one of our two backends.
Conclusion
IAM offers a highly customizable API Management infrastructure, allowing developers and administrators to take control of their APIs.
Links
Question
What functionality do you want to see configured with IAM?
Comments
I have a question regarding productionized deployments.
Can the internal IRIS web-server be used, i.e. Port 52773?
Or should there still be a web-gateway between IAM and the IRIS instance?
Regarding Kubernetes:
I would think that IAM should be the ingress, is that correct?
Hi Stefan,
The short answer is you still need a web-gateway between IAM and IRIS.
The private web server (port 52773) minimal build of the Apache web server is supplied for the purpose of running the Management Portal not production level traffic.
I would think that IAM should be the ingress, is that correct?
Agreed. Calling @Luca Ravazzolo.