Some Windows tweaks for people who moved from Mac (and all others)
Hi! As a developer who was forced to move from Mac to Windows (temporary) I found some things a bit confusing. In this article I would like to talk about some tweaks I made to make my experience smoother. I think it can help not only Mac users who need to use Windows environment (for ex. in VMs), but also can help some Windows users to make some things more convenient. Of course, all the points are subjective, the best setup is one that works for you.
All the tweaks are related to Windows 10 as I don’t have an access to Windows 11 at the moment.
Getting rid of excess
Streamline start menu
The initial look of start menu is a bit overwhelming. With all these big tiles moving and taking place.
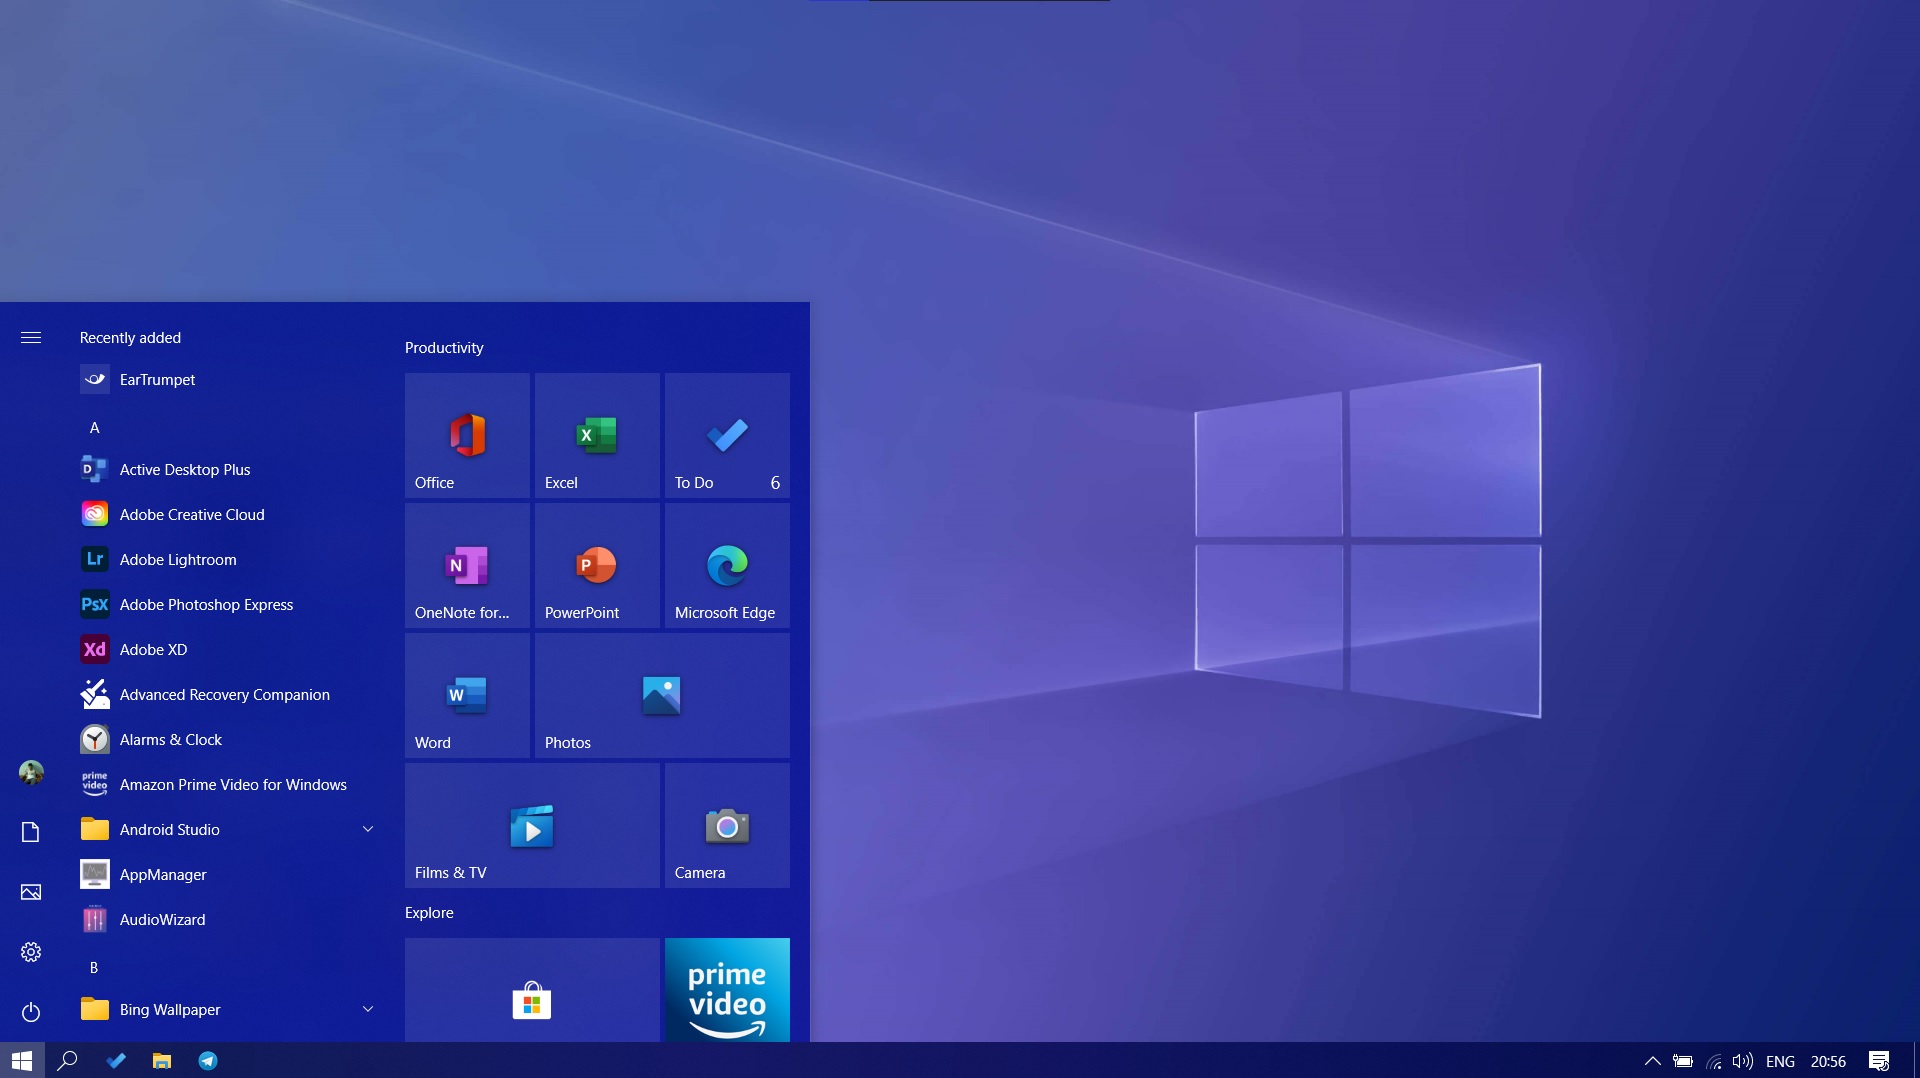
I’m not a fan of this, so I just moved all the apps I really need to taskbar and removed all the tiles by right-clicking each one and choosing “Unpin from start”. As the last gone, I was able to resize the menu to look more like the start menu from older version of Windows.
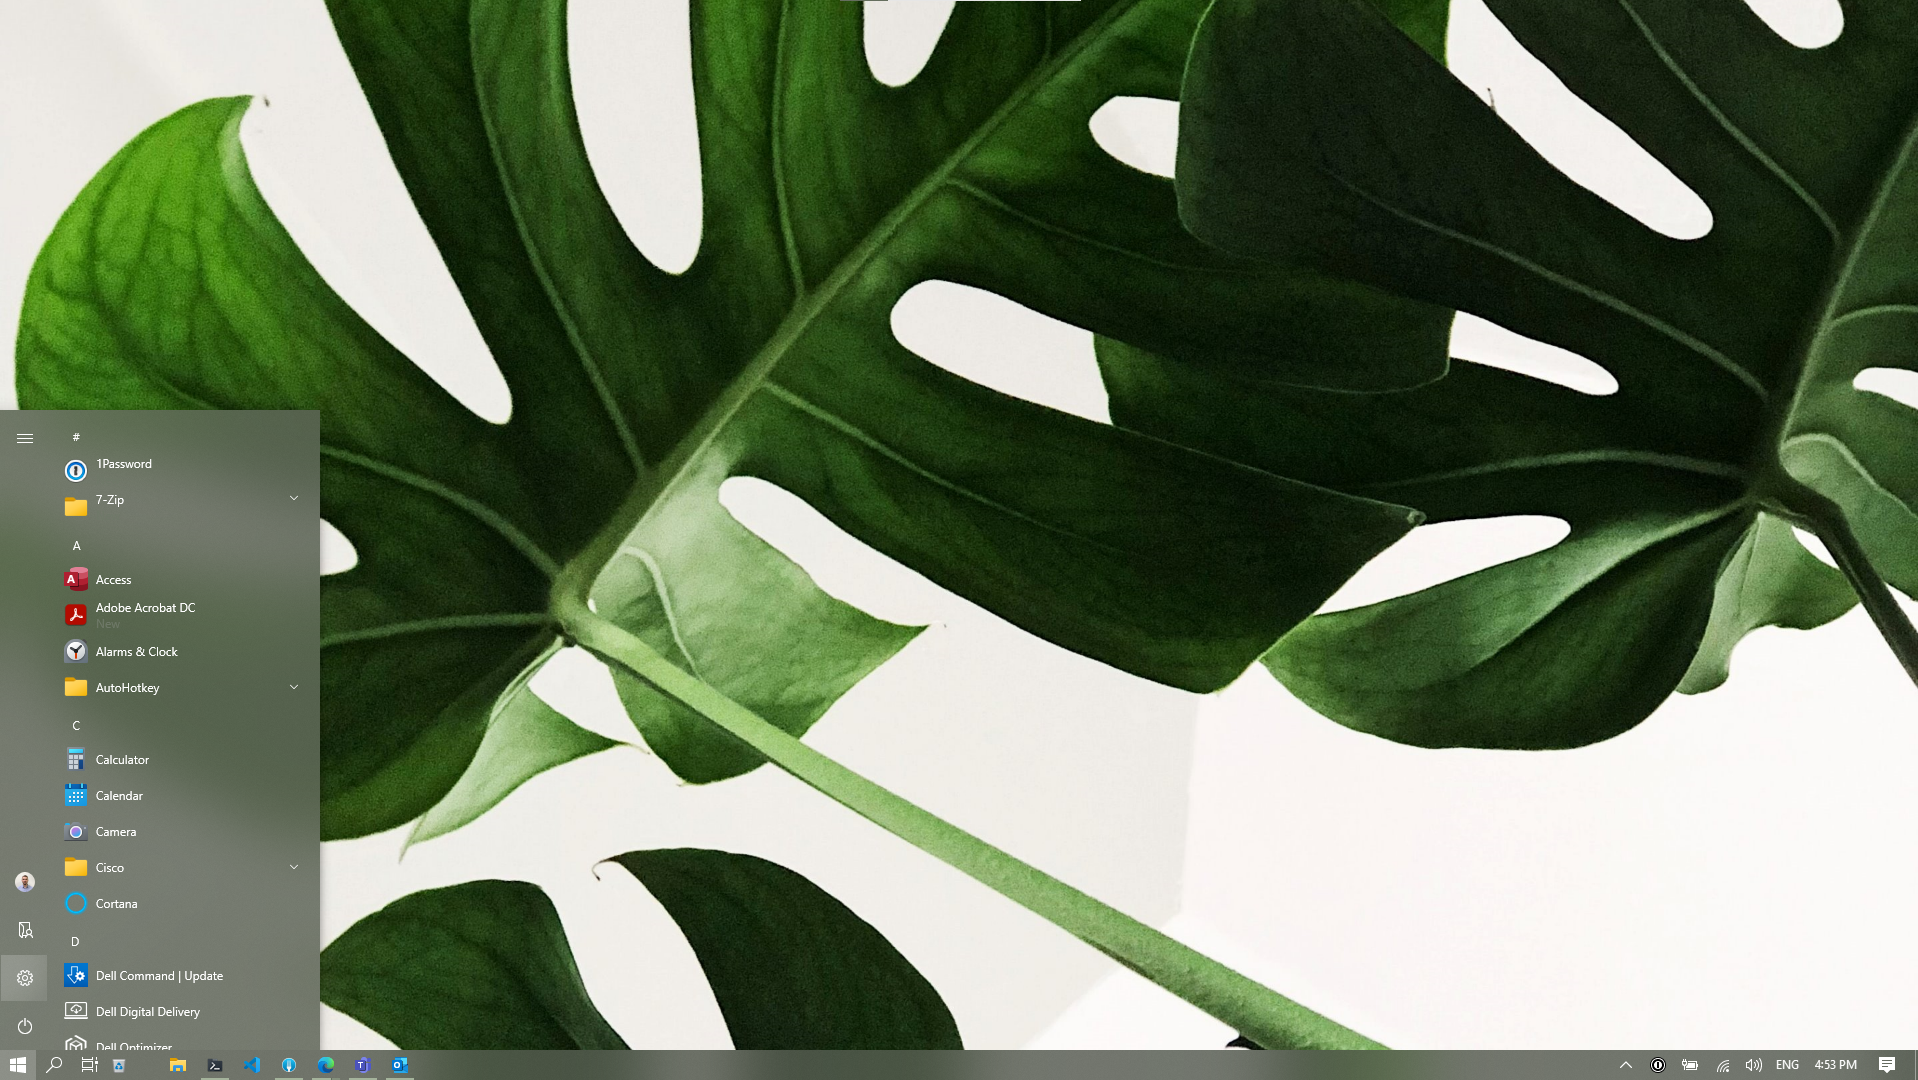
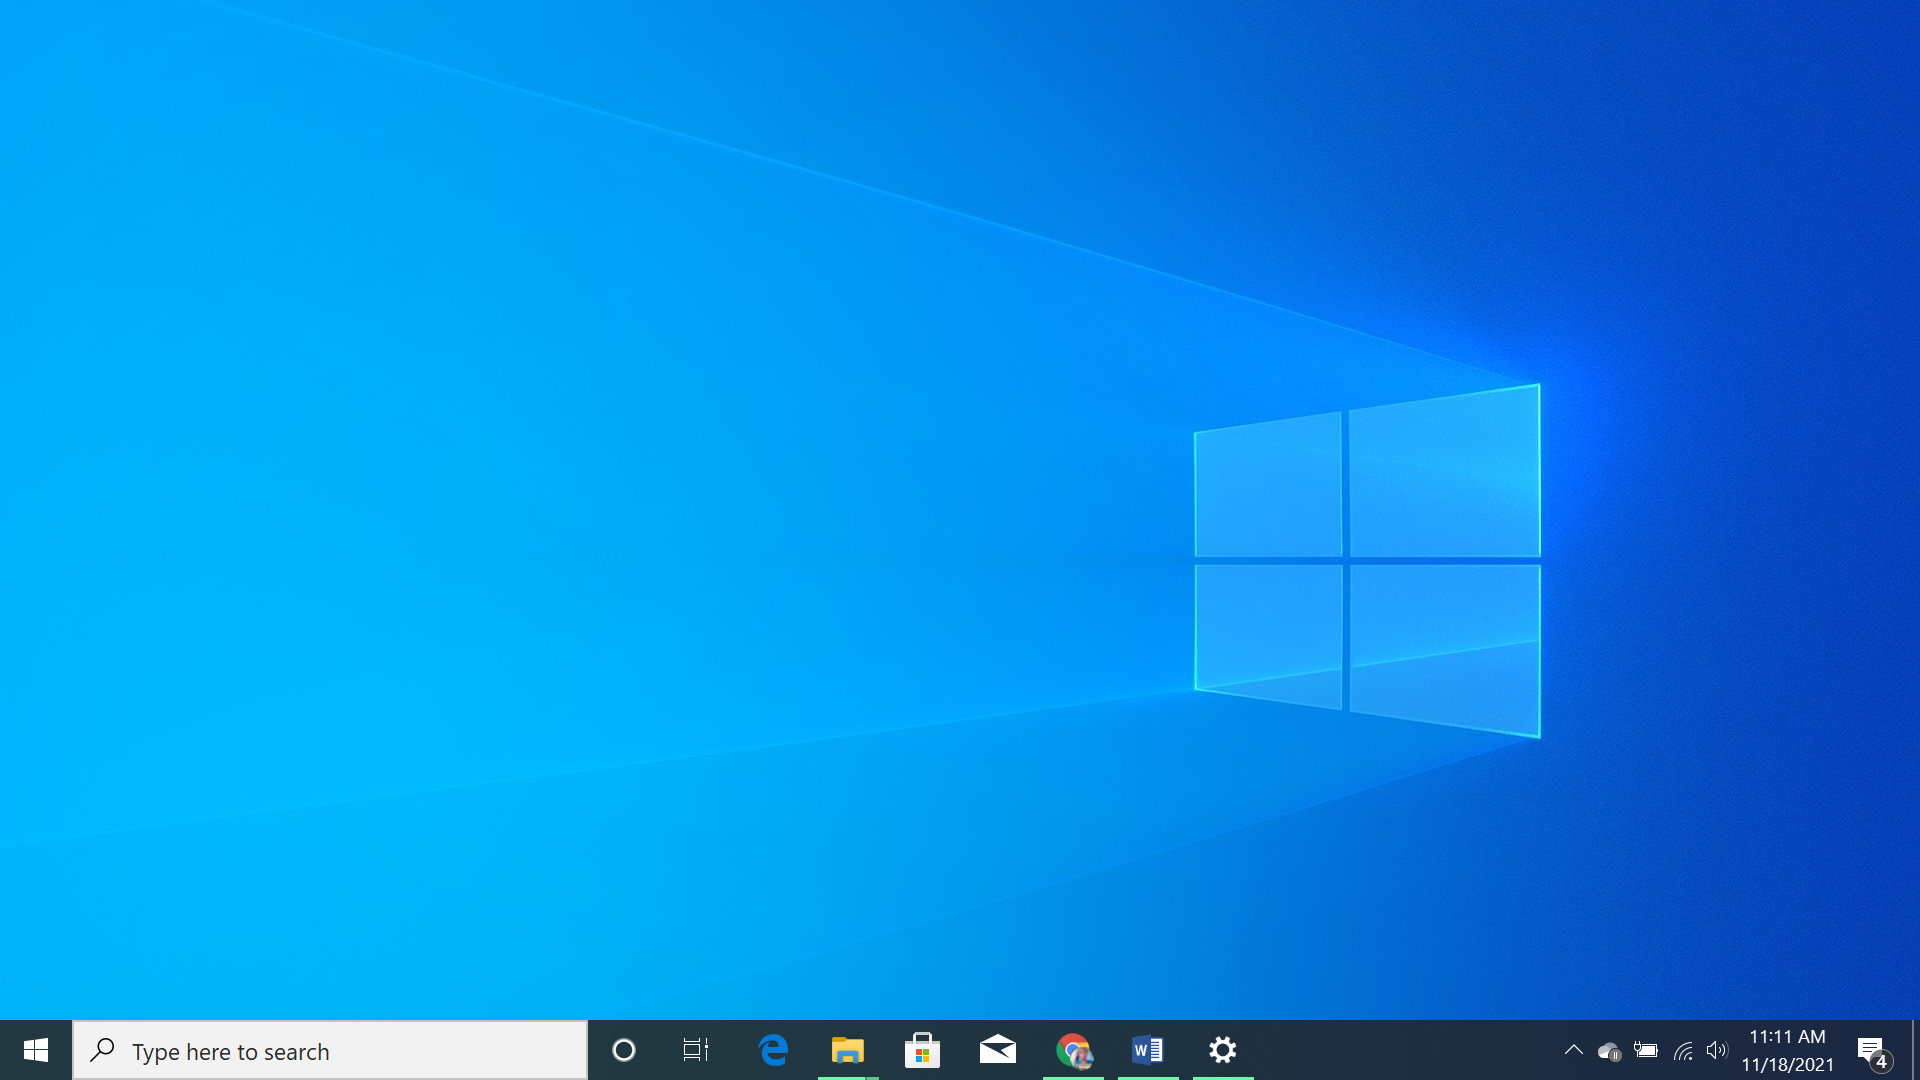
Now it looks much cleaner and streamlined.
Also, there are Documents and Pictures folders on the left side, pinned by default. As a developer, I don’t need these folders, but I would like to see my main user’s folder there (I’m not frequently accessing it from start menu, but it would be handy anyway).
This could be easily done by going to Settings → Personalization → Start → Choose which folders appear on Start
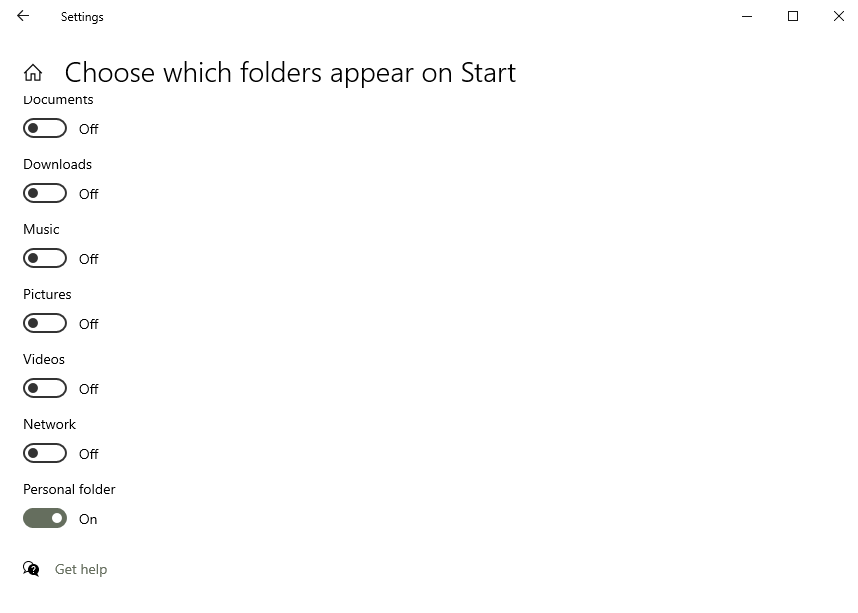
Here you can easily switch off/on the folders you really need.
Streamline taskbar
Remove Cortana from taskbar
Right click on taskbar → uncheck “Show Cortana button”
Remove News and Interests (ad)
Right click on taskbar → News and Interests → Turn off
My suggestion is disable it system-wide through Group policy: https://thesysadminchannel.com/how-to-remove-news-and-interests-windows-10/#GroupPolicy
Remove People suggestion
Right click on taskbar → uncheck “Show People on the taskbar”
Fold Search bar to Search icon
Right click on taskbar → Search → Show search icon.
The search icon works the same as the search input field, also, you can access search with Win + S shortcut. There is also the other way, I will talk about it later.
I also removed all the icons from my desktop (as I have Explorer icon in tasksbar) and placed the Recycle Bin in taskbar.
Here’s detailed guide how to do it: https://allthings.how/how-to-pin-recycle-bin-to-taskbar-on-windows-11/
Getting rid of system-wide ad and “suggestions”
Disable lockscreen ad
Go Settings → Personalization → Lock Screen and uncheck “Get fun facts, tips, and more from Windows and Cortana on your lockscreen”
Disable app suggesting in start menu
Go Settings → Personalization → Start and uncheck “Occasionally show suggestions in Start”
Disable taskbar ad
Go Settings > System > Notifications & Actions and uncheck “Get tips, tricks and suggestions as you use Windows”
Disable ad in notifications
Go Settings > System > Notifications & Actions and uncheck “Show me the Windows welcome experience after updates and occasionally when I sign in to highlight what’s new and suggested”
Disable OneDrive and Office 365 ad
Go to Explorer → File → Change folder and search options and uncheck “Show sync provider notifications”
Disable ad in Settings panel
Click on search icon in taskbar, then 3 dots → Search Settings → Windows Privacy options [at the bottom] and uncheck “Show me suggested content in the Settings app”
Streamline Explorer.exe
Remove anything you don’t need in Quick Access [and add what you really need].
This is pretty straightforward.
To remove something: right-click on item in Quick Access → Unpin from Quick Access
To add something: right-click on item in Explorer → Pin to Quick Access
Disable Recent files (optionally)
I didn’t find recent files useful for me. Usually I ending up going to file directory as it wasn’t found in recent files.
Go to Explorer → File → Change Folder and Search options and uncheck “Show recently used files in Quick Access” and “Show frequently used folders in Quick Access”.
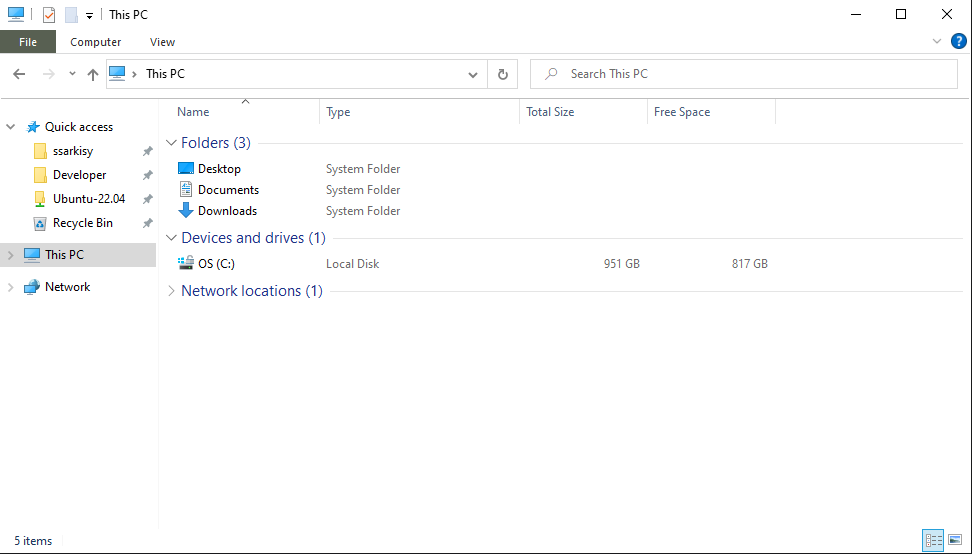
Disable unneeded folders in user directory
Windows creates a ton of default folders in user directory which not everyone ever need. They produce visual noise, so I disabled most of them.
It is done by Registry tweaks. Feel free to disable ones you don’t really use: https://github.com/ssarkisy/HideUserFoldersWindows10
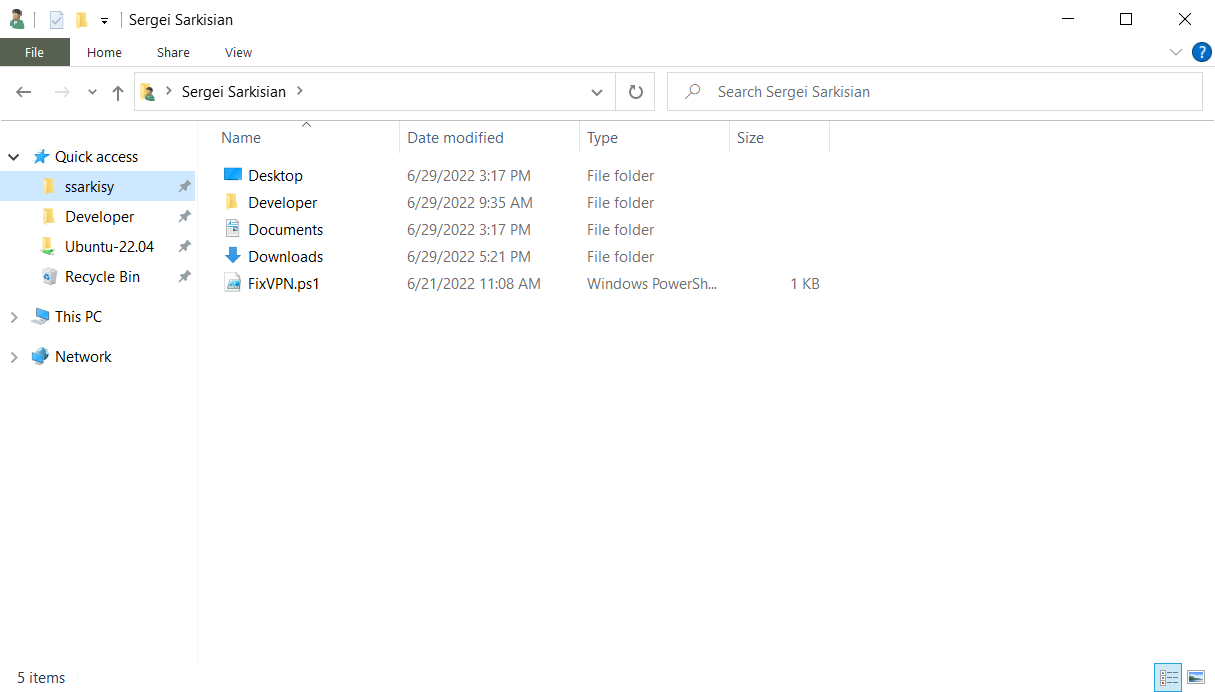
Now your user folder is tidy and clean!
Adding useful stuff
Package manager
If you used package managers before, you know that this is must have. The most advanced package manager for Windows is Chocolatey. The official installation guide: https://chocolatey.org/install
Short path (PowerShell with Admin rights):
Set-ExecutionPolicy Bypass -Scope Process -Force; [System.Net.ServicePointManager]::SecurityProtocol = [System.Net.ServicePointManager]::SecurityProtocol -bor 3072; iex ((New-Object System.Net.WebClient).DownloadString('https://community.chocolatey.org/install.ps1'))
Terminal
Default Windows shells are not very modern in terms of usability, customization and output. There are multiple 3rd party terminal emulators that do the job much better. I chose Fluent Terminal. It’s built with modern Microsoft Fluent design, has good customization options and supports any shells you would like to use (cmd, PowerShell, GitBash, WSL and any shell you would like to add by yourself).
Official repo: https://github.com/felixse/FluentTerminal
And you can install it with our fresh installed package manager:
PowerShell with Admin rights: choco install fluent-terminal
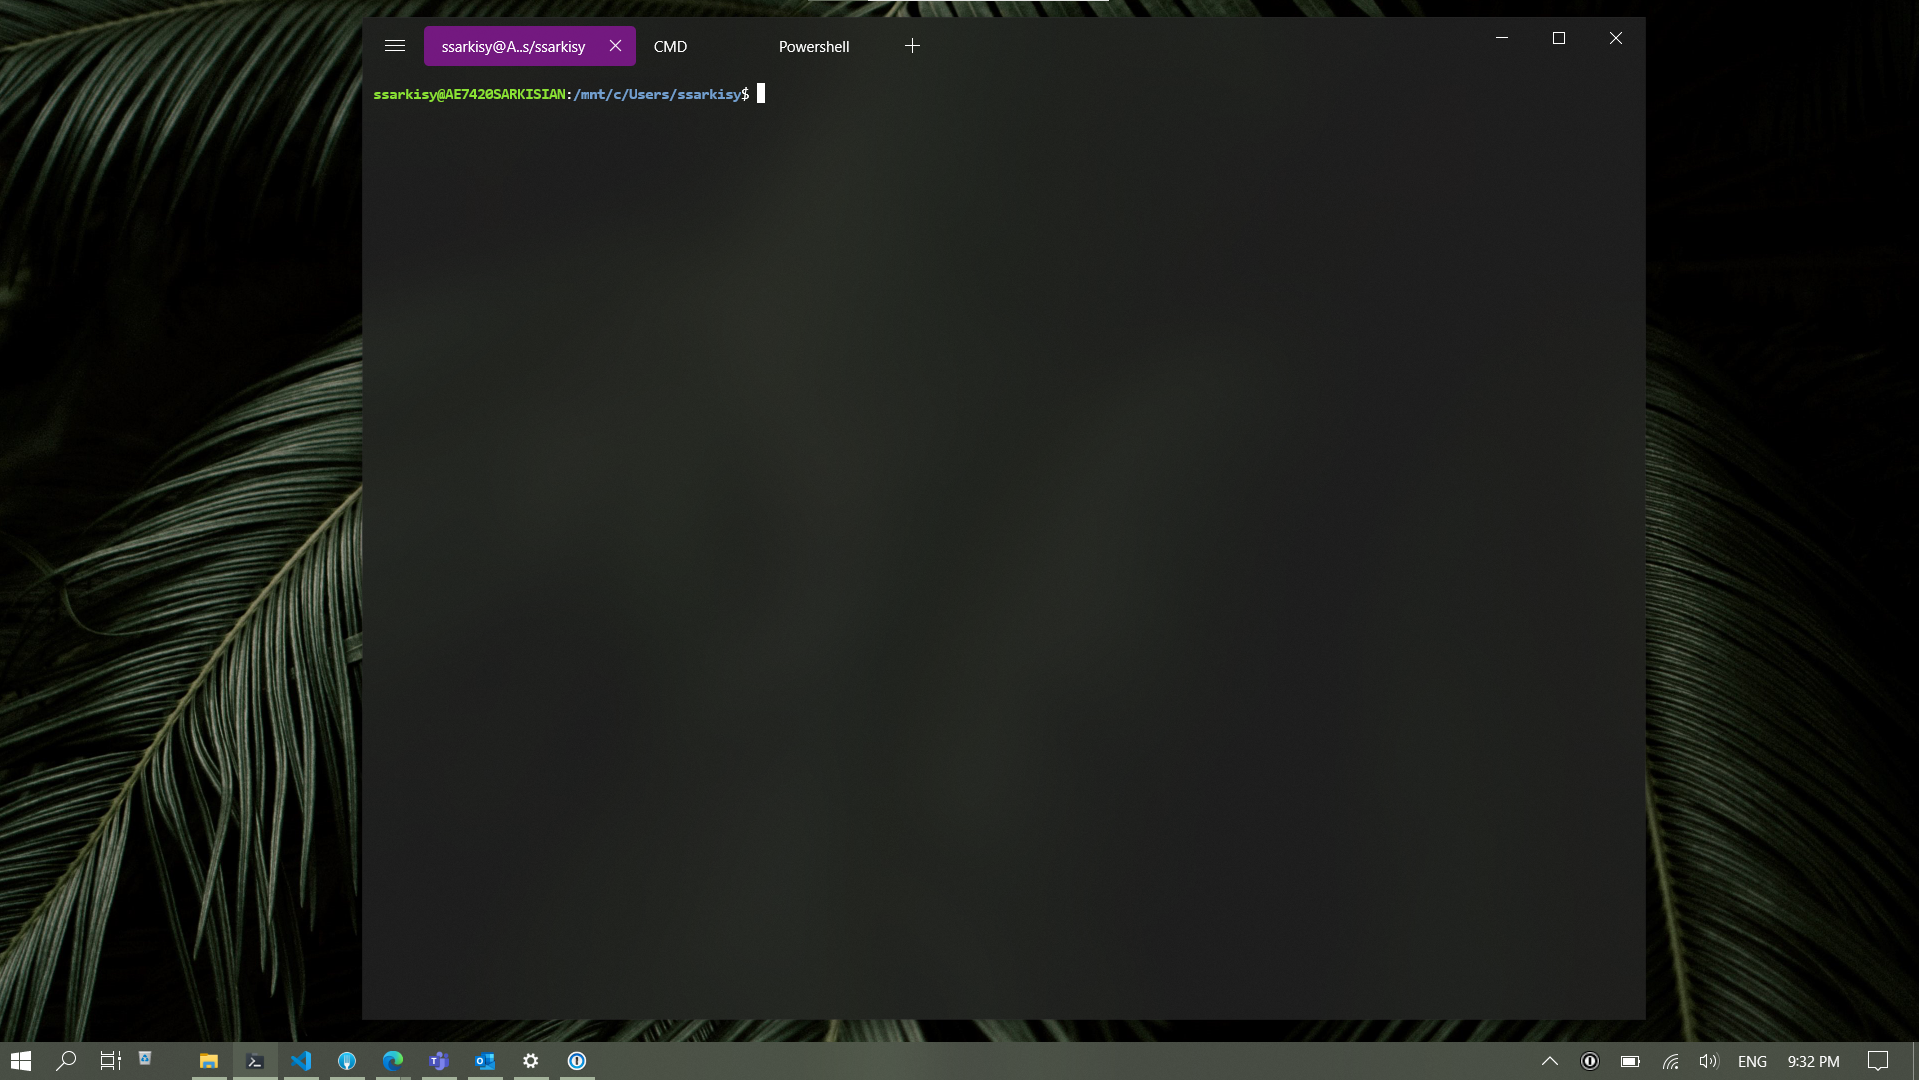
And as you can see, I’m having Ubuntu WSL, CMD and PowerShell in one place, supporting all the features Fluent Terminal provides.
Visual Studio Code
You can install Visual Studio Code with Chocolatey package manager: choco install vscode
What the point to install it through package manager? Well, it also makes it available in terminal, so you can type code . to open current directory in VS Code. Pretty handy!
WSL Ubuntu
If you come from Mac and want your familiar *nix tools back (like grep, for example) and work in *nix environment, you can use WSL which Microsoft ships with latest Windows 10 builds. I chose Ubuntu 22.04 as my main distro for WSL.
Install WSL
PowerShell with Admin rights: wsl --install
Be sure that you use Windows 10 build 2004 or later. It will install WSL2 by default. WSL2 is much better than WSL1 as it uses real Linux kernel instead of system calls mapping in 1st version.
You can check which version you are running with wsl -l -v command.
More here: https://docs.microsoft.com/en-us/windows/wsl/install
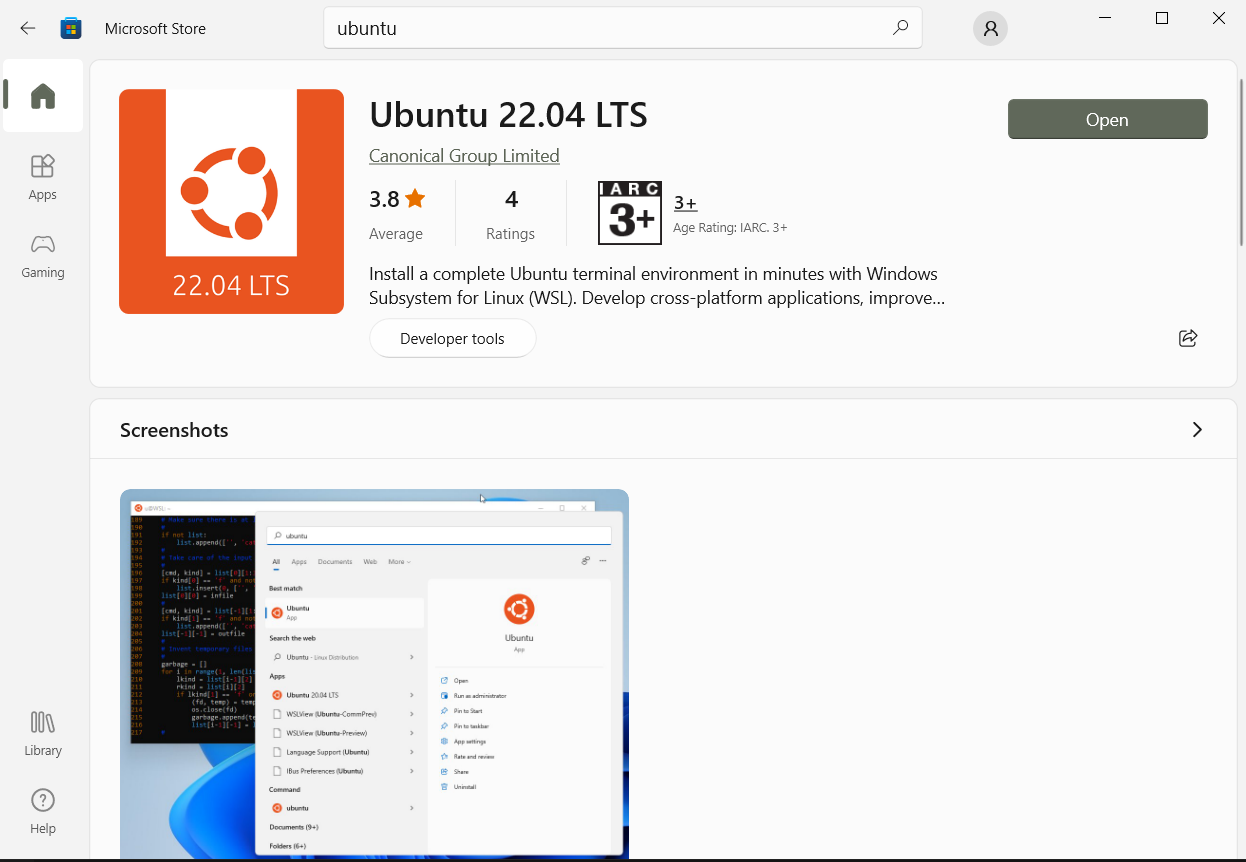
Install Ubuntu
It’s kinda crazy, but you can install Ubuntu from Microsoft Store. Go to store and type Ubuntu in search.
After installation, when you will open new WSL tab in Fluent Terminal it will automatically login into Ubuntu shell:
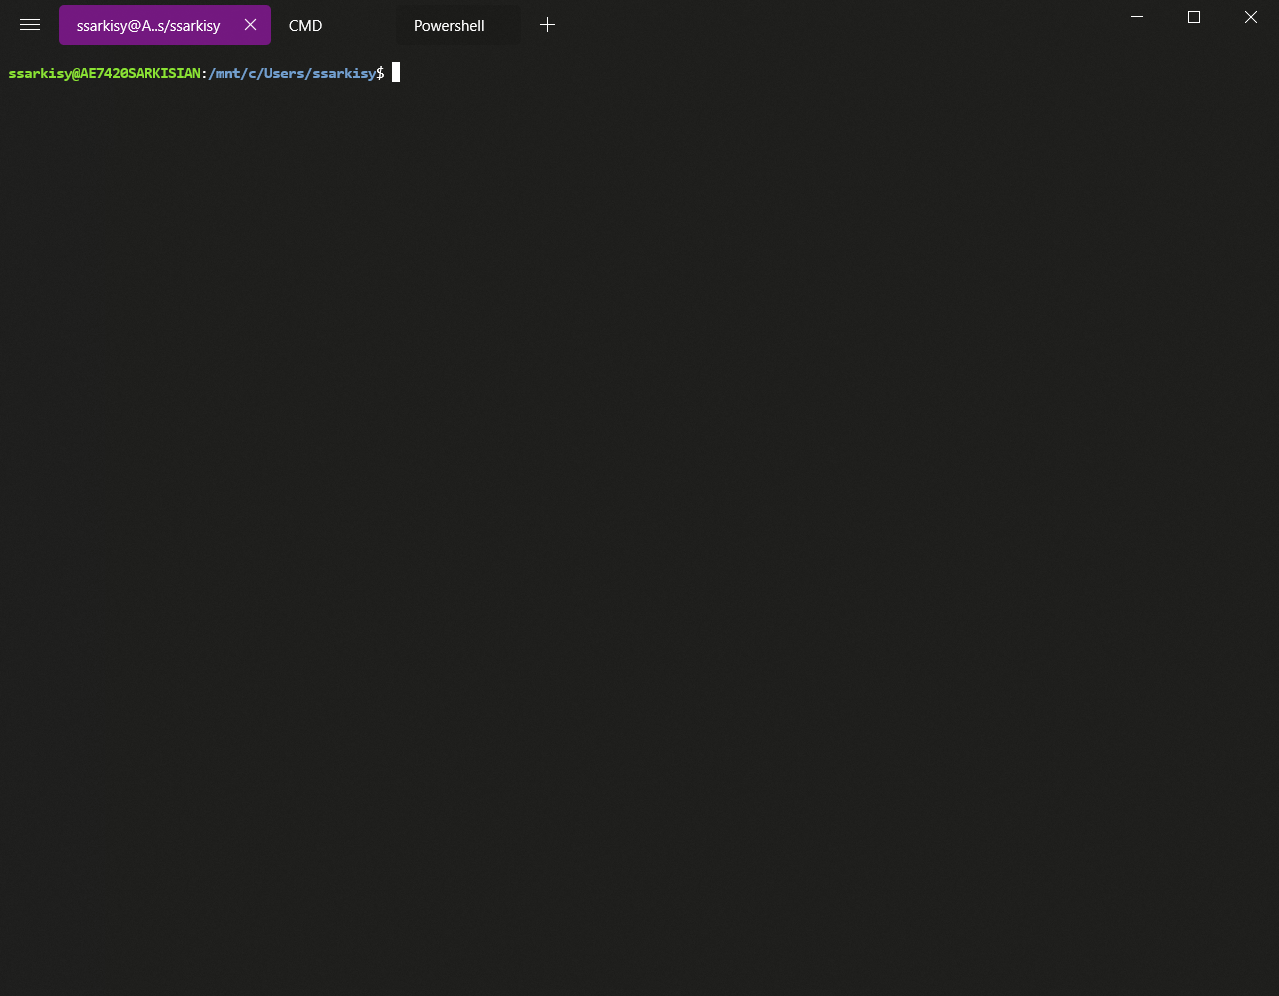
As you see, it also uses our Windows user folder as home folder in the shell. All the Windows drives are mounted in /mnt directory, so you will have access to all your Windows file system from Ubuntu shell. Great!
And some magic
Remember we installed VS Code with Chocolatey? code . command will also work from Ubuntu shell and will open Windows VS Code of current directory!
There is more. You can type explorer.exe . to open Explorer window in current directory. And you can use it with Ubuntu files as it’s available to Windows as network drive!
Note that you can use any directory path instead of . with commands above.
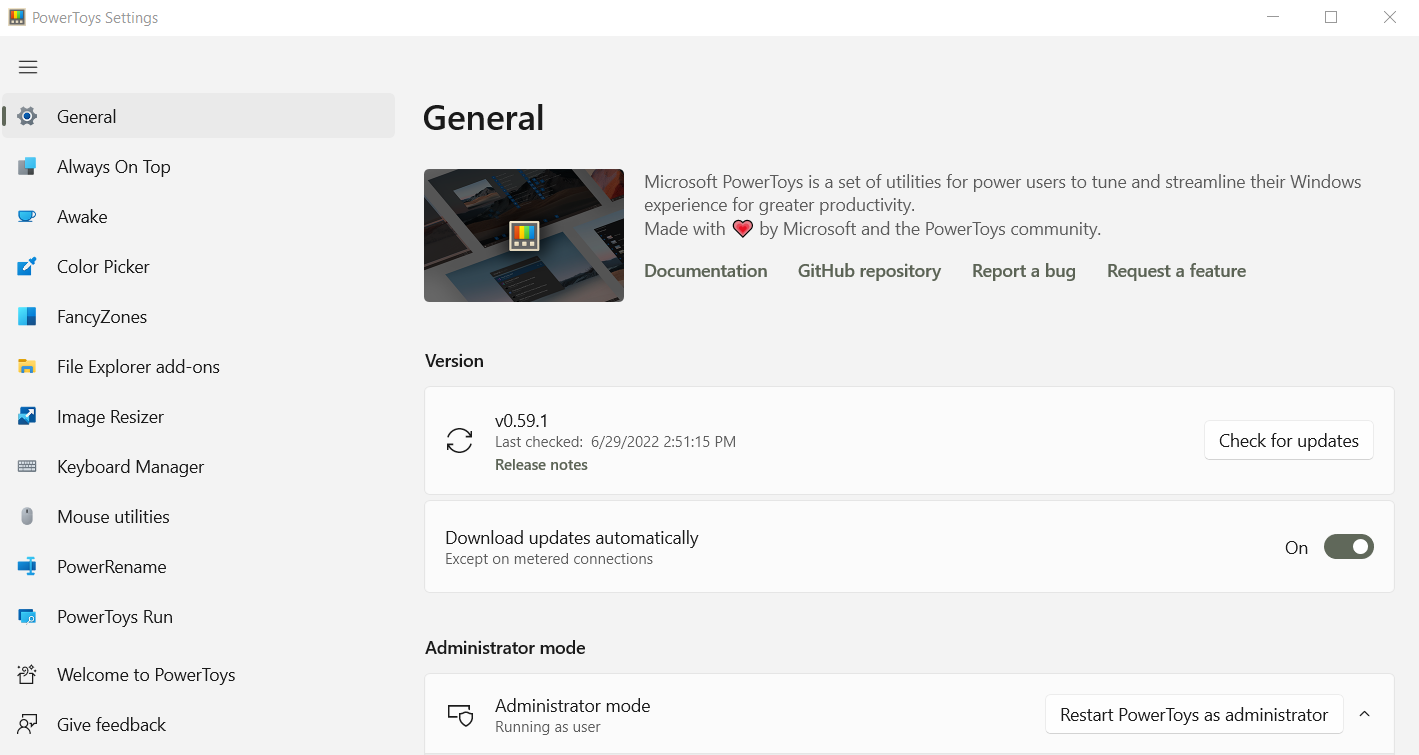
Microsoft PowerToys
There is interesting project Microsoft developed but doesn’t ship it with Windows by default. It’s called PowerToys and it provides quite interesting set of features. And each feature can be optionally enabled/disabled.
The official install guide: https://docs.microsoft.com/en-us/windows/powertoys/install
And of course you can install it with Chocolatey: choco install powertoys
Note: all shortcuts I will mention are default, but they can be changed by user.
Let’s run through it’s features:
Always on top
With Win + Ctrl + T shortcut you will able to pin current window to stay always on top.
Awake
With this feature on you will have a new icon in taskbar which will allow you to enable Awake mode which will prevent your computer from sleep.
Color picker
Must have feature for designers and web developers. System-wide color picker which you can activate with Win + Ctrl + C shortcut. Additionally, you can specify the color formats you want (e.g. HEX, RGB, HSL, CMYK and more).
FancyZones
Advanced windows layout manager which will allow you to build and fix specific windows layout on each monitor, changing windows in these layouts with shortcuts and more.
File Explorer Addons
Super handy feature which enables tons of useful preview types support (e.g. source code files, markdown files, pdfs). If you miss Quick Preview feature from macOS then it’s kinda replacement for that.
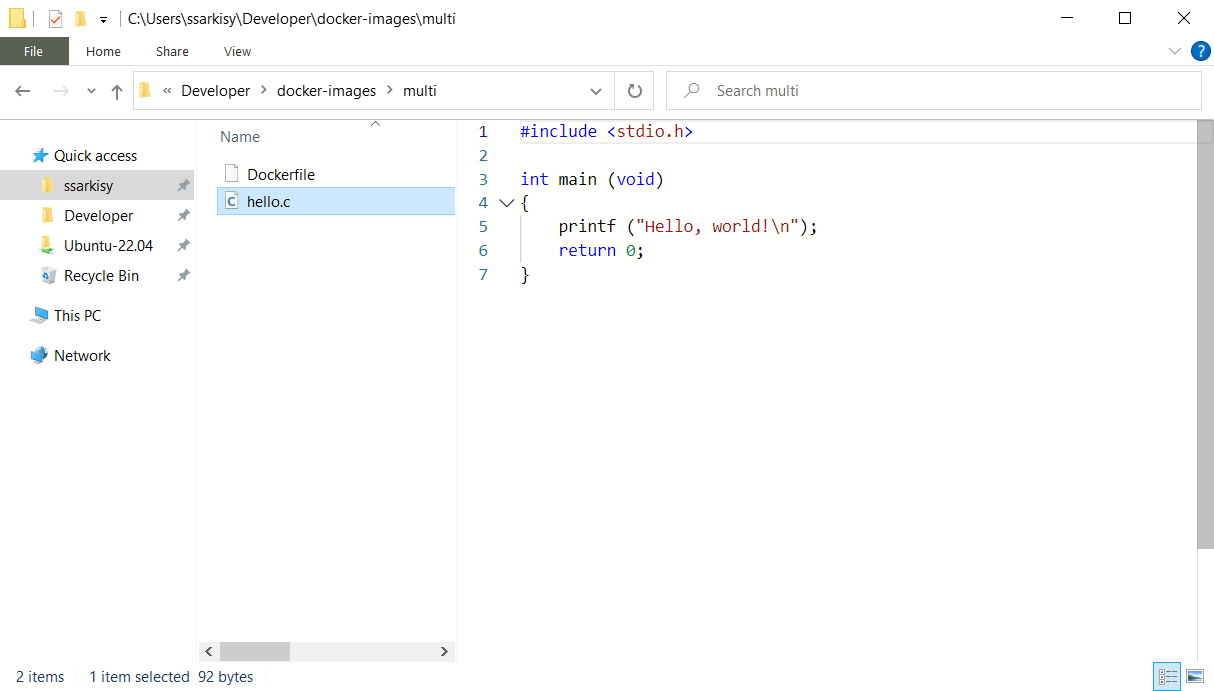
Image Resizer
This feature will allow you to resize image with right-click. It’s also customizable.
Keyboard Manager
This one will allow you to remap keys and shortcuts. I will use it later in this guide.
Mouse utilities
This feature has some useful options for screen casting. For example, it can highlight mouse clicks or spot your cursor on shortcut.
Power Rename
Tool for batch files renaming.
PowerToys Run
This is interesting one. It’s literally Spotlight for Windows. It can search files, apps, settings, opened windows, registry records, services, run shell commands, calculate expressions, show time in specified time zone, convert units, execute system commands (like sleep or restart) and the best feature — search and open Visual Studio Code workspaces. Must have.
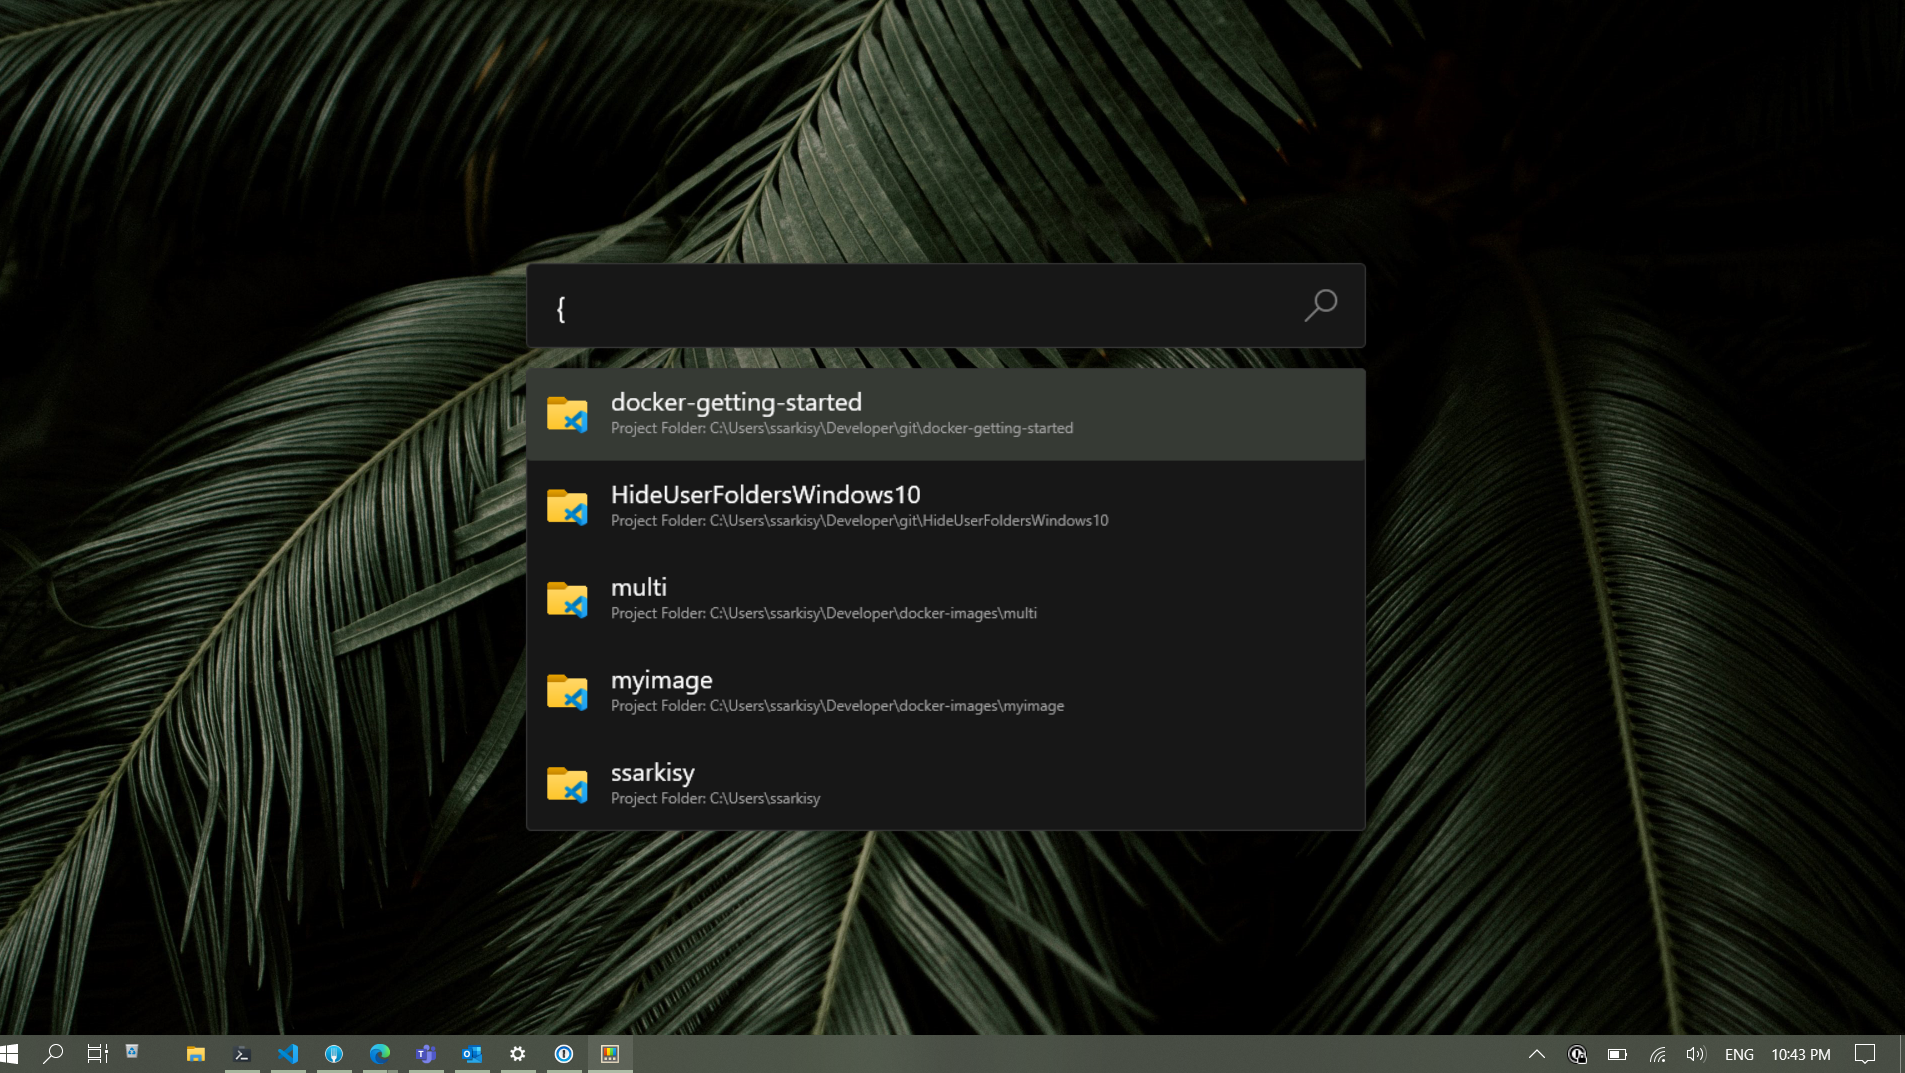
If you are missing Spotlight or Alfred then this is definitely deserves a try.
Fixing some shortcuts
Disable Windows Ink (optionally)
I don’t find this Windows feature useful at all and it will collide with shortcut I will set next. If you need this, then feel free to pass the next point or use your own shortcut.
How to disable Windows Ink:
- Open the Local Group Policy Editor. Navigate to:
Computer Configuration → Administrative Templates → Windows Components → Windows Ink Workspace. - In the right pane, double-click Allow Windows Ink Workspace to open its properties.
- Check the Enabled option. Next, select Disabled from the drop-down menu under the Options section.
- Click on Apply and then OK. Restart your PC to make the changes to take effect.
Better shortcuts to close windows and apps
If you came from Mac, you know how useful and convenient to have consistent shortcuts that allow you to close the tabs, windows and apps. In macOS you can use CMD + Q to close the app and CMD + W to close the tab o particular app’s window. In Windows, I found next shortcuts for closing windows and tabs: Alt + F4, Ctrl + F4, Ctrl + W, Ctrl + Shift + W . In different apps they work differently, and it’s also not very convenient to mix Ctrl + W and Alt + F4 , especially when most of modern Windows shortcuts using Win key as modifier key.
Let’s fix it. Go to PowerToys → Keyboard Manager → Remap a shortcut
Map next shortcuts:
Win (Left) + Q to Alt + F4
Win (Left) + W to Ctrl (Left) + W
Now in most apps you will be able to close the entire app with Win + Q combination and close the specific window or tab with Win + W . Pretty much as in macOS.
Map Caps Lock to something more useful
My favorite tweak is mapping Caps Lock to Backspace key. Then you will able to delete the characters with your left little finger without reposition of the right hand.
Go to PowerToys → Keyboard Manager → Remap a key and map Caps Lock to Backspace.
Right windows minimization shortcut
Windows do it wrong. That’s pretty strange for the system which has name “Windows”. There is a shortcut Win + Arrow Down to minimize windows in Windows. But it works only for floating windows. If you have maximized window, then Win + Arrow Down will detach window from screen edges and convert it to floating windows. So you will need to repeat the shortcut to minimize the window. The main problem is if you will use Alt + Tab or Win + Tab to switch back to this window then it will restore the floating state and not initial, maximized one. The only solution I found is to use AutoHotKey software to fix this issue.
- Install AutoHotKey: https://www.autohotkey.com/
- Right click in Explorer → New → AutoHotKey script (I named mine Minimize)
- Put the next lines in it:
#NoEnv  ; Recommended for performance and compatibility with future AutoHotkey releases.
; #Warn  ; Enable warnings to assist with detecting common errors.
SendMode Input  ; Recommended for new scripts due to its superior speed and reliability.
SetWorkingDir %A_ScriptDir%  ; Ensures a consistent starting directory.

;=============================================================================;
; WINDOWS KEY + Alt + Down  --  Minimizies Active window
;=============================================================================;
; instead of "Restore Down" for Win+Down
#!Down::WinMinimize, A
- Save the script and run it
Now you can use Win + Alt + Arrow Down to minimize any windows, even maximized ones.
To run the script on startup:
- Create shortcut for the script
- Run
shell:startupin Windows Run app (or you can use PowerToys run for this by hittingAlt + Spaceand entering>shell:startup). - Copy shortcut inside the opened directory.
Some useful shortcuts in Windows
Win + D — show Desktop (it doesn’t minimize any windows, just hiding it. Repeat the shortcut to show them back)
Win + Left Arrow and Win + Right Arrow — attach current window to left or right edge of the screen
Win + Up Arrow — maximize current window
Win + Shift + S — make screenshot of selected area or full screen (the downside is that it will only be placed in clipboard and you can’t choose the file saving location)
Win + Tab — Task View. Microsoft’s analog of Mission Control on Mac. I use it every time.
Win + A — Open Action Center
Win + P — Show external display[s] modes
Win + E — Open Explorer
Win + I — Open Settings
Win + L — Lock your computer. Do not forget to do it when you leave you workplace.
Win + R — Open Run dialog (in case you decided not to use PowerToys Run)
Win + S — Open Windows Search (again, I prefer PowerToys Run for this)
Win + ; — Emojis. Like Crtl + CMD + Space on Mac
Win + Crtl + D — Create new Virtual Desktop
Win + Crtl + Arrow Left/Right — Switch between virtual desktops
That’s all from my side. Hope that this article was useful for you!
If you know useful Windows tricks or Tweaks, let me know in comments. I will spend some time working in Windows environment, so I will appreciate your help =)
See you!
Comments
@Eduard Lebedyuk let me know if you find something useful as a Windows power user 😉
Great article, Sergei!
Interesting summary. Even as a Windows user I'll bockmark it to take a closer look... regarding the terminal... give it a try to Windows Terminal Preview...available in Microsoft Store... sure you'll like it.
Also for screen snapshots... if you want to have the chance to decide where to store it... use this option
.png)
that you'll find in Windows Ink workspace... (the one you get rid of :-) ) ... it'll capture the whole screen and open it to let you cut, modify and copy or save the image...
Hi Jose!
Thanks for a tip with Windows Ink. I will try to give it a go! 👍
Windows Terminal seems to be a good choice! Why wouldn't they ship it with the system?
I think they do so in Windows 11 :-)
I found one big advantage of Windows Terminal comparing to Fluent Terminal. Windows Terminal can run any shell in elevated mode (and Fluent can't).