O InterSystems IRIS for Health v2024.3 já está disponívelcomo Developer Preview há algum tempo, e eu gostaria de destacar o novo suporte relacionado à Busca FHIR (FHIR Search) que foi introduzido.
We’re excited to invite you to take part in shaping the next generation of ObjectScript development tools. We’re working on an AI-powered ObjectScript coding assistant designed specifically for IRIS developers. Not a generic AI adapted for ObjectScript, but a solution built from the ground up to understand ObjectScript idioms, IRIS APIs, interoperability productions, and real-world developer workflows.
To make sure we build something truly useful, we need your input.
This article is intended as a beginner level article for people that want to learn how to use OAuth2 in their web applications natively.
There is an accompanying video/demo that may be helpful here:
and you can reproduce this locally with the Open Exchange application attached.
OAuth2 as a native authentication type for web applications
OAuth (Open Authorization) 2.0 is a standard way to let one application call another application’s API without sharing a username and password. Instead of sending credentials on every request, the client sends an access token (typically in an Authorization: Bearer ... header).
OAuth2 focuses on authorization (what the client is allowed to do). If you also need user login and identity claims, OAuth2 is commonly paired with OpenID Connect (OIDC) — but in this article we’ll stay focused on OAuth2 access tokens and scopes.
If you want a quick refresher, this short video is a good overview: OAuth 2.0 An Overview.
The problem OAuth2 solves (with a simple IRIS example)
Assume IRIS hosts a small REST API for a bank account ACCT-1 under /bank:
GET /bank/checkbalance
{
  "dollars": 5
}
POST /bank/transfer
{
  "toAccount": "ACCT-2",
  "dollars": 2
}
Now suppose you want to allow a third-party app to monitor your balance. It should be allowed to call /checkbalance, but it should not be allowed to call /transfer.
This is where OAuth2 fits well: instead of giving the third-party app your IRIS username/password, you grant it limited access via a token. That token can be:
Scoped (e.g., “read balance” but not “transfer funds”)
Time-limited (tokens expire)
Revocable (you can withdraw access later)
What’s new in IRIS
Starting in IRIS 2025.2, OAuth2 can be selected as a native authentication method for Web Applications — so enabling an OAuth2-protected web app is no longer a “DIY” exercise.
Concretely, IRIS can validate an incoming access token for a CSP/Web Application request and then establish a user context (username + roles) based on that token, just like other authentication types do.
Resource Owner (the user/owner of the bank account)
Client (the third-party app; in this demo we use Postman as the client)
Authorization Server (Keycloak; authenticates the user & authorizes the request, deciding what scopes the client can receive, and issues the token)
Resource Server (IRIS; hosts /myBankInfo, validates the token, and enforces what the token is allowed to do). The third-party app never sees your IRIS password — it presents a token, and IRIS makes the allow/deny decision.
Note: This demo uses HTTP to keep setup simple. In production you should use HTTPS (and real certificates), otherwise tokens and sessions can be intercepted.
This Open Exchange demo runs multiple Docker containers. One important rule to remember is:
localhost on your host is not the same as localhost inside a container.
OAuth token validation checks the token’s issuer claim (iss). If Keycloak issues a token with an issuer like http://localhost:8080/... but IRIS discovers/validates it using http://keycloak:8080/..., IRIS will reject the token because those issuers do not match.
To keep the issuer stable, this demo uses the hostname keycloak consistently from both the host and the containers.
On Windows, edit: C:\Windows\System32\drivers\etc\hosts and add:
127.0.0.1 keycloak
On Linux/Mac, edit /etc/hosts and add the same line (you’ll typically need sudo).
From this point on, use http://keycloak:8080 (not http://localhost:8080) when configuring Postman and IRIS.
Step 1: Configure the Authorization Server (Keycloak)
For the demo, the Authorization Server is Keycloak and it is already prepared for this use case (realm, clients, users, scopes). No work is needed here.
Explaining Keycloak itself is not in the scope for this article, but if you would like to read more you can find the docs here.
Step 2: Tell IRIS who the Authorization Server is
In the Management Portal, go to:
System Administration > Security > OAuth 2.0 > Client
Click Create Server Description, set the Issuer URL (in the demo: http://keycloak:8080/keycloak/realms/bank), then click Discover and Save. IRIS will pull the endpoints and metadata it needs from the server (authorization endpoint, token endpoint, JWKS URI, etc.).
Step 3: Configure IRIS as the Resource Server
Next, create a Resource Server entry so IRIS can validate tokens and enforce permissions:
Click Create Resource Server:
Fill in the details of your resource server, for example:
Name: IRIS Bank Resource Server
Server Definition: http://keycloak:8080/keycloak/realms/bank
Audiences: bank-demo, bank-monitor
What is “Audience”? The token’s audience (aud) is the “intended recipient” of the token. By configuring audiences here, you are telling IRIS to accept only tokens that were issued for this API (i.e., tokens whose aud matches one of these values).
Click save.
We will set the Authenticator class in the next step. Note that this is not strictly necessary; you could use the %OAuth2.ResourceServer.SimpleAuthenticator in your own implementations and just fill in what token property should be attributed to the role and user. However, for the sake of completeness we will create a simple custom authenticator class.
Step 4: Create your Authenticator Class
What should be authenticated? We will create a simple class Bank.Authenticator that maps token claims/scopes into an IRIS username and IRIS roles.
This is the key step that lets IRIS enforce “read-only” vs “transfer” behavior:
The token’s scopes become IRIS roles.
Your web application (and/or your REST endpoints) can require those roles.
In other words, this is what makes /checkbalance succeed for a “monitor” token while /transfer returns 403 Forbidden unless the token includes the transfer scope.
Class Bank.Authenticator Extends%OAuth2.ResourceServer.Authenticator
{
// Check if scopeStr is in scopeClassMethod HasScope(scopeStr As%String, scope As%String) As%Boolean
{
Quit ((" "_scopeStr_" ") [ (" "_scope_" "))
}
Method Authenticate(claims As%DynamicObject, oidc As%Boolean, Output properties As%String) As%Status
{
// Map token -> IRIS usernameSet properties("Username") = claims."preferred_username"// Map scopes -> IRIS rolesSet scopeStr = claims.scope
Set roles = ""If..HasScope(scopeStr,"bank.balance.read") {
Set roles = roles_",BankBalanceRead"
}
If..HasScope(scopeStr,"bank.transfer.write") {
Set roles = roles_",BankTransferWrite"
}
If$Extract(roles,1)=","Set roles=$Extract(roles,2,*)
Set properties("Roles") = roles_",%DB_USER"Quit$$$OK
}
}
Once you compile the class you will be able to set your authenticator class in your resource server:
Save your resource server.
Step 5: Enable OAuth2 on the Web Application
Before enabling OAuth2 for a web app, you must enable it at the System level:
System Administration > Security > System Security > Authentication/Web Session Options
Finally, on your Web Application definition, select OAuth2 as an allowed authentication method. The dispatch class will check that the client has the necessary roles.
Step 6: Test it out
At this point, requests to your application can be authorized based on the presented token — so you can allow read-only access to /checkbalance while denying access to /transfer using the OAuth2 framework.
Load the Postman collection and environment. There are two demo users/passwords to have in mind: user1/123 and user2/123.
User 1 has account ACCT-1, User 2 has account ACCT-2.
In Postman, on Authorization click Get New Access Token:
This brings up the login screen for our Authorization Server:
Log in with user1/123. Click proceed and then click Use Token.
Send your GET to /checkbalance and you should see it return 5 dollars:
Clear cookies and try logging in with user 2 and you should see them have 0 dollars in their balance.
Now get a token for user 1 and try to transfer user 2 a couple dollars. It should fail with 403 Forbidden as this “app” does not have the required scopes (it is only monitoring the bank account and should not be able to transfer money).
Try again with requests 3 and 4 which simulate a client with full access and you should be able to both check your balance and transfer funds.
The new OAuth2 native authentication type ensures it is intuitive to keep your web applications safe, and after all, that's what the I in IRIS is all about.
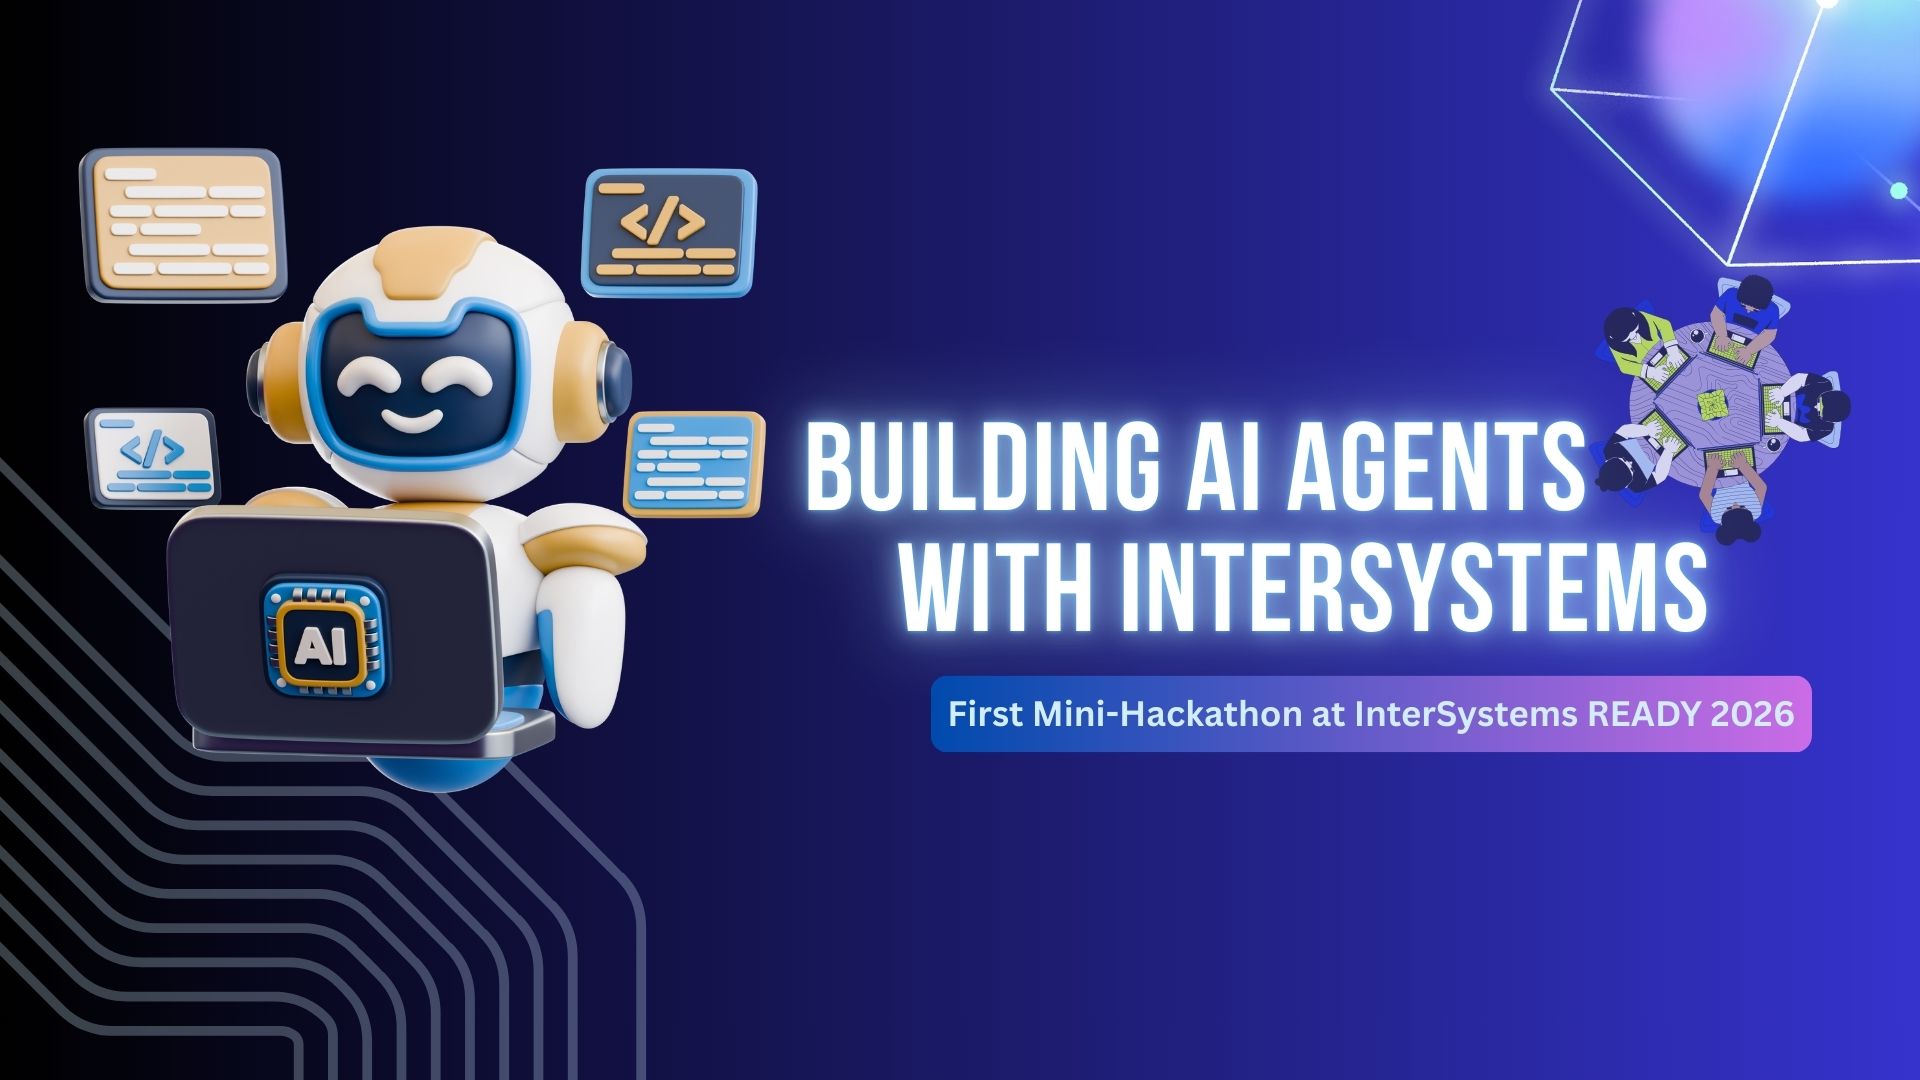
We’re excited to announce the first mini hackathon“Building AI Agents with InterSystems”, taking place on a pre-conference day as part of InterSystems READY 2026.
In this hands-on challenge, participants will design and build AI agents using upcoming InterSystems capabilities, exploring how intelligent automation, orchestration, and reasoning can be applied to practical use cases.
📅 Event date: 27 April 2026 📍 Location: Gaylord National Resort & Convention Center, National Harbor, Maryland 🔗 Learn more here: Building AI Agents with InterSystems mini-hackathon at InterSystems READY 2026
What to expect:
The event begins with a one-hour workshop to get everyone up to speed on the tools, patterns, and capabilities available. After that, you’ll have four focused hours of hacking time to create your agent, refine your idea, and demo your project to the judging panel. The day will conclude with judging and an awards ceremony.
This hackathon is designed for attendees who want hands-on experience with the tools, an opportunity to prototype an agentic workflow, and in-person guidance from InterSystems experts.
Technical experience: As a hands-on hackathon, we would ask that entrants have some technical experience using InterSystems products, writing code and basic knowledge of generative AI. There will be a technical workshop to bring everyone up to speed beyond these requirements.
📝 Registration:
1. Mark your interest in the hackathon during READY 2026 registration, and you will receive a notification once hackathon registration opens.
2. Hackathon registration will open in the Cvent app in February. Everyone who expressed interest will receive a notification when registration becomes available.
3. You will need to add the hackathon session to your calendar. Participation is limited to 50 attendees, and spots are available on a first-come, first-served basis. We expect strong interest in this competition, so please be sure to register early to avoid disappointment.
4. Submissions will be reviewed to ensure the appropriate technical background, and then we will send confirmation of participation.
If you’re attending InterSystems READY 2026, don’t miss this chance to take part in an interactive and inspiring experience!
.jpg)
 Open Exchange
.png)
.png)
.png)
.png)
.png)
.png)
.png)
.png)
.png)
.png)
.png)
.png)
.png)
.png)
.png)