Using VS Code
Hi Guys,
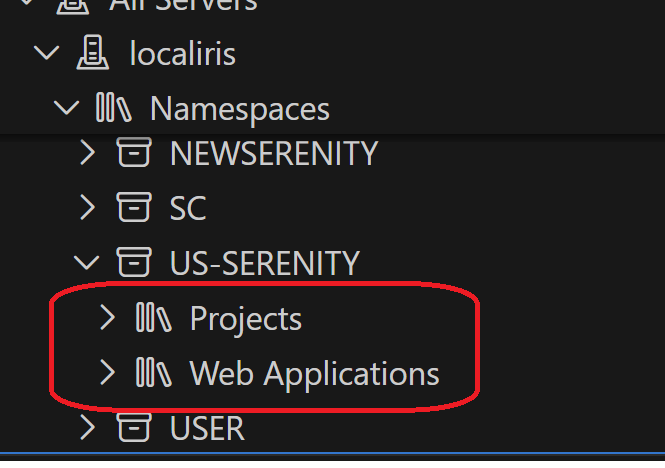
I've connected VS Code to my IRIS server and can see projects & web application option but not Classes tab, how can I add it, and with the old Studio we do have the Inspector tab where we can check properties, Storage, methods, are these available in VS code?
also does any changes or new classes created via VS code automatically reflected in my IRIS namespace ?
Thanks
Comments
To address your questions:
-
Missing
ClassesTab in VS Code:
To browse all classes in a connected namespace while using VS Code with InterSystems IRIS, you need to connect the ObjectScript Explorer to the server. Click the InterSystems icon at the bottom of the Activity Bar in VS Code to access the ObjectScript Explorer and choose your server and namespace. Ensure your workspace is set up properly by following the steps for configuring the server and namespace in the VS Code ObjectScript extension 1. -
Inspector-like Features in VS Code:
While VS Code does not replicate the exactInspectorfunctionality of Studio, the InterSystems ObjectScript Extension provides support for autocomplete and exploration of properties, methods, and other elements. Ensure that the InterSystems Language Server and related extensions are properly installed and configured. This provides features like viewing methods or properties while typing and navigating easily between classes and packages 2. -
Automatic Reflection of Changes in IRIS Namespace:
When you make changes or create new classes using server-side editing in VS Code, these will automatically reflect in your IRIS namespace. Proper configuration ensures that changes are synced with the server. Note that you can configure sync settings within the VS Code extensions for seamless server updates when saving or modifying files 1.
For better usage, verify that you have installed the necessary VS Code extensions such as the InterSystems ObjectScript Extension Pack, and ensure your server connection is properly configured.
Sources:
From what I understand (I'm sure more knowledgeable community members will jump in if anything is incorrect) you have two options: Mounting the namespace to your workspace, or importing and exporting individual files from your workspace.
Option 1:
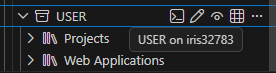
From the Servers tab, which your screenshot shows, you can hover over any namespace to find options to mount the namespace to your VS Code workspace, either in a read-only or editable session. This screenshot shows it with the buttons - pencil is editable, eye symbol is read-only.
Option 2:
My preferred usage method is to use the Explorer Panel below the servers panel. To start, click choose server and namespace to sign in to your chosen namespace: 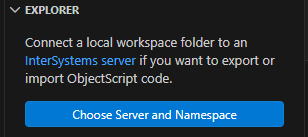
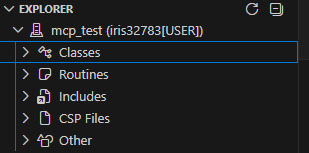
This will connect your workspace to that namespace. After this you can see the classes in your namespace.
If you would like to edit classes, right click on them and choose Export:
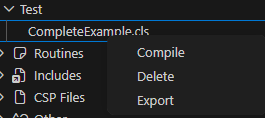
After this you can use vs code as normal, with a copy of the file on your local computer. If you want to create a new class, just create a new file in your VS Code workspace with the .cls extension, and then it will auto-compile on save. If it doesn't, you can right click on the file from the menu and choose Import and Compile.
The connection info is stored in .vscode/settings.json so you can always edit it here, or delete it and reconnect to a different namespace. 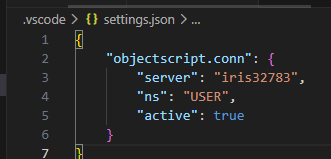
Hi @Nezla, our official documentation is a good place to start. This page in particular will be useful to you in you want to edit files directly on IRIS like Studio. We also have a page that helps users migrate from Studio.
The Classes view from Studio doesn't really exist in the same way in VS Code. Most development is done through the Explorer and ObjectScript extensions, and changes you save are typically synchronized to the connected namespace fnf automatically. For class details like properties, methods, and storage definitions, you'll usually inspect the class source directly rather than using a separate Inspector panel.