Using REST API, Flask and IAM with InterSystems IRIS - Part 3 – IAM
Using Flask, REST API, and IAM with InterSystems IRIS
Part 3 – IAM
InterSystems API Manager (IAM) is a component that allows you to monitor, control, and manage traffic from HTTP-based APIs. It also acts as an API gateway between InterSystems IRIS applications and servers.
The document published in https://docs.intersystems.com/irislatest/csp/docbook/DocBook.UI.Page.cls?KEY=PAGE_apimgr provides information about the product.
The document https://docs.intersystems.com/components/csp/docbook/DocBook.UI.Page.cls?KEY=CIAM3.0_install provides all the information for the installation and configuration of IAM.
After installing IAM we will activate it and configure a service, route and plugin to create a Rate Limiting for our REST API.
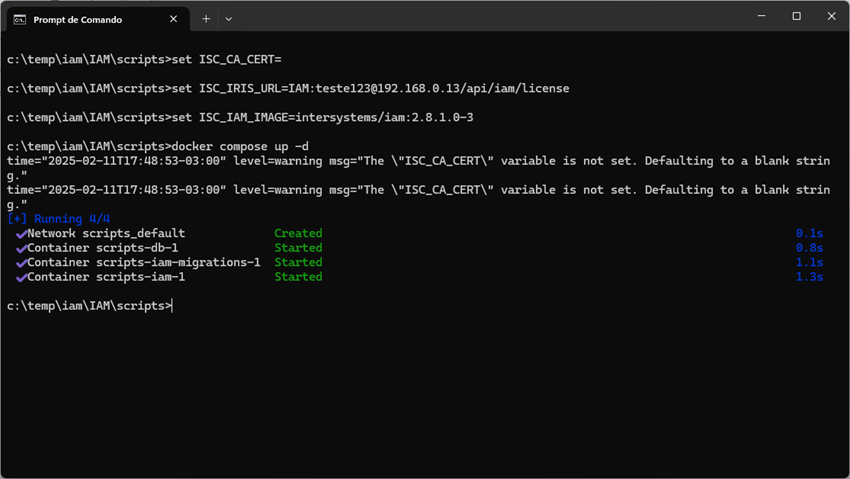
First, after installing IAM we will activate it as defined in the documentation:
Once IAM is activated, we will open the administration interface to create the necessary service, route and plugin. For this in the browser we access the server on port 8002:
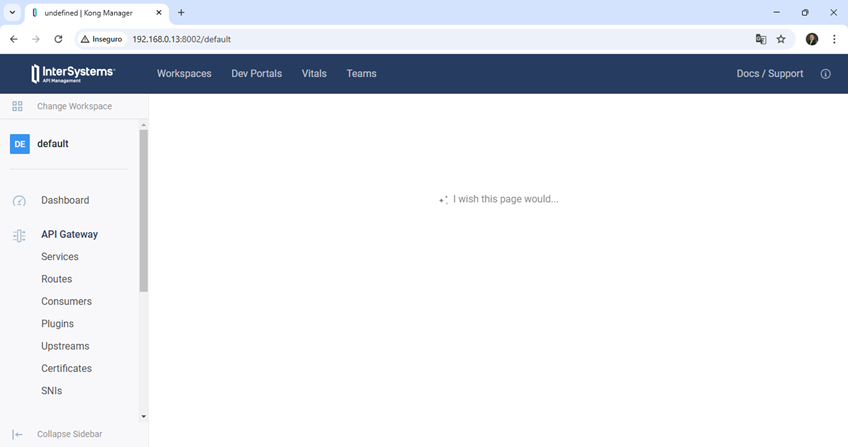
On this screen we see the service, route and plugin maintenance options, which are the tasks we are going to perform. First we will create the service to serve our REST API. Click on the side menu on Services and then on New Service:
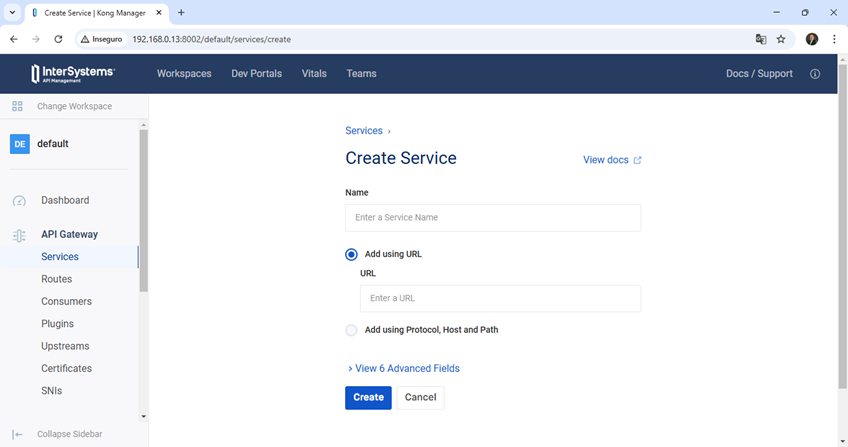
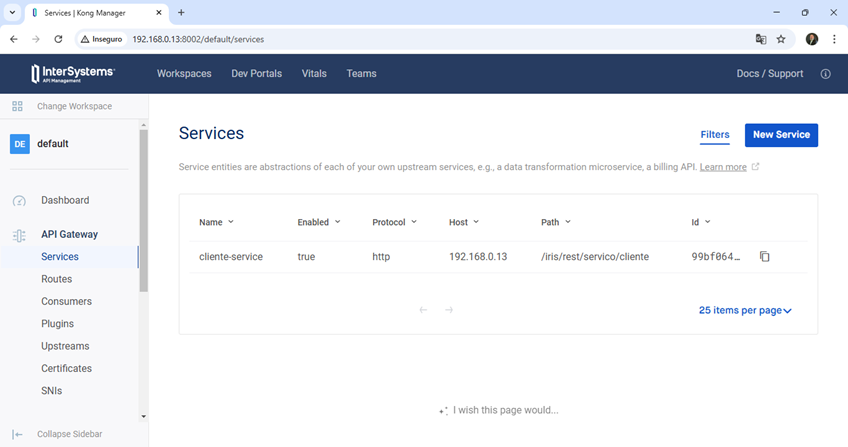
Enter the name (client-service) and in the Add using URL option, enter the API path in URL (http://192.168.0.13/iris/rest/servico/cliente in our example). Click Create and the service is created:
Now let's create the route. In the side menu, click on Routes, then on New Route.
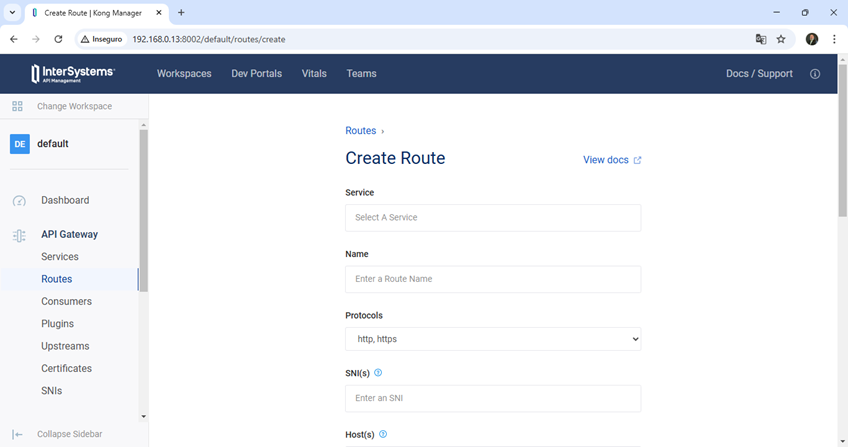
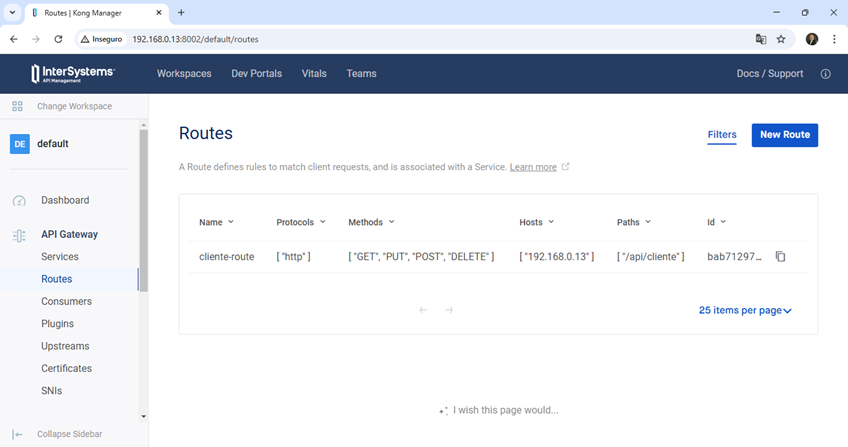
Select the service we created, enter a name for the route (client-route for example), inform the protocols that can be used (http and https), enter the host (192.168.0.13) and the methods (GET, PUT, POST, DELETE). Click the Add Path link and enter the path for this route (/api/client). Click Create and the route is created:
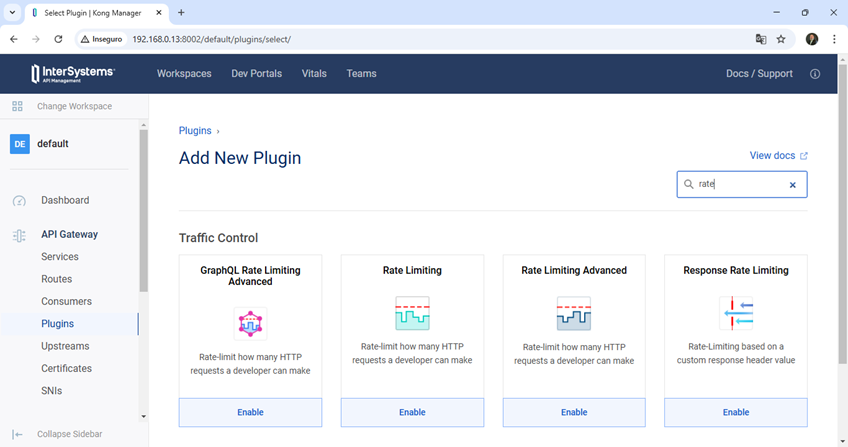
Now let's create the Limiting rate plugin. This plugin limits the number of requests a user can make in a given period of time. To do this, go back to the side menu and click on Plugins and then on New Plugin. In the search box, type Rate and see the plugins listed:
Select the Rate Limiting Advanced plugin. The plugin configuration screen will be presented:

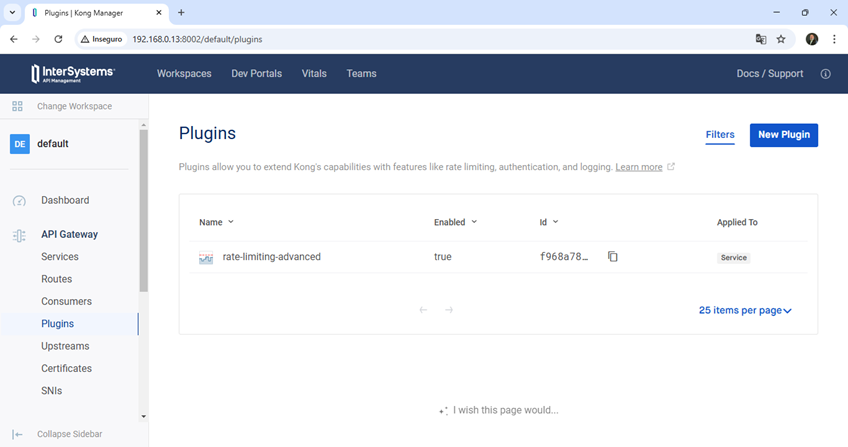
On the setup screen, change the option to Scoped. Select the service we created. Enter the number of accesses in Config.Limit (5 for example) and the interval time in Config.Window.Size (60 for example). Change Config.Strategy to Local, and then click Create. Ready. Our plugin is created and already working:
Now we'll need to make a change to our python code to consume our API through IAM. To do this, let's change the API URL address to the address we created in the IAM Route:
API_URL = "http://192.168.0.13/iris/rest/servico/cliente" - Original Code
API_URL = "http://192.168.0.13:8000/api/cliente" - New URL going through IAM
Reactivate the Flask server and return to the application page. This time give a refresh sequence (F5) in order to call the API several times. See that in the 6th API call we have a failure:

Our application is not prepared to handle the failed HTTP status. Let's make some adjustments. First let's create an error page in the templates folder called erro.html:
<meta charset="UTF-8">
<meta name="viewport" content="width=device-width, initial-scale=1.0">
<title>Error</title>
<h1>An error has occurred!</h1>
<p>Error code: {{ status_code }}</p>
<p>Error message: {{ error_message }}</p>
Let's go back to the python code and make an adjustment to catch the error. In the section we call the index page assembly, we'll treat an HTTP code other than 200:
Where we have the following code in the route "/":
date = response.json()
list = date["customers"]
return render_template("index.html", records=list)
We changed to:
if response.status_code == 200:
date = response.json()
list = date["customers"]
return render_template("index.html", records=list)
else:
return render_template('erro.html', status_code=response.status_code, error_message=response.json().get('message', 'Unknown Error'))
Let's restart the Flask application and once again we'll call the API several times. This time we will get a handled error screen:
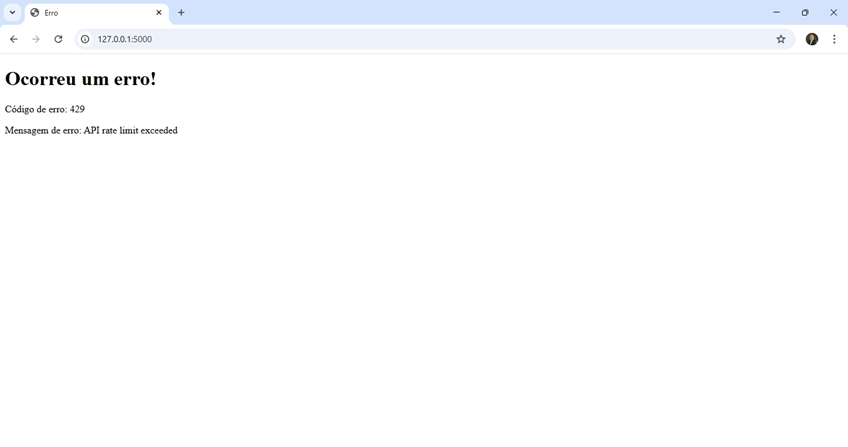
We can then see that IAM is already working, receiving the requests and applying the configured plugins. According to our configuration, IAM restricted access to the API by returning an HTTP status of 429 as configured in the plugin.
Going back to the administration screen in IAM we can already see some information about the consumption of the service:
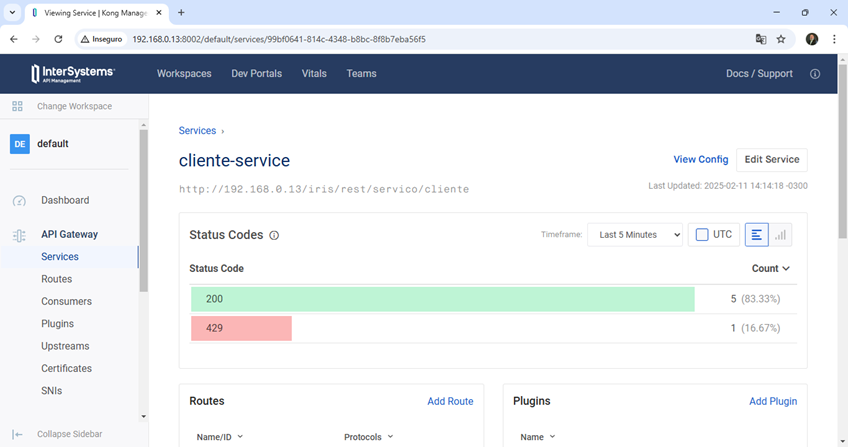
We can see the number of requests that have been made to the service by HTTP Status for example. We can also change the way the graph is displayed:

IAM is a powerful tool that adds several advantages to Iris and allows a series of actions with its plugins. IAM can be a powerful ally for publishing services.
See you next time!