Getting to know Python Flask Web Framework - Part 2
Hi Community,
This article is a continuation of my article about Getting to know Python Flask Web Framework
In this article, we will cover the basics of topics listed below:
1. Routing in Flask Framework
2. Folder structure for a Flask app (Static and Template)
3. Getting and displaying data in the Flask application from IRIS.
So, let's begin.
1. Routing in Flask Framework
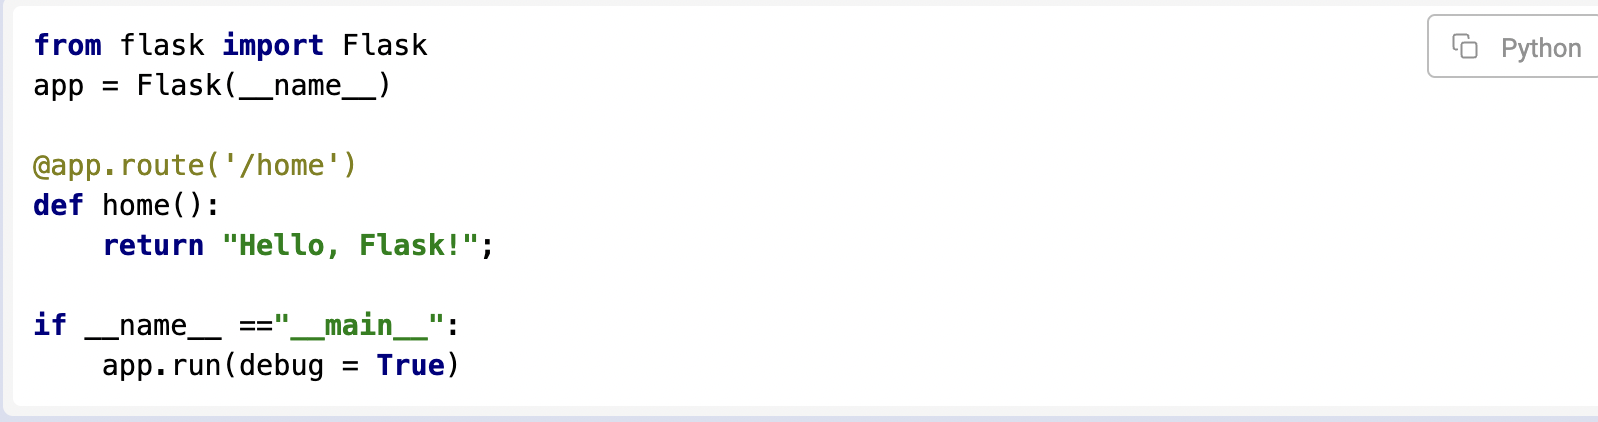
Flask App routing is used to map the specific URL with the associated function that is intended to perform a certain task. It is used to access a particular page in the web application.
The URL ('/') is associated with the home function that returns a specific string displayed on the web page. In other words, we can say that if we visit a particular URL mapped to a particular function, the output of that function will be rendered on the browser's screen.
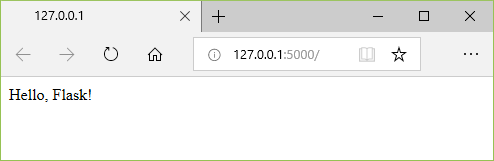
Consider the following example:
It will produce the result illustrated below:
Flask facilitates adding the variable as part to the URL.
Below home function receive name as argument and return to HTML page

Below is the example of the URL where we are calling "home" function and passing "ayush" as argument:

Same way we can pass number as argument:

Navigate the URL by passing 30 as argument

2. Folder structure for a Flask app (Static and Template)
A proper Flask app usually uses multiple files including templates. The hierarchy of these files has to follow some rules. Here is a diagram of the typical structure:

- Everything the app needs is stored in one folder, named my-flask-app, which is our main application folder.
- That folder contains two subfolders, named static and templates respectively.
- The static folder contains assets used by the templates, including CSS files, JavaScript files, and images. In the example, we have only one asset file, main.css. Note that it is located inside a CSS folder, which is saved inside the static folder.
- The templates folder has only templates with a .html extension. As we can see, they include more than just regular HTML.
- In addition to the static and templates folders, this app also holds.py files. Note that the latter must be kept outside the folders named static and templates.
NOTE: The templates will not work if this folder structure is not exactly as described above. Your app folder can be called anything (not only my-flask-app), but the static and templates folders must be named and organized as shown above. The static folder can contain multiple folders and files. The names of those files are up to you.
How does a Flask app use a template?
Below you can find the Python code to generate and display an HTML file directly from the code and display them in the browser

Let’s transform that to make it use a template (HTML) instead of generating a new file.
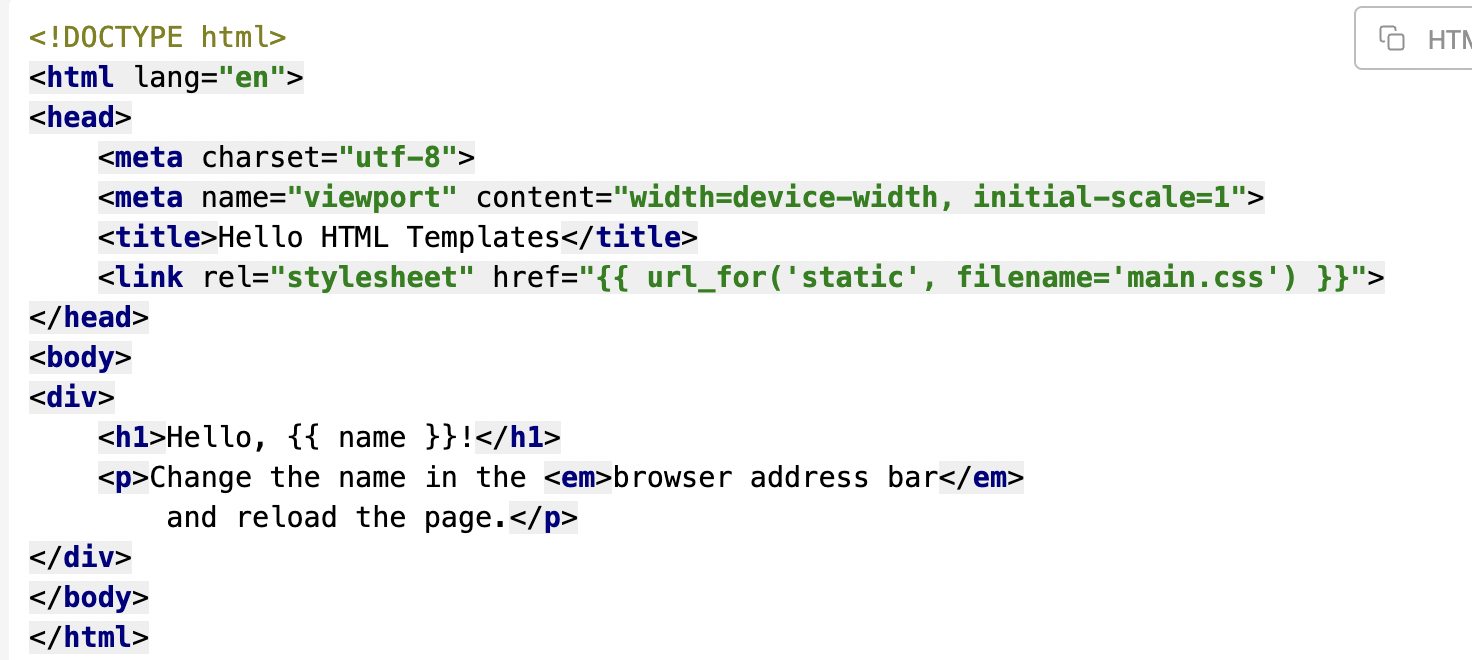
- Create an HTML file in the templates folder and put the code written below in it (mind the double curly braces {{ }} around the name):
- Save the template file as hello.html in the templates folder. NOTE: The template needs to be a complete HTML file, with all the usual elements such as HTML, HEAD, and BODY. See the complete example below for reference.
- Edit the route function. Remove the HTML. Change the return statement to call the render_template function. That is how we get the template! NOTE: We must import the render_template module, so add it to the line at the top of the Flask app script.


How are variables passed from the app to the template?
The templates in Flask are handled by the Jinja template engine, which comes with Flask when you first install it.
The render_template() function does both selects the template file to be used and passes to it any values or variables it needs.

We can pass as many variables as necessary to the template.
In the example above, the template contains variables for name, phone, and state.
We can use these parameters by using Jinja syntax {{ <Variable Name>}}
By using below syntax we can embed variables to our webpage:

3. Getting and displaying data in Flask application from IRIS.
Now we will try to display %SYS.ProcessQuery table data from IRIS in Flask application using Jquery datatable
Step 1 : Add a table tag to an HTML page and write the JavaScript code stated below to display the data passed from app.py:
<table id="myTable" class="table table-bordered table-striped">
   </table>
<script>
$(document).ready(function() {
// parse the data to local variable passed from app.py file
let my_data = JSON.parse('{{ my_data | tojson }}');
let my_cols = JSON.parse('{{ my_cols | tojson }}');
$('#myTable').DataTable( {
"data": my_data,
"columns": my_cols,"} );
} );
</script>
Step 2 : Write below python function processes (to route) in app.py file:
from flask import Flask, jsonify, render_template
import iris

app = Flask(__name__)

@app.route("/")
def index():
    #to render main index page
    return render_template('index.html')

@app.route("/processes")
 def processes():
   #Define sql statement
   mySql = '''
        SELECT ID, NameSpace, Routine, LinesExecuted, GlobalReferences,
        state, PidExternal, UserName, ClientIPAddress FROM %SYS.ProcessQuery ORDER BY NameSpace desc
        '''
   #Calling embedded python iris.sql.exec class to get result set
   resultSet = iris.sql.exec(mySql)
   #Get dataframe by calling resultset dataframe function
   dataframe = statement.dataframe()
   #Convert and data to Json by using to_json dataframe method and json loads function
   my_data=json.loads(dataframe.to_json(orient="split"))["data"]
   #Get columns details
   my_cols=[{"title": str(col)} for col in json.loads(df.to_json(orient="split"))["columns"]]
   #render html by passing my_data and my_cols variables which will be used to generate datatable
   return render_template('tablesdata.html',  my_data = my_data, my_cols = my_cols)
Please find below the output once we navigate /process route function:

Thanks