Multi-server Development with Atelier and Git
Is your development team following best practice now that source control and continuous integration testing are better supported by InterSystems new IDE Atelier?
Many teams are turning to Git as their version control system of choice because it never locks files, among other reasons. These teams may also be following a multi-server development workflow where changes are migrated from a DEV server to a TEST server to a PROD server. How should these teams organize their repository given this configuration?
Michelle, Atelier Technical Lead, will walk us through the below 3 tasks with an example Git repository. She will also share with us some of her favorite tools.
Create Separate Branches [BACK TO TOP]
Let's start by integrating Git with our Atelier workbench.
- Open the Git perspective
- If you haven't installed EGit yet, point your "install new software" wizard to the latest Eclipse release site and search for Git. Select the plugins you want to install and finish the wizard.
- Click the "Add an existing local repository" link
- Complete the wizard
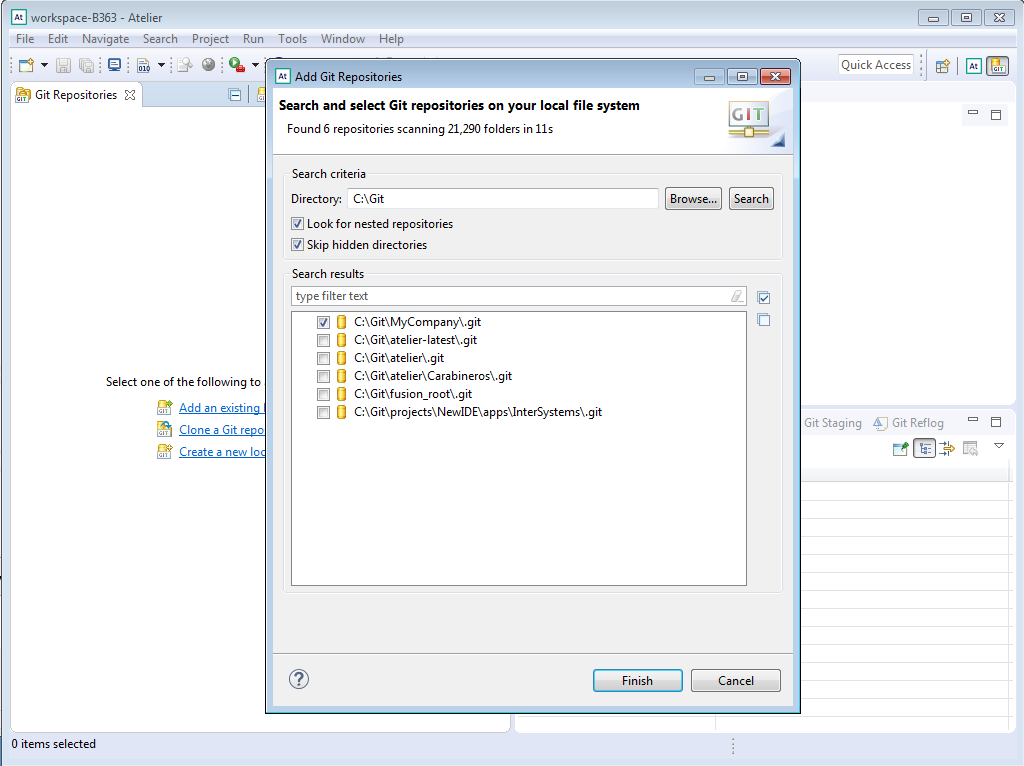
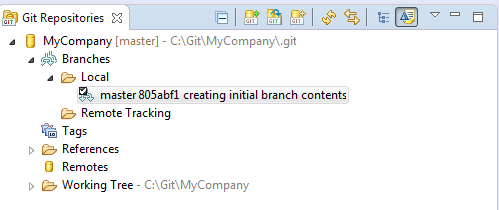
You can see in the illustration here that I've chosen the MyCompany repository. This repository manages all code bases for my company.
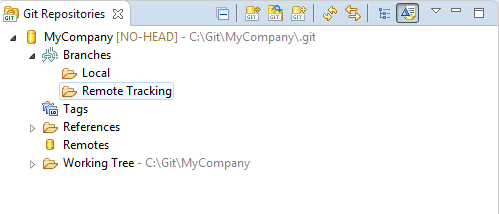
In this example, no files have been added to the repository yet so when we navigate to our branches list from the Git perspective there are no branches listed.
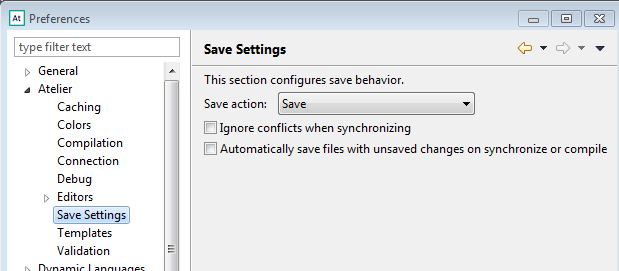
This is a good time to update our Atelier save action from the default to something more appropriate for all development team configurations. Go to your Atelier preferences and change Save action to Save.
Now we're ready to add files to our repository. I have a set of projects from my demos at Global Summit 2017 that will work well for this example. You can add files in the normal way demonstrated by Nicole Aaron and others at Global Summit this year.
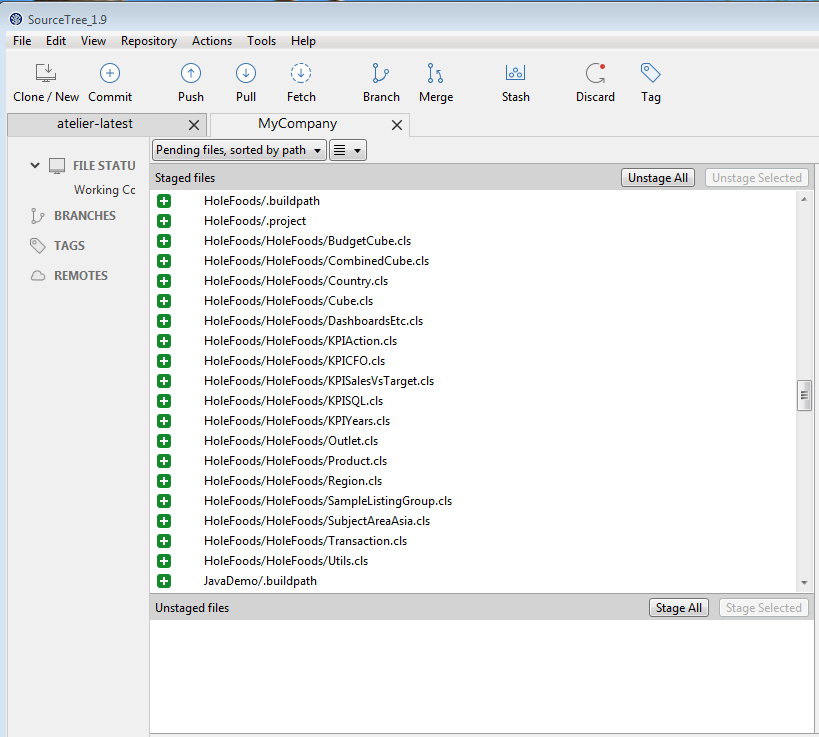
I prefer to use SourceTree by Atlassian for my Git repository management tasks. I highly recommend it! The Git perspective within Eclipse is most useful during regular development. Here you can see that I've staged all of my files for committing to my local repository.
Once the commit is completed, I can refresh my Git Repositories view back in the Git perspective to see the change.
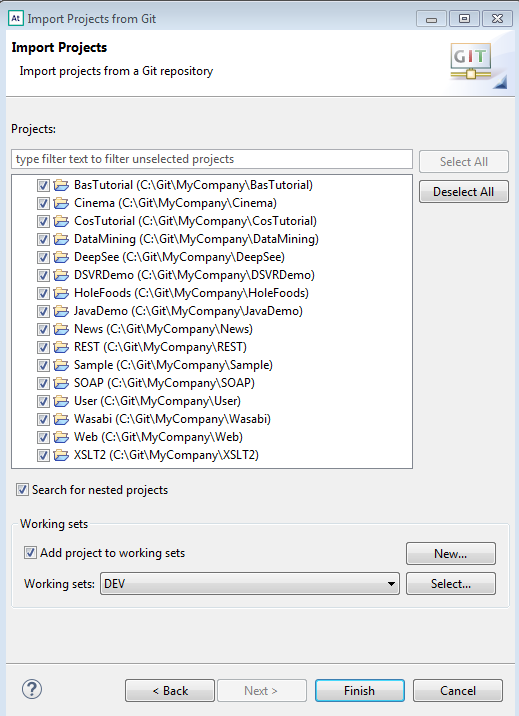
Now that files have been added to my repository, I can now import them to my Atelier workspace. You can access the associated import wizard by going to File > Import > Projects from Git. You'll see a page similar to the one below after you've selected a repository source, a repository, and "Import existing Eclipse projects". Notice here that I've elected to create a new working set named DEV which will represent all the projects that are relevant to my active development. I can add or remove projects from this working set over time in order to reduce the clutter in my workbench.
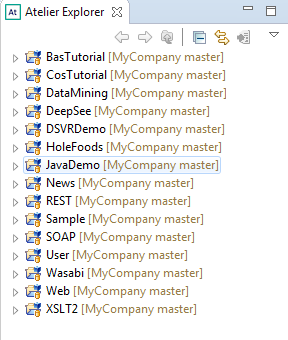
Once this wizard is completed, you should see all of your projects from the Atelier Explorer view with a cylinder icon decoration indicating that they are managed by Git source control.
We now have completed Atelier configuration with Git. The only task we have left for setup is creating branches for each individual environment. In this example, we'll be working with DEV and TEST only but the process is identical for any other environments as well.
- Create starting point - this is your master branch
- Create TEST branch
- Create DEV branch

I've gone back to my SourceTree window to create my additional branches. This Git client makes it extremely easy to do. Simply press the Branch option in the toolbar and complete the New Branch tab that pops up. You'll see in the illustration above that I've already created a TEST branch from the master branch which automatically made TEST the active branch. In this same illustration, I'm in the process of creating the DEV branch.
Once this process is complete, go back to your Git perspective in Atelier and refresh the Git Repositories view. We now see the two new branches with DEV being active.

I can now easily make changes and commit them to the DEV branch without leaving the Atelier workbench! Atelier can help me save my changes to my private development environment where I can execute and debug them.
![]() A Note on Shared Development Environments
A Note on Shared Development Environments
There are some teams who are tied to using shared development environments. These teams unfortunately will have a harder time migrating to the best practice configurations and will have to rely on server-side source control hooks. The good news is that teams within InterSystems have found a way forward and presented on this topic specifically at Global Summit.
Since Atelier does support server-side source control hooks, these developers do not need to use the EGit plugin. Instead, they will use the Atelier workspace as a sandbox that can be blown away. The Git server hooks should manage changes automatically and export to either legacy XML files or modern UDL files.
Merging Conflicts [BACK TO TOP]
What if I'm collaborating with a team of other developers? Git doesn't lock files, so one of my teammates might make a conflicting change to a file I'm not finished with yet. How can my version control system help when merging conflicts? Can Atelier handle this problem?
These are all great questions. Let's go back to our example.
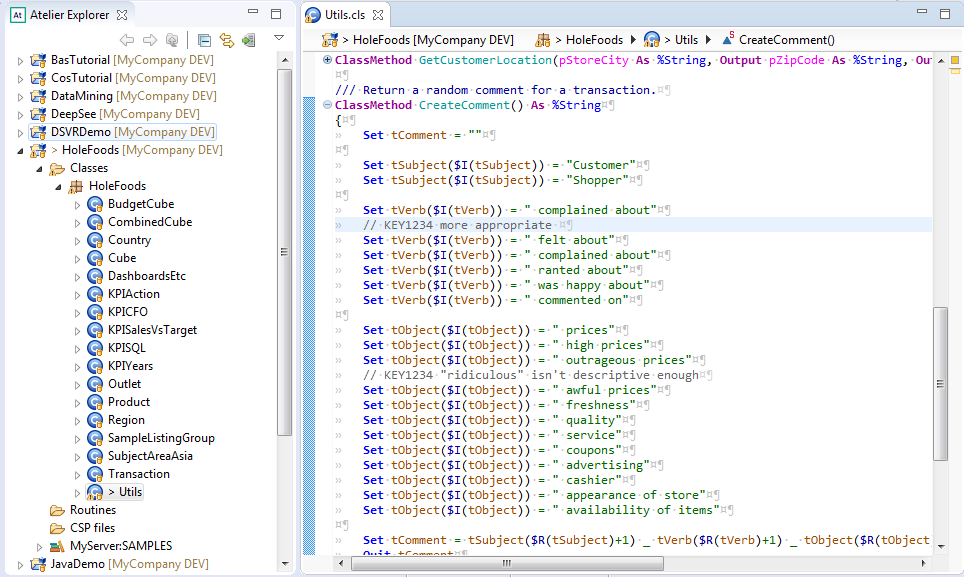
I've been tasked with completing request KEY1234 which requires some labels to be made more descriptive. I've found the corresponding labels and updated them.
While I was working on my change, my teammate Jill made a quick change to the same file.
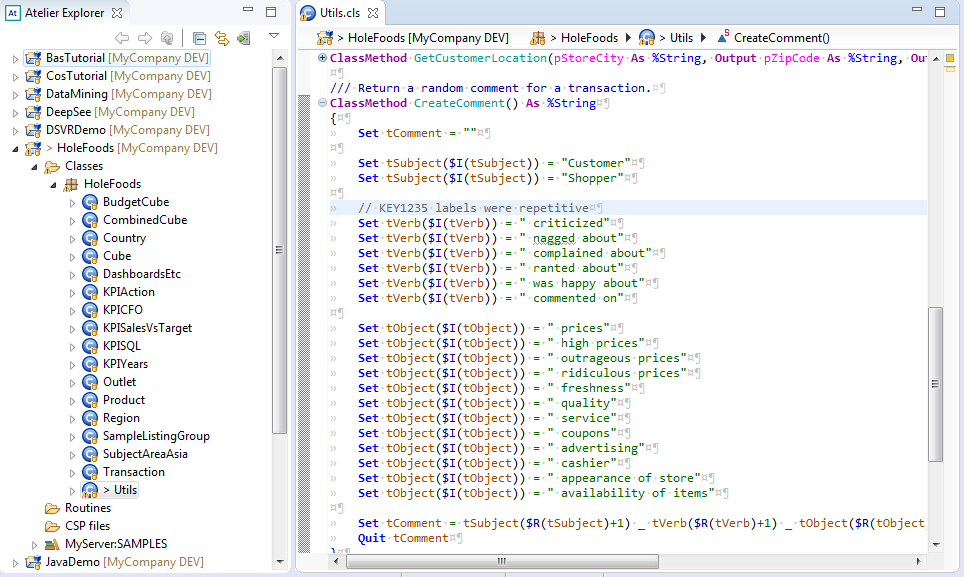
When I pull changes to my local repository before committing my own changes, I see that there is a conflict on lines 580 and 581.
+++    // KEY1234 more appropriate
+++    Set tVerb($I(tVerb)) = " felt about"
--- Set tVerb($I(tVerb)) = " nagged about"
I can use my Git client to appropriately merge this conflict. All other changes merge automatically without issue.
Notice that Atelier server synchronization was not invoked at all in this process. Instead, we relied on our source control system to manage our versions and handle merging.

When we are happy with the merge, we can save the change to our private development environment for testing. Once all of our tests have passed, we can commit our change to the DEV branch.
![]() If you are using a shared development environment with server-side source control hooks, then the need for merging should never come up. This is because these hooks should lock files from editing. In our example, Jill would have been blocked from making her quick change.
If you are using a shared development environment with server-side source control hooks, then the need for merging should never come up. This is because these hooks should lock files from editing. In our example, Jill would have been blocked from making her quick change.
Migrating to a Different Environment [BACK TO TOP]
Now that we know how to handle conflicting changes and have tested our changes in a private environment, we're ready to migrate our changes to the continuous integration environment TEST.
The best practice configuration should have a tool like Jenkins which pulls latest changes from the TEST branch to the test server's local Git workspace before running regularly scheduled tests. As a result, we need to do something that will result in our changes being committed to the TEST branch. We have two options here:
- Ask the TEST branch czar to pull our changes - known as a pull request
- Push our changes to the TEST branch without asking permission
Choose the approach that works best with the workflow your team has chosen.
Once your changes have been committed to the TEST branch, Jenkins can be configured to load source and compile before running tests by running a modified version of the MAC routine below.
ROUTINE importDirectory
  set dir = "C:\Git\MyCompany"
  set wildcards = "*.cls"
  set flags = "ck"
  set isRecursive = 1
  do $system.OBJ.ImportDir(dir,wildcards,flags,,isRecursive,,,)
Migrating your changes to PROD or any other branch should follow the same procedure.
Happy Collaborating
Hopefully this example has shown you how teams using the multi-server development workflow can use Atelier and leverage the EGit plugin to simplify their daily tasks. Once setup is complete, developers need only know how to commit their changes to the DEV branch and how to request a change be ported to the next environment. Intelligent implementations of Jenkins pipelines could even automate the entire process if desired!
Related Global Summit presentations:
- Atelier: May the Source Be With You presented by Nicole Aaron
- Atelier as Part of the Eclipse Ecosystem presented by Michelle Stolwyk
- Shared Development in the 21st Century presented by Benjamin Spead and Sergei Shutov
What architectures have you been using? Can you share with us your favorite tools? Please leave your comments down below and let us know what you think.