Tutorial: Deploy your dockerized application on Google Cloud
These days the vast majority of applications are deployed on public cloud services. There are multiple advantages, including the reduction in human and material resources needed, the ability to grow quickly and cheaply, greater availability, reliability, elastic scalability, and options to improve the protection of digital assets. One of the most favored options is the Google Cloud. It lets us deploy our applications using virtual machines (Compute Engine), Docker containers (Cloud Run), or Kubernetes (Kubernetes Engine). The first one does not use Docker. Instead, it utilizes a virtual machine with Windows or Linux where you install your application server and deploy your application. The second and third options use Docker. Yet, the last one works better for large-scale applications, with many Docker instances running using the auto-scale option. The second option, Cloud Run, is a better match for small and medium-scale applications. This article is going to guide you through the process of employing, configuring, and running Docker applications on GCP (Google Cloud Platform) using Cloud Run.
What is the Google Cloud?
Google Cloud is a public cloud provider. To know more about GCP, access this URL (https://googlecloudcheatsheet.withgoogle.com/):
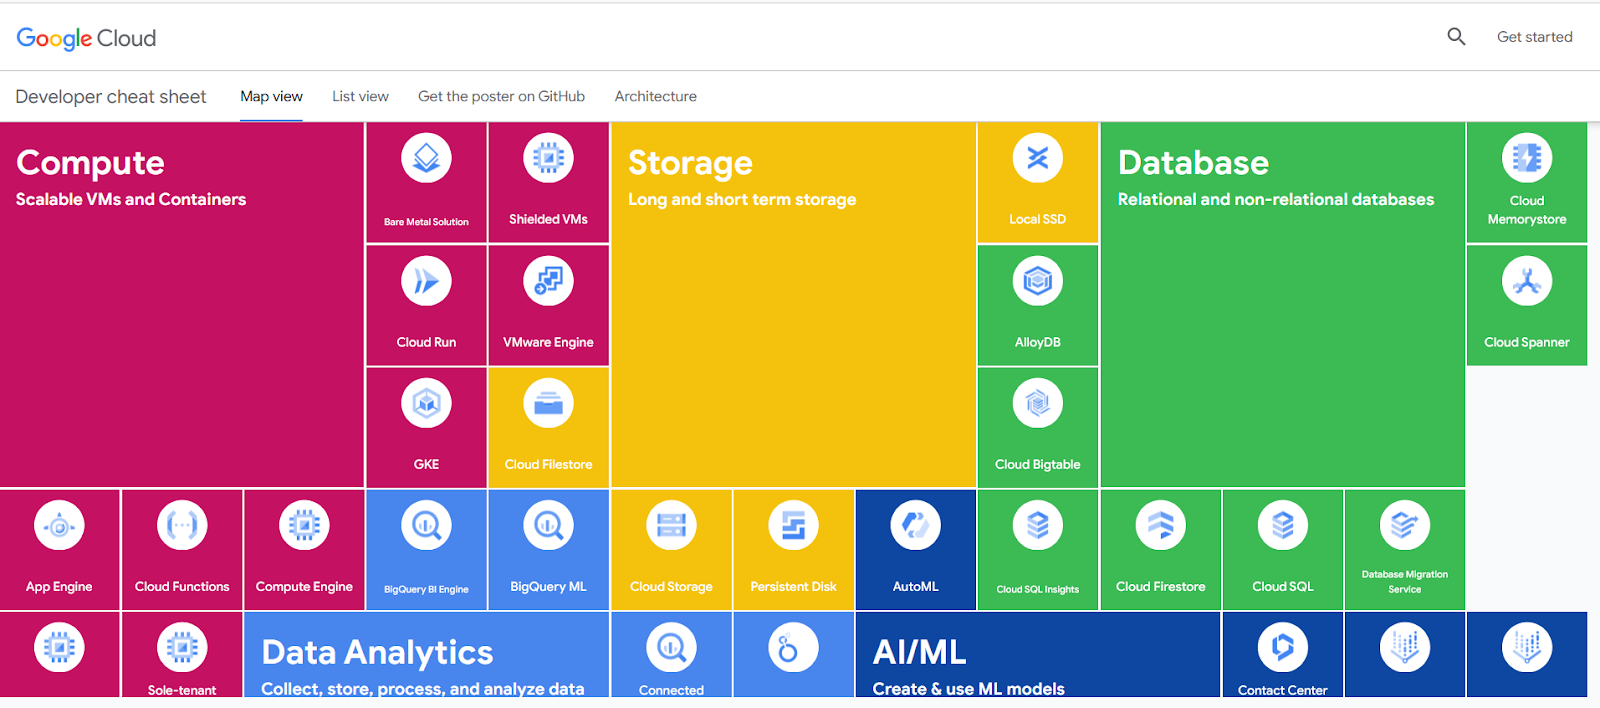
It is an interactive diagram. If you want to get more details about the topic, just click on a section that interests you. It is a very entertaining way to know more.
Get a Docker application sample to deploy
We will use a ready Docker application from the InterSystems Open Exchange catalog. Follow the steps described below to get it:
- Make sure you have Git installed.
- Go to https://openexchange.intersystems.com/package/iris-rest-api-template.
- Clone/git pull the repo into any local directory:
git clone git@github.com:intersystems-community/iris-rest-api-template.git
The iris-rest-api-template is a backend application with an IRIS database and an IRIS REST API written in ObjectScript. We will deploy this application on GCP Cloud Run.
Get your GCP credentials
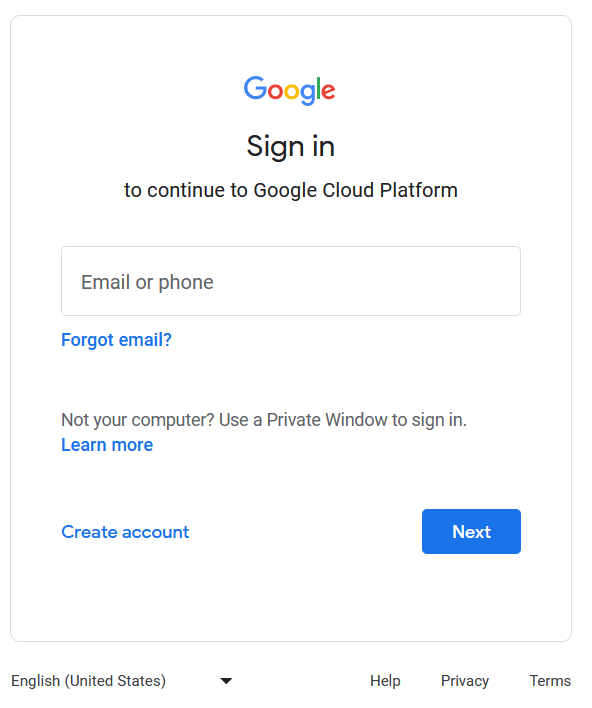
First of all, you need a GCP account and a user with an access key. To get it, do the following:
Go to https://console.cloud.google.com and enter with an existent user and password or click the link Create account if you don’t have one:
Install gcloud CLI tool and assign the created user to it
The gcloud CLI tool is used to pull the Docker image to AWS ECR (it is something like the Docker Hub for AWS Docker images). To install do the next:
1. Go to https://cloud.google.com/sdk/docs/install and select the installation instructions suitable for your computer OS.
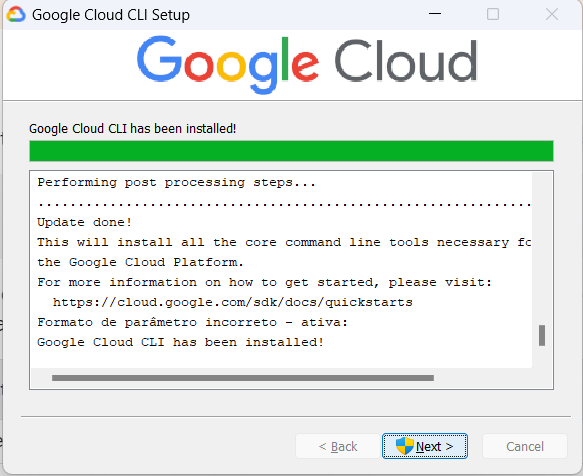
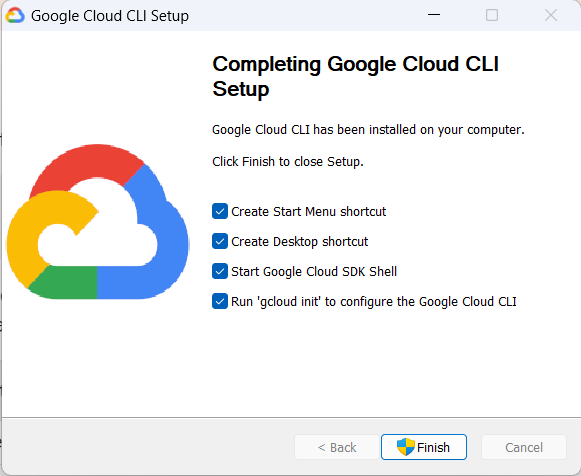
2. Choose the option Run ‘gcloud init’:
3. Log in with your Google Cloud user.
4. Allow access to all options required. Now you are logged in to GCP using gcloud CLI.
5. At this point, pick the option [5] (Create a new project):
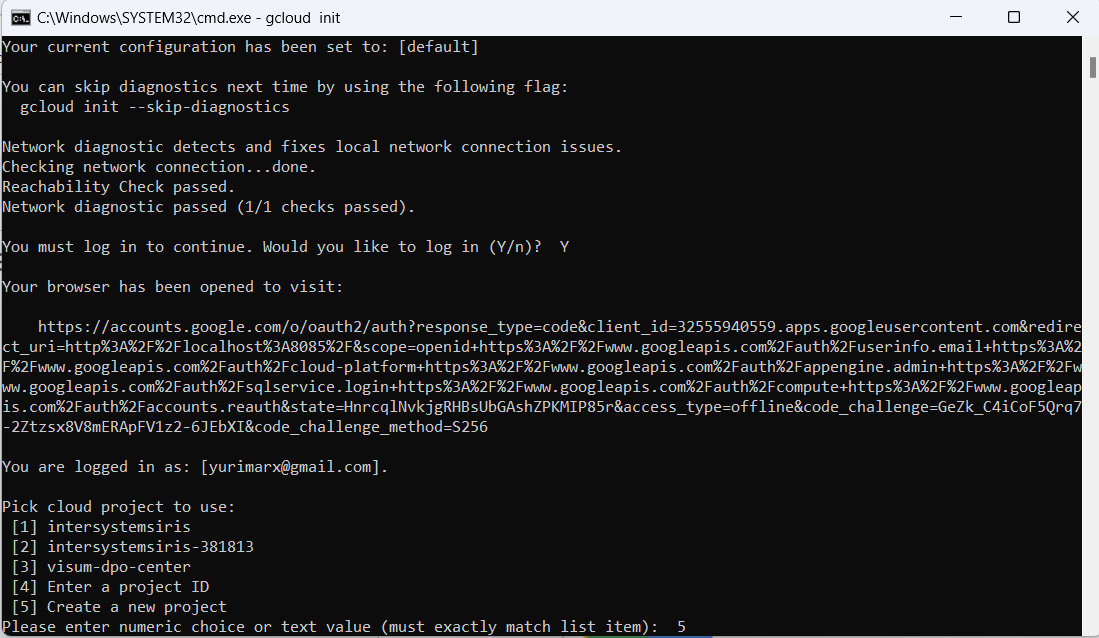
6. Enter the project ID with the value iriscontainer.
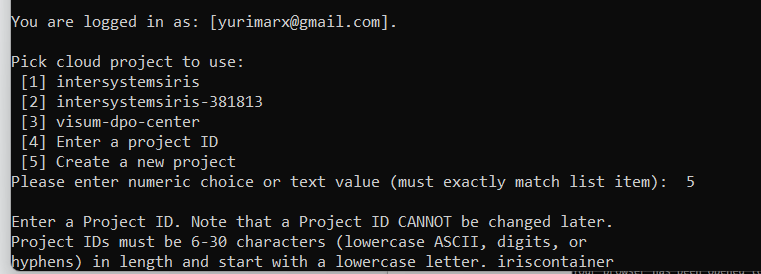
7. Congratulations! The project is created and ready to be operated by CLI.
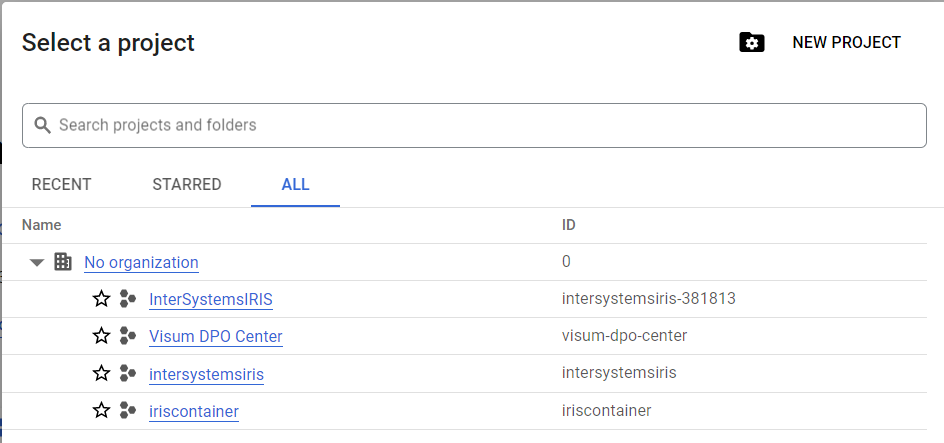
8. Go to the browser and choose the project dropdown on the GCP console:

9. Proceed to the ALL tab and select the project iriscontainer:
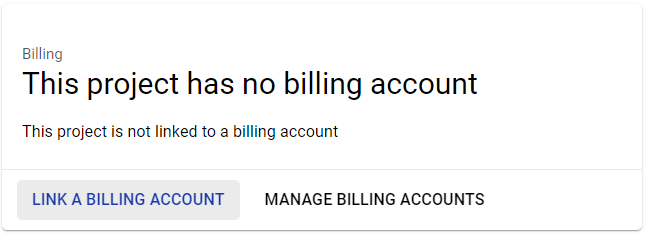
10. Pick the option Billing on the left menu:
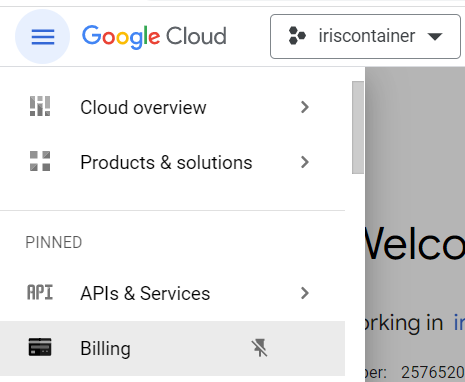
11. Click the button LINK A BILLING ACCOUNT:
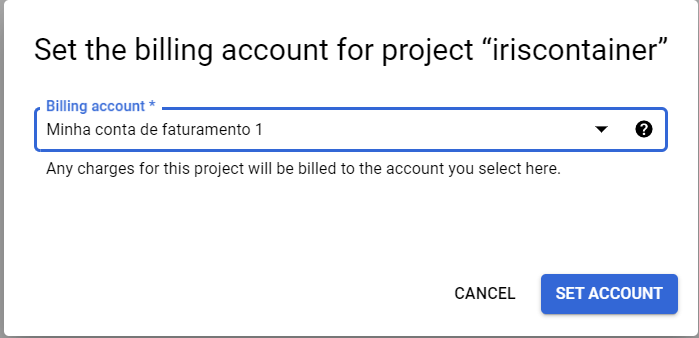
12. Select an existing Billing account and click the button SET ACCOUNT:
Upload your Docker app to the GCR (Google Container Registry)
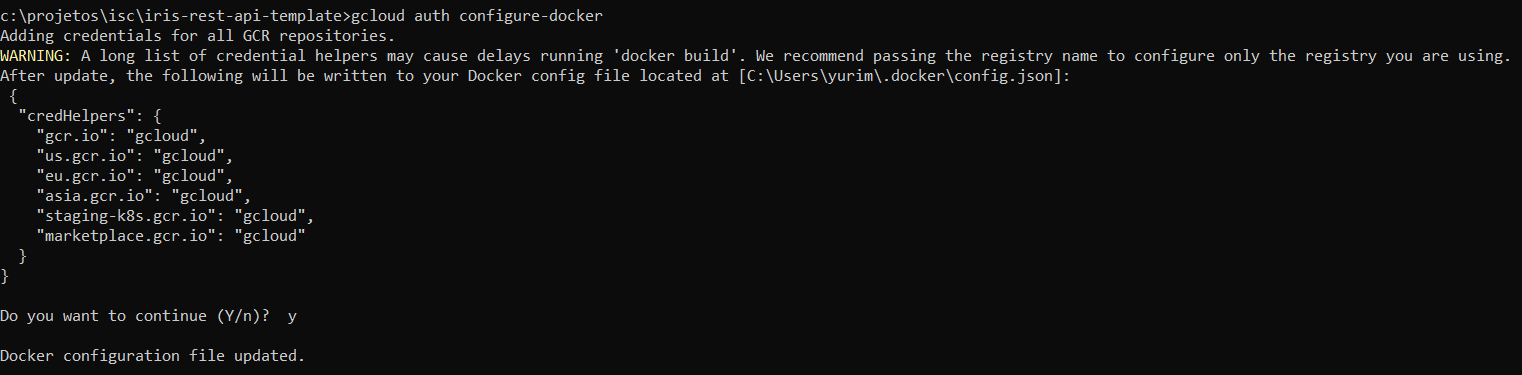
1. Go to the terminal and enable Docker for gcloud:
gcloud auth configure-dockerExecution results can be seen below:
2. Head to the terminal and type:
gcloud services enable containerregistry.googleapis.com3. Now, go to your terminal and find the folder where you cloned the Git project (in my case it is c:\projetos\isc\iris-rest-api-template):
![]()
4. Create a tag before pushing the image:
![]()
5. Execute Docker images to get your Docker image name:
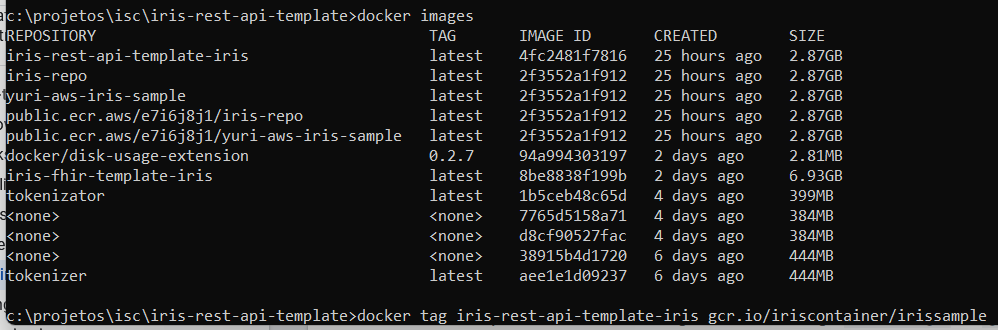
6. Create the tag:
![]()
7. Push the tagged Docker image to GCR:

You should get the following execution results: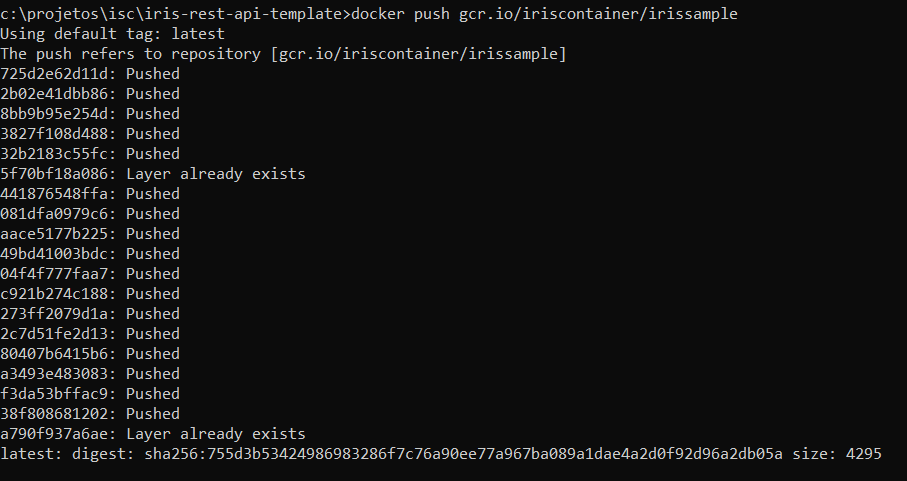
At this point, your Docker project is a public Docker image on GCR.
Creating the Docker instance on GCP Cloud Run for your new GCR image
Since your Docker image is finally on GCR, you can use it to run an instance. In this section, we will create a Docker instance running on GCP Cloud Run. To do that, follow the instructions below:
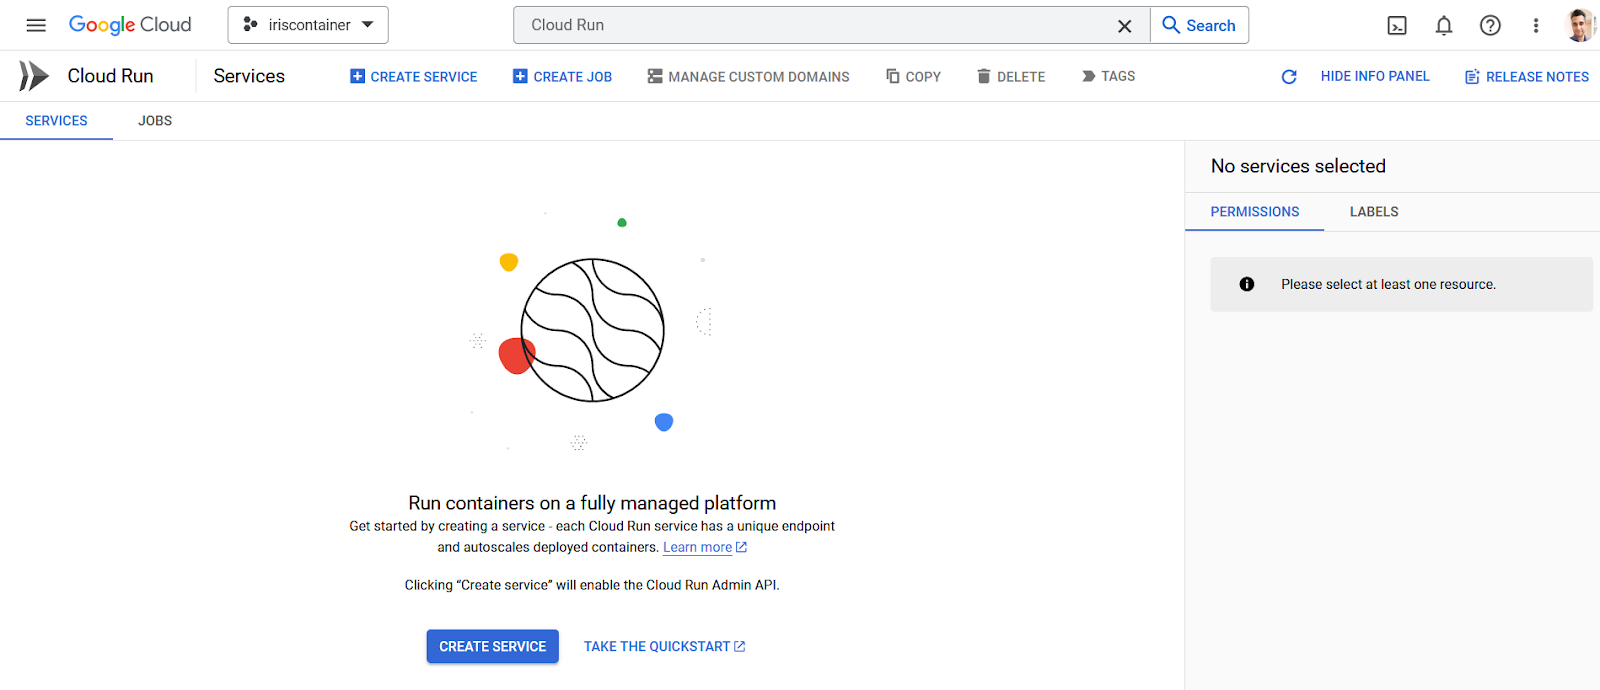
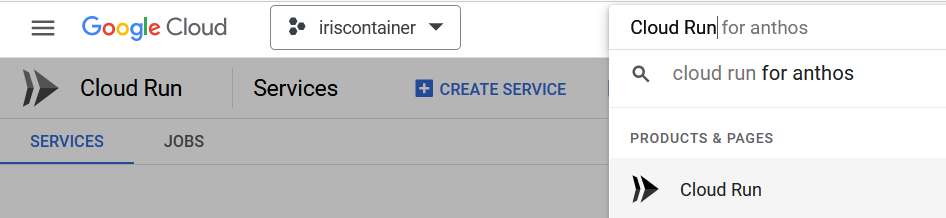
1. Go to GCP Console and look for Cloud Run on the top search bar. Then, click the link Cloud Run:

2. Click the button CREATE SERVICE (on the top or footer):
3. On Create service, pick Deploy one revision from an existing container image.
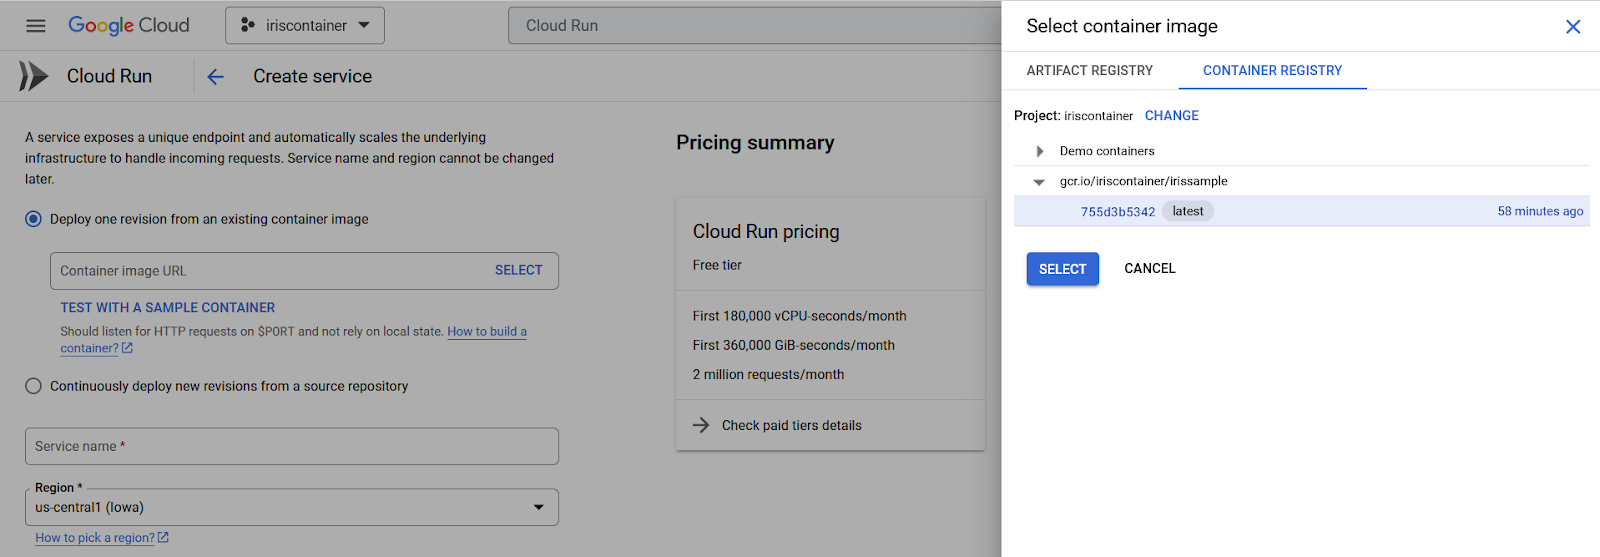
4. Click SELECT inside the field Container image URL:

5. On the right dialog, click the tab CONTAINER REGISTRY. After that, expand gcr.io/iriscontainer/irissample tree node, choose the latest child node, and click the button SELECT (this is the Docker image uploaded by you):
6. Now the Container image URL is configured. However, more parameters are still available, so scroll the screen to see them: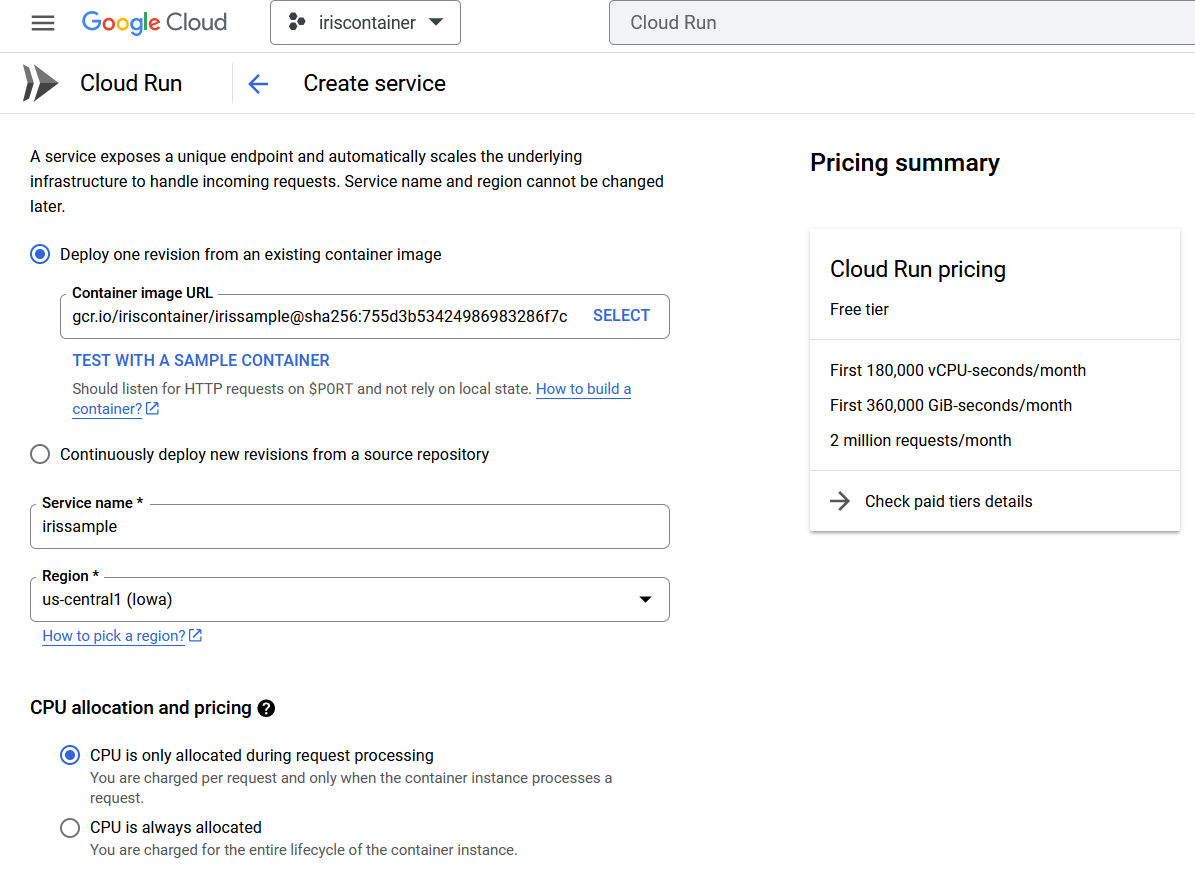
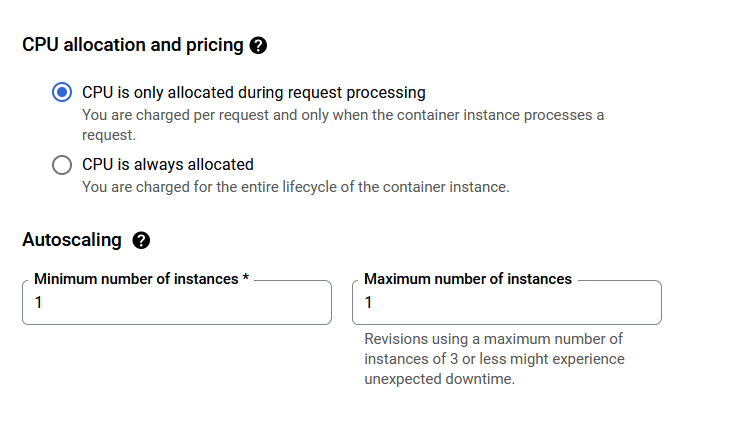
7. Press the key Tab to go to the fields Minimum and Maximum number of instances and type 1 in both of them (this option will allow us to scale the instances to meet to requests load):
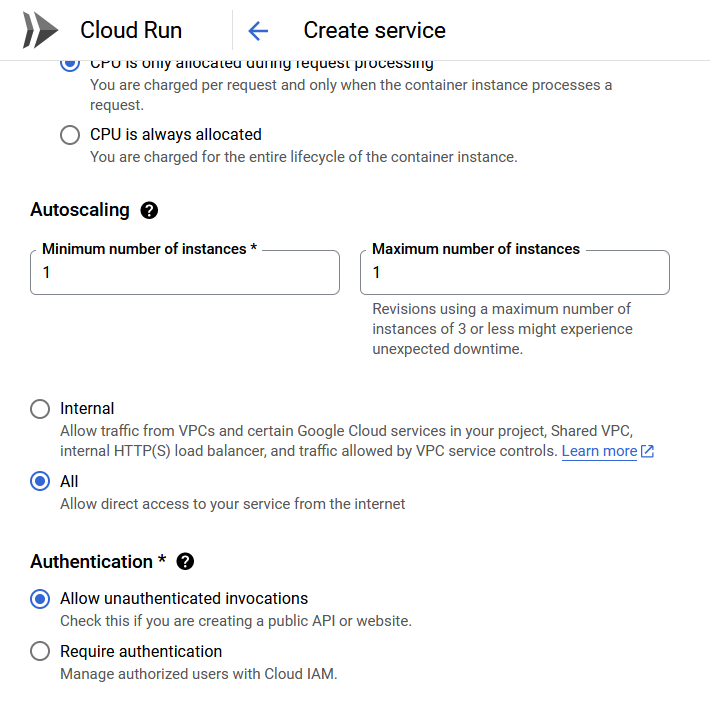
8. Press the Tab key again or scroll down the screen and tick the "All" button (Allow direct access to your service from the Internet). That option will make the instance available on the Internet.
9. Press the Tab key (or scroll the screen) and select Allow unauthenticated invocations (this option is useful to protect resources with credentials if necessary):
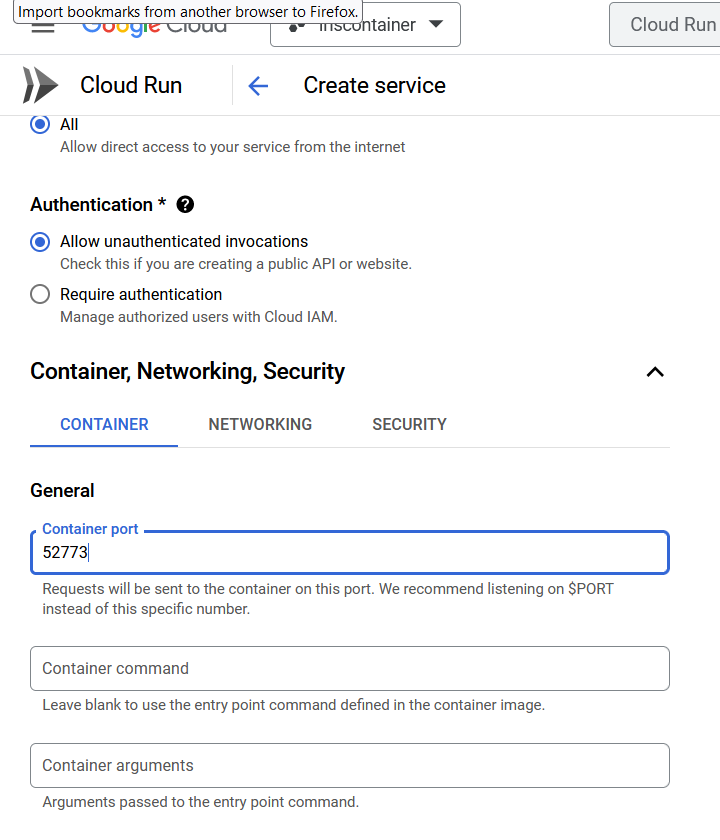
10. Click the Expand arrow on Container, Networking, Security line and click the Tab key, or scroll down the screen to proceed to the container port. Put the value 52773 there (this option will allow us to send the requests to the port without exposing that port to external consumption):
11. Press the Tab key once more to go to Memory and select 4 GiB and CPU 1 (these options are very important for the performance because they define the number of CPUs and amount of memory available for the Docker instance. Yet, the costs also increase if you engage more resources):
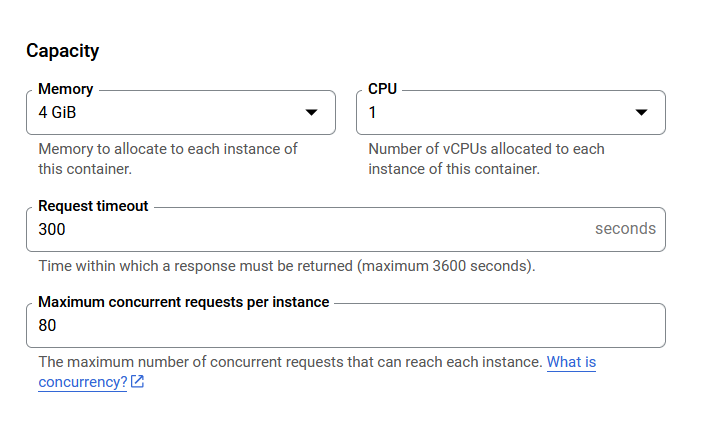
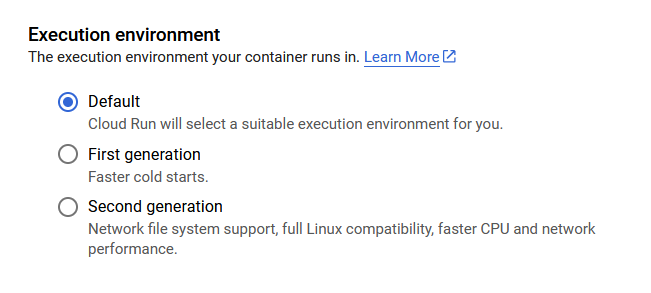
12. On the Execution environment choose Default:
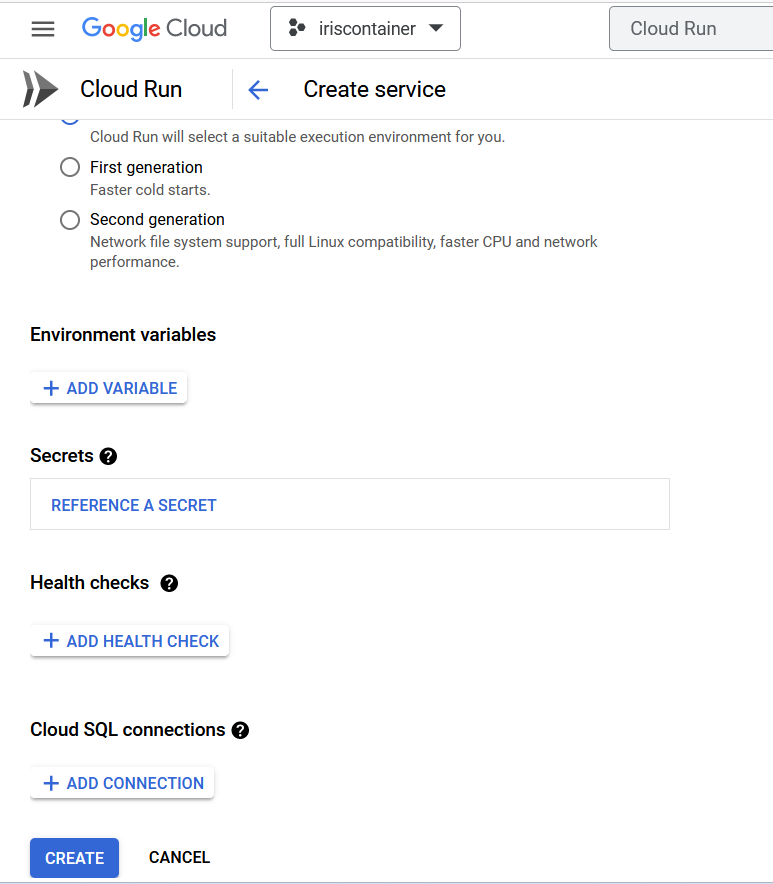
13. Scroll down or press the Tab key to go to the CREATE button. Then, press it to finish.
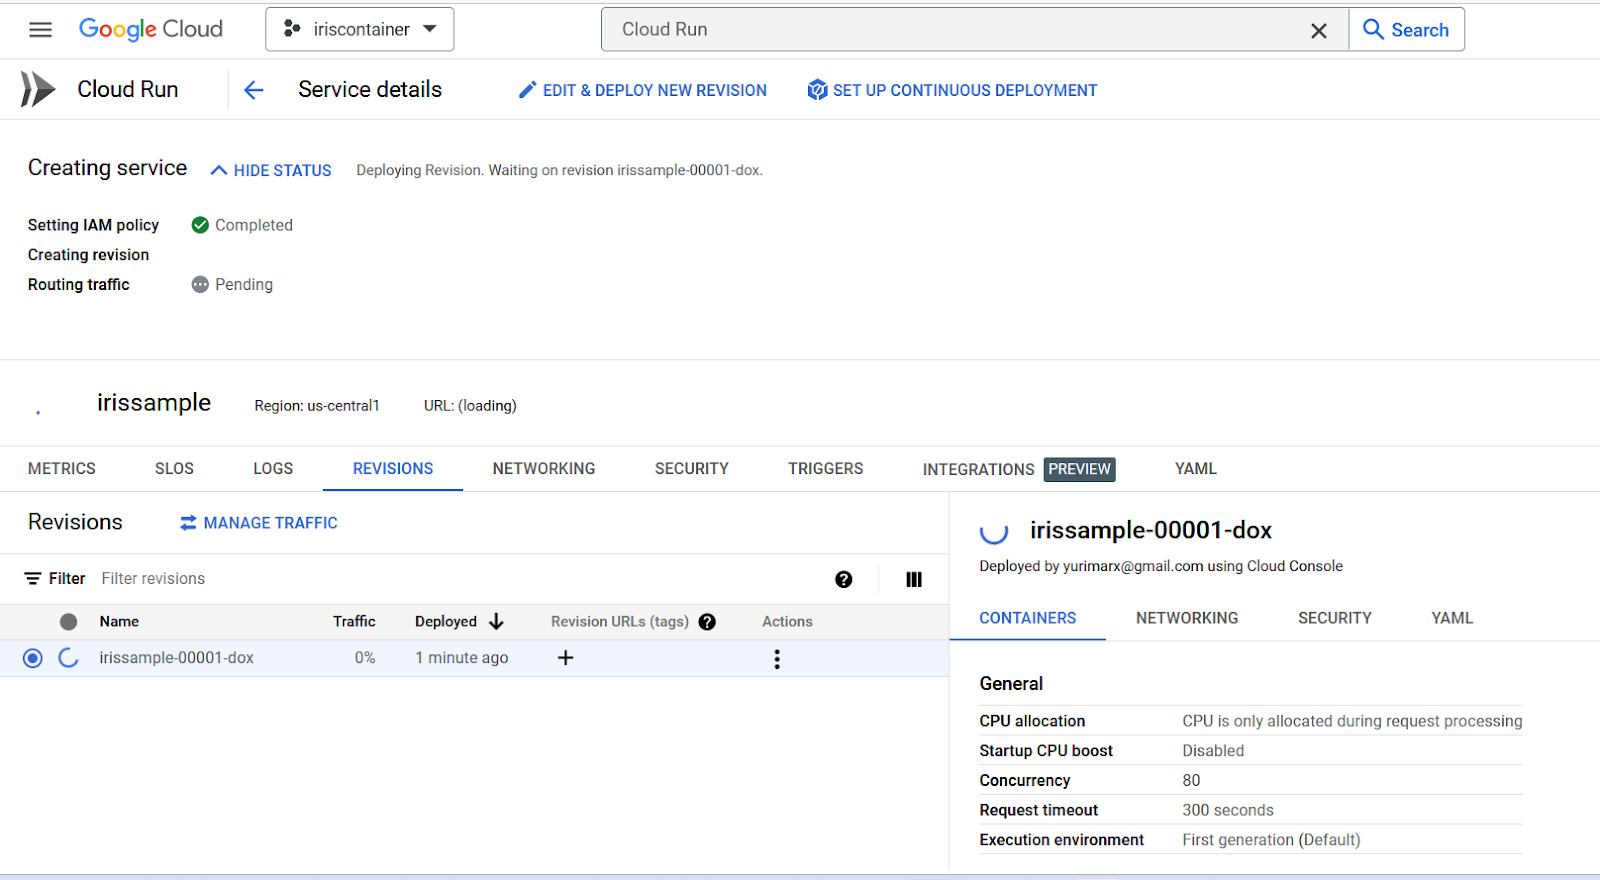
14. At this point, you should wait for a while for your new application to go up:
15. You made it! Your application is up now:
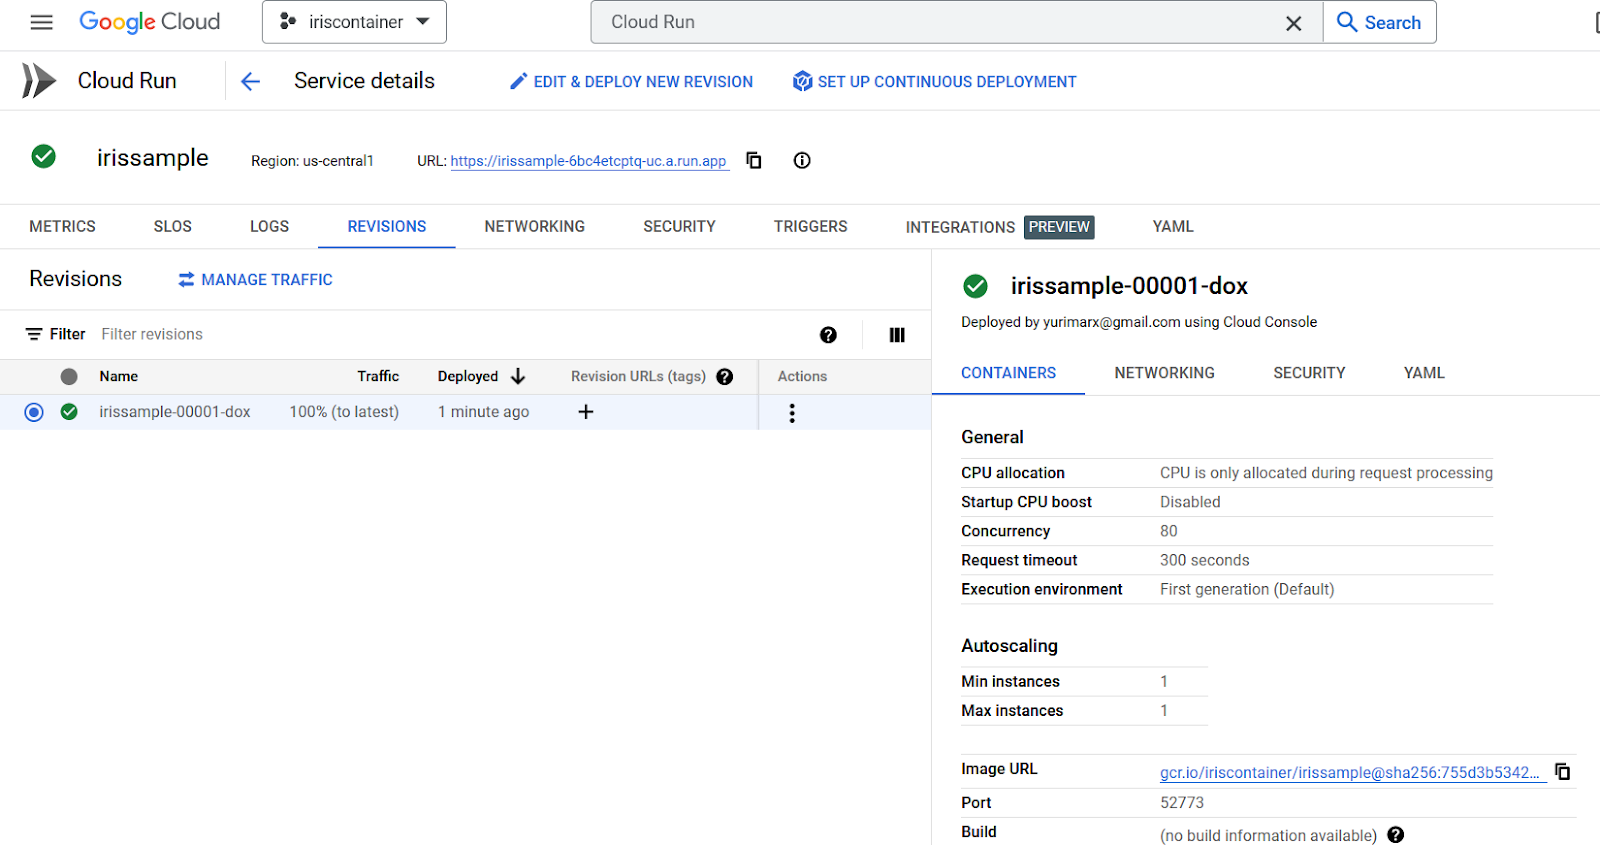
16. Copy the app URL from the top:

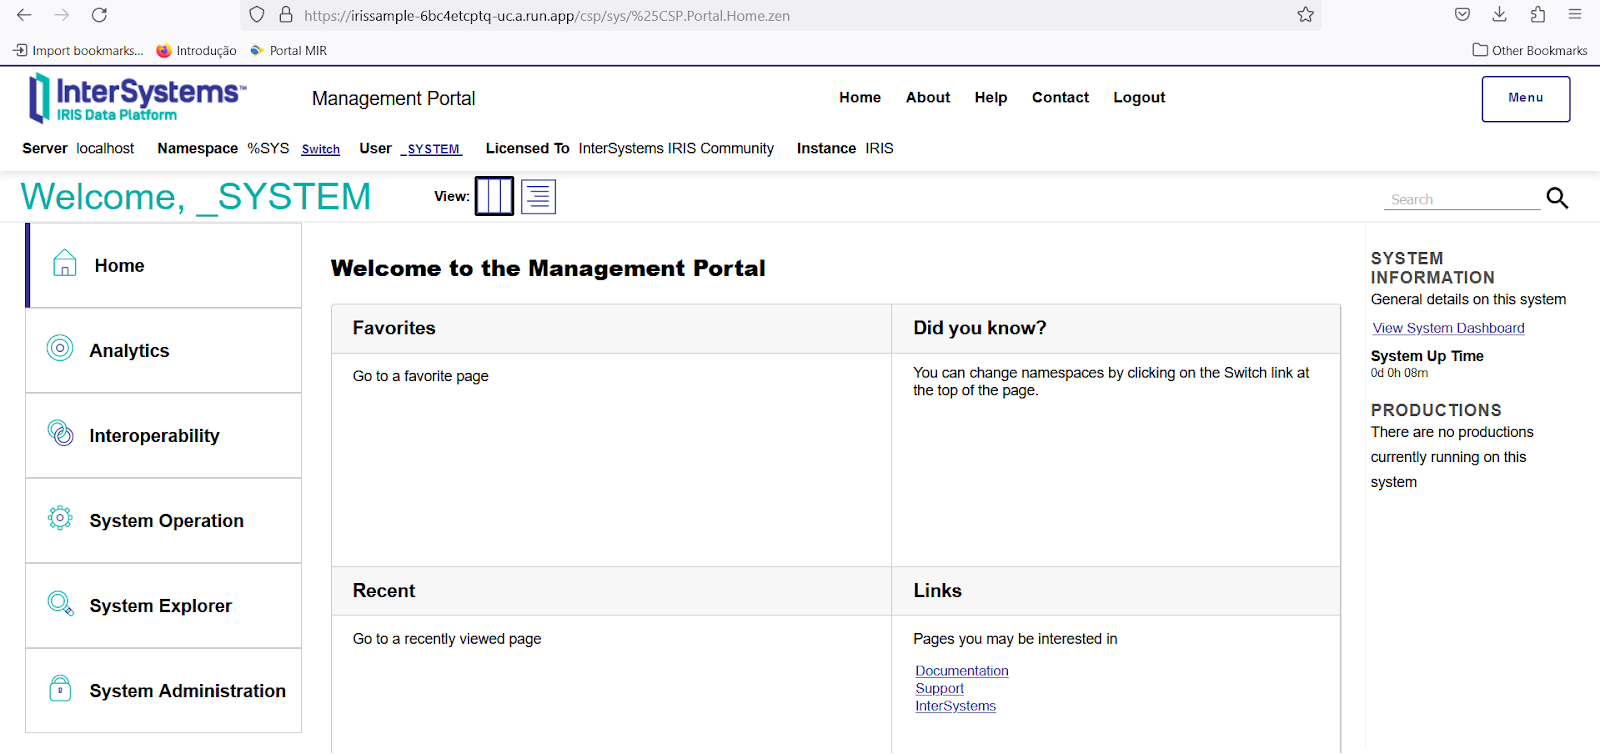
17. Open your browser and type the following (in my case it is https://irissample-6bc4etcptq-uc.a.run.app):
https://irissample-6bc4etcptq-uc.a.run.app/csp/sys/%25CSP.Portal.Home.zen
18. The IRIS Management Portal (with user _SYSTEM and password SYS) is active now:
Navigating the service panel
You can monitor the service deployed. To do that, take the next steps:
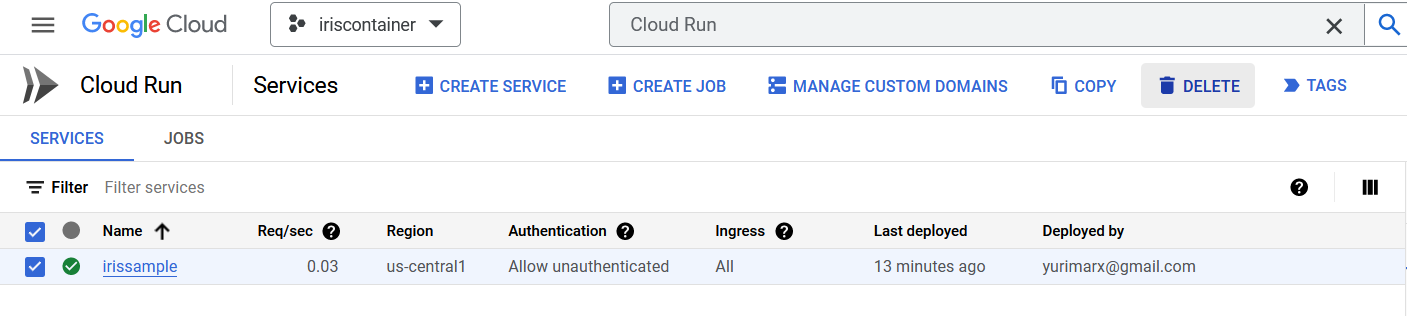
1. Look for Cloud Run on the top Search bar and click Cloud Run:

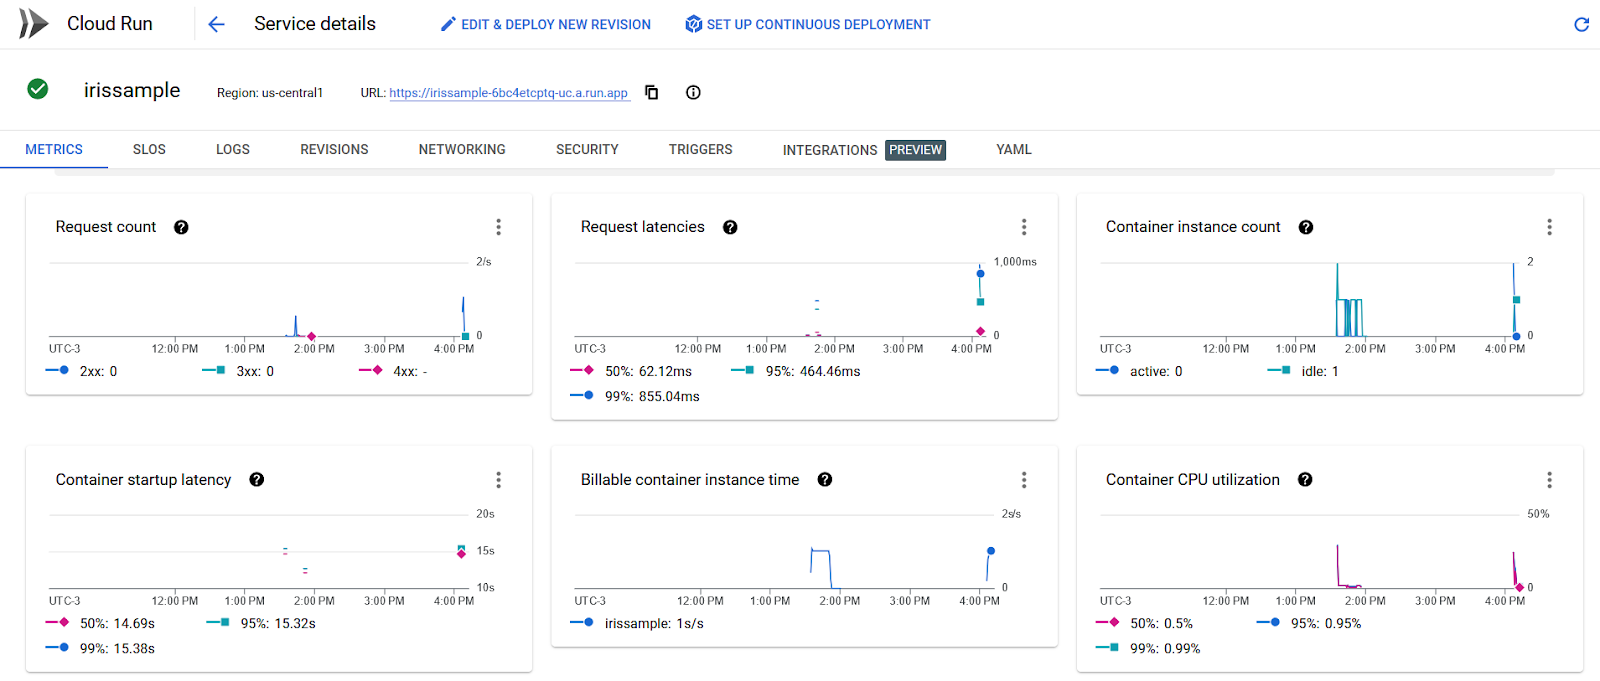
2. Click irissample link to see the service details: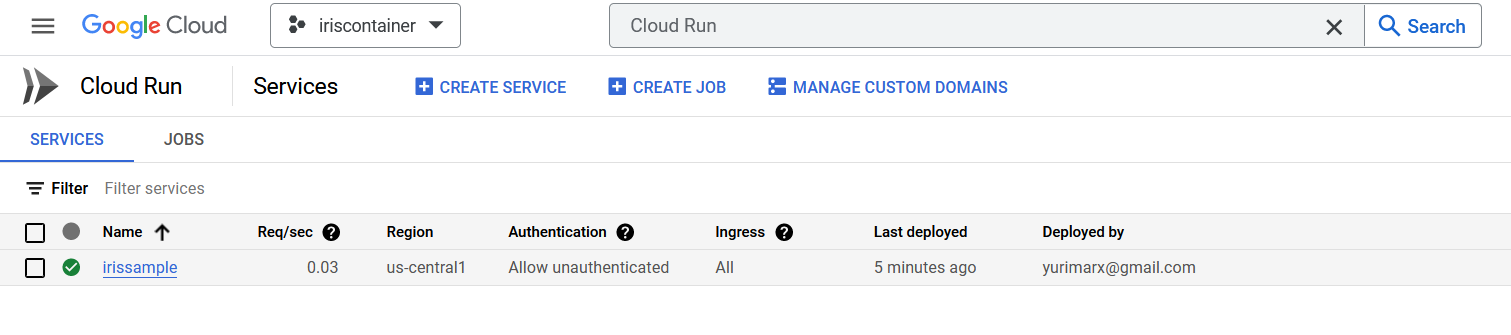 3. In the METRICS tab, it is possible to see the health of the deployed service, including latency, requests amount, and CPU utilization:
4. On the LOGS tab, you can see the application logs:
 5. On the YAML tab, you can check and change service configuration in YAML format:

Stop the service
REMEMBER TO DELETE THE SERVICE. OTHERWISE, YOU WILL BE BILLED. To do that, follow the instructions below:
1. Look for Cloud Run on the top Search bar and click Cloud Run:
2. Select irissample checkbox and click the button DELETE:
 P.S.: delete the project too.
GCP and IRIS, the architecture reference
Mark Bolinsky, the principal Architect from InterSystems, published an article with best practices and a proposal of InterSystems IRIS architecture to run critical IRIS projects. To see it, follow the link https://community.intersystems.com/post/intersystems-iris-example-refer…. The article explores small, medium, and large scenarios.
My impressions of GCP
GCP is an easier option when it comes to deploying IRIS instances compared to AWS. It seems to me to be a cheaper alternative too. On the other hand, AWS has more advanced resources and options for security, storage, and such specialized services as AI and WAF. Yet, it is easier to find professionals who use AWS, and it is also the most popular public cloud on the market.