This time I want to talk about something not specific to InterSystems IRIS, but that I think is important if you want to work with Docker and your server at work is a PC or laptop with Windows 10 Pro or Enterprise.
As you likely know, containers technology comes basically from Linux world and, nowadays, is on Linux hosts were it shows maximum potential. Those who use Windows on a normal basis see that both, Microsoft and Docker, have done important efforts during these last years that allow us to run containers based on Linux images on our Windows system in a really easy way... but it's something not supported for production systems and, this is the big problem, is not reliable if we want to keep persistent data outside of containers, in the host system,... mostly due to the big differences between Windows and Linux file systems. In the end, _Docker for Windows _itself uses a small linux virtual machine (_MobiLinux_) to run the containers... it does it transparently for the windows user... and it works perfectly well if, as I said, you don't require that your databases survive longer than the container...
Well,...let's get to the point,... the point is that many times, to avoid issues and simplify, we need a full Linux system and, if our server is based on Windows, the only way of having it is through a virtual machine. At least till WSL2 in Windows is released, but that will be another story and sure it'll take a bit of time to become robust enough.
In this article, I'll tell you, step by step, how to install an environment where you'll be able to work, if you need it, with Docker containers on an Ubuntu system in your Windows server. Let's go...
1. Enable Hyper-V
If you don't have it enabled yet, go to add `Windows Features` and enable Hyper-V. You'll need to restart (text images is in Spanish, but that's my current locale. I hope that altogether with instructions will help to "decrypt" it if you don't know the Don Quixote's lingua 😉 )
.png)
2. Create an Ubuntu virtual machine on Hyper-V
I don't think there is any easier way of creating a virtual machine (VM). Just open the window of the `Hyper-V Manager`, and go to option Quick Create... (right up in your screen) and create your virtual machine using any of Ubuntu versions already offered (you could download an _iso _file of whatever other Linux and so create the VM with a different distro). In my case, I've chosen the last Ubuntu release available: 19.10. Anyway, everything you'll see here is valid for 18.04. In 15 or 20 minutes, depends on what the image takes to download for you, you'll have your new VM created and ready.
Important: Leave the option of Default Switch as it's offered . This will guarantee you have access to internet from both, the host and the virtual machine.
3. Create a local subnet
One of the problems of using vitual machines that I've found very often has to do with network configuration... sometimes works, others don't, or it works if I'm connected with Wi-fi but not by cable or the opposite, or if I stablish a VPN in the windows host, then I lose internet access in the VM, or communication between the VM (Linux) and the host (Windows) gets broken... in short... it's crazy! Makes me not to trust in my environment when I use my laptop for development, small and quick demos or for presentations, where most likely access to internet is not as important as being sure that communications between my host and my VM(s) work in a reliable way.
With an ad-hoc local subnet, shared between your Windows host and your virtual machines, you solve it. To let them communicate among each other, you use that subnet and that's it. You just have to assign specific IPs to your host and your VMs and all set.
It's really easy to do it with these steps. Just go to Virtual Switch Manager... that you'll find in your `Hyper-V Manager`:
.png)
Once there, go to option _New Virtual Switch __ _(it would be like a new network card for the VM afterwards):
.png)
Be sure you define it as _Internal Network _, choose the name we want and leave the other options by default
.png)
Now, if we go to _`Windows Control Panel --> Network and Sharing Center`_, we'll see that we already have there the switch we just created:
.png)
4. Configure the local Subnet shared by the host and the Virtual Machines
At this point you can finish the configuration of your new local network. To do that, set your cursor over the connection _Mi Nuevo Conmutador LOCAL_, click and go to Properties, and from there to IPv4 protocol so to assign a fixed IP address:
.png)
Important: The IP that you assign here will be your host (Windows) IP in this local subnet.
5. Link and configure your new local network to your virtual machine
Now come back to your `Hyper-V Manager`. If your VM is running, stop it. Once stopped, go to its configuration and add the new internal virtul switch:
.png)
_(Note.- In the image you can see another switch, the Hyper-V Conmutador INTERNO . It's for another subnet that I have. But it's not necessary for you in this configuration) _
Once you click on Add, you will just have to select the switch that you previously created:
.png)
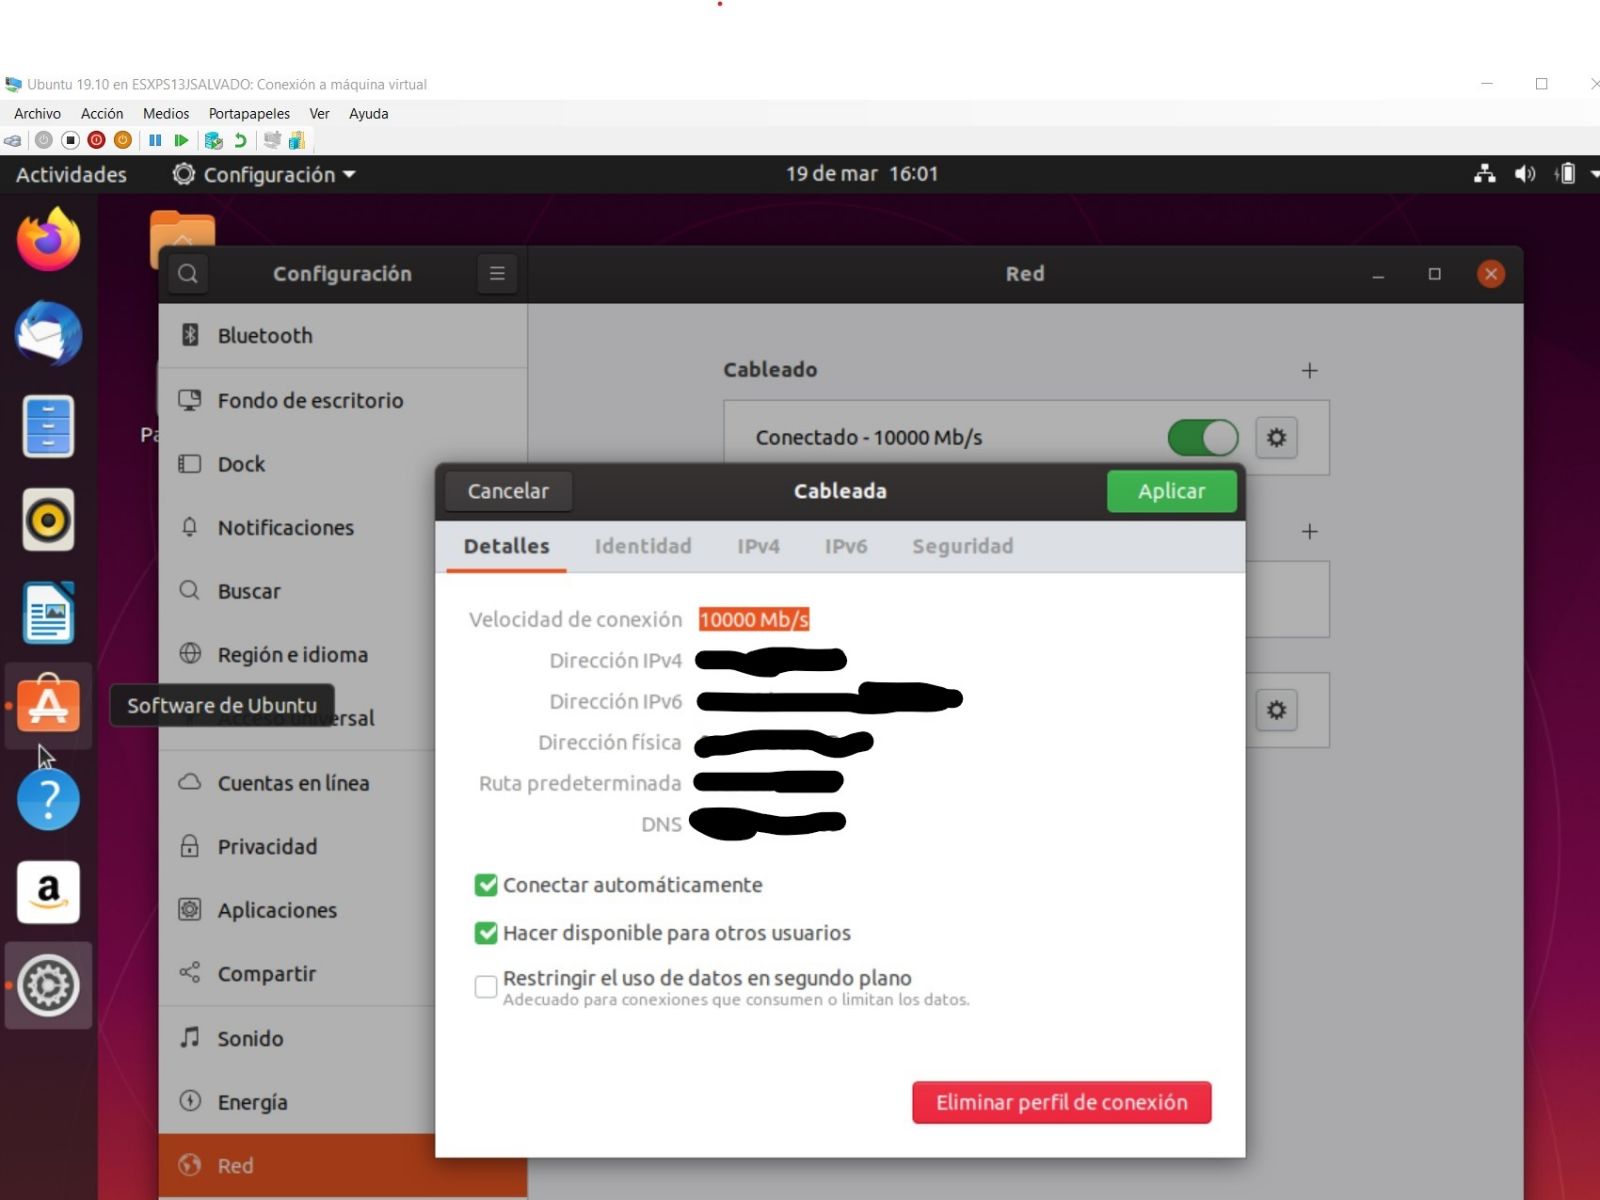
Well, once this is done, click Apply, Accept, ... and you're ready! You just can start and login again in your virtual machine to finish the configuration of the internal connection. To do that, once the VM starts, clicnk on the network icon (right up) and you'll see that you have 2 networks: _eth0_ y _eth1_. The _eth1_ appears as disconnected... by now:
.png)
Go into the configuration of the Ethernet (eht1) and assign a fixed IP for this local subnet, for example: _155.100.101.1_, and the subnet mask:_ 255.255.255.0_
.png)
and that's all. Here you have your virtual machine, identified with IP 155.100.101.1 sharing the same subnet with your host.
7. Allow access to Windows 10 from your virtual machine
You will likely discover that Windows 10 doesn't allow by default connection from other server and, for your windows system, the VM you've just created is precisely that, an external and potentially dangerous server... so you'll have to add a rule in the Firewall to be able to connect to your host from those virtual machines. How? Very easy, just look for `Windows Defender Firewall` in your `Windows Control Panel`, go to Advance Configuration and create a new Entry Rule:
.png)
You can set one port or one or many range of them... (also you can set the rule for all the ports)...
.png)
The action we want is _Allow Connection_...
.png)
For _all network types_...
.png)
Give a name to your rule...
.png)
And **important**, inmediately after that, open again the properties of your newley created rule and limit the application scope, so to apply only for connections within your local Subnet...
.png)
8. READY. Install Docker and whatever other application in your new Ubuntu Virtual Machine
Once you go through the entire installation process and you have your new VM ready and up-to-date, with internet access, etc.. you can install the apps you want... Docker as a minimum, that was the idea from the beginning, also you can install your VPN client if you need it for connection with your company network, VS Code, Eclipse+Atelier,...
Specifically, to install Docker, within your VM, you can follow the instructions you'll find here:
Be sure that your Docker runtime is working, download some test image, etc... and that's it.
With this... _**¡You're all set!**_, now you'll be able to have containers running with no limitations (apart from your hardware capacity) in your Ubuntu VM, to which you'll be able to connect from your Windows 10 host, from a browser or an app and the other way around, from your Ubuntu VM to your Windows 10 host. All of that using your IP addresses set in your shared local subnet, that will work no matter if you have a VPN stablished or not, if you access to internet through your Wi-fi adapter or trhough your ethernet cable.
Ah... one last advice. If you want to exchange files between Windows 10 and your virtual machines, a very useful and simple option is using [WinSCP](https://winscp.net/eng/download.php). It's free and it works really well.
Well, surely there are other configurations... but this is the one that I use and has proved to be the more reliable. I hope you find it useful also. If I've avoid you any headache, this article will have been worthy.
¡Happy Coding!